
Colourist

True Hollywood Film Look - Filmbox Pro

Filmbox Pro: The Ultimate Film Look Development Tool for a True Hollywood Film Look in 2026

As a professional video colorist, I am always looking for tools that do more than simply add a “film LUT” to an image. A convincing cinematic image is not just about contrast, saturation, or adding grain. It is about how color, density, highlight roll-off, texture, halation, acutance, and print characteristics interact as a complete imaging system.

That is why Filmbox Pro has become one of my favorite tools for film look development.

Rather than treating film as a preset or a simple LUT, Filmbox Pro approaches the problem as a photochemical imaging process. Video Village describes it as a comprehensive emulation of the characteristics of film negative and print, including color response, tone, grain, halation and other spatial characteristics.

For colorists working on commercials, music videos, features, episodics and high-end branded content, this makes Filmbox Pro a particularly powerful starting point for developing a sophisticated Hollywood-style film aesthetic.

Why Film Look Development Is More Than a LUT

One of the biggest mistakes in digital color grading is thinking that a cinematic look can be created simply by applying a LUT.

A LUT primarily describes a mathematical color transformation. Film, however, is a physical imaging process.

Film responds differently to exposure, color, density and contrast. Highlights do not simply become brighter; they develop characteristic density and color behavior. Bright sources can interact with the emulsion to create halation. Grain is related to the photographic process rather than being a uniform overlay.

That distinction matters.

When I develop a film look, I want the image to feel as though it has passed through a coherent imaging pipeline—not as though someone placed a grain layer and a vintage LUT on top of digital footage.

This is where Filmbox Pro becomes particularly interesting.

Filmbox Pro Treats Film as a Complete Imaging System

One of the strongest aspects of Filmbox Pro is its architecture.

Instead of providing only a final color transform, Filmbox Pro separates the process into components such as Camera, Negative, Lab, Print and Display. This allows the colorist to approach the image more like a traditional film workflow.

The Negative stage can influence characteristics such as:

  • Color and tone

  • Grain

  • Halation

  • Acutance

  • Gate weave

  • Flicker

  • Aura

The Lab stage provides another level of creative control, while the Print stage allows the final character of the image to be shaped as though the negative were being printed.

This is a fundamentally different approach from simply choosing a “cinematic LUT.”

The Negative-to-Print Workflow Is a Major Advantage

For serious look development, one of my favorite features is Filmbox Pro's ability to separate Negative Only and Print Only processing.

You can create a workflow where Filmbox first creates the characteristics of a film negative, perform creative grading between the negative and print stages, and then apply the print process afterward.

This effectively gives the colorist a digital approximation of a film-DI workflow. Video Village specifically recommends this multi-node approach when you want creative operations to behave as though they are being performed between negative and print.

For me, this is where Filmbox Pro moves beyond being a “film look plugin” and becomes a look-development environment.

The Difference Is in the Highlight and Skin-Tone Behavior

A great film look should not make every image orange and teal.

In professional work, particularly narrative cinema and premium advertising, I want skin tones to remain believable while the surrounding palette develops character.

Filmbox Pro's film-based color response can provide a much more sophisticated starting point for this than simply manipulating saturation and contrast.

The goal isn't to make the audience think:

“That has a film LUT on it.”

The goal is for the audience to simply feel that the image has cinematic density, texture and dimensionality.

That subtlety is what I look for.

Halation That Actually Feels Photochemical

Halation is another area where many digital film-emulation workflows fall short.

A simple blur or colored glow around highlights can quickly look artificial.

Filmbox Pro approaches halation as part of its spatial film simulation, with controls for radius, opacity, color and larger-scale aura characteristics.

Used carefully, this can help create the subtle separation around practical lights, windows, specular highlights and high-contrast edges that audiences subconsciously associate with film.

The key word is subtle.

As a colorist, I would rarely recommend turning halation up simply because the control is available. The best film effects are often the ones viewers don't consciously notice.

Grain Should Be Part of the Image, Not an Overlay

Digital grain overlays often look like texture placed over a digital image.

Film grain should feel integrated with the image formation process.

Filmbox Pro's grain processing is designed around the emulated negative, rather than simply applying a generic noise layer. The plugin also provides detailed control over the negative's spatial characteristics.

This makes a significant difference when you're trying to create a premium 35mm or large-format aesthetic.

And importantly, more grain doesn't automatically mean more cinematic.

For a Hollywood commercial, I may want extremely restrained texture. For a period drama or independent feature, I may push the texture considerably further.

The creative decision should follow the story, not the plugin.

Choosing the Right Film Stock

Another reason I recommend Filmbox Pro for serious look development is the range of film systems and stocks available.

The current Filmbox Pro ecosystem includes systems such as Vision3 and Vintage Cinema, with different negative and print characteristics designed to work together.

This gives the colorist a much more useful question than:

“Which LUT looks cinematic?”

Instead, the question becomes:

“What photographic behavior supports this story?”

Do I want:

  • Clean, modern 35mm?

  • Softer vintage color?

  • Fine-grain large-format character?

  • Stronger halation?

  • More restrained saturation?

  • A warmer print response?

  • A more nostalgic negative?

  • A harder, more graphic contrast structure?

These decisions become part of the look-development process.

Start With Filmbox—Then Grade

One important point: I don't believe Filmbox Pro should replace the colorist.

It should empower the colorist.

I generally think of Filmbox as a sophisticated film-imaging stage inside the grading pipeline rather than a magic button.

For example, exposure, balance and major image corrections can be performed before Filmbox, allowing the film emulation to respond to the image appropriately. Video Village recommends scene-referred, photometrically accurate operations upstream when authenticity is the goal.

From there, the colorist can use the Negative/Lab/Print architecture to develop the creative look.

That gives you considerably more control than applying a finished LUT at the end of the node tree.

Filmbox Pro Fits Modern Color-Managed Workflows

Another reason I consider Filmbox Pro particularly relevant to modern professional post-production is its support for advanced color pipelines.

It supports ACES 1.3, ACES 2.0 and Resolve Color Management, along with SDR and HDR workflows. It also supports major camera and intermediate color spaces.

This matters because today's productions increasingly move between:

  • ARRI LogC

  • RED

  • Sony

  • Canon

  • Blackmagic RAW

  • ACES

  • DaVinci Wide Gamut

  • HDR

  • Rec.709

  • P3

  • Streaming deliverables

A film look shouldn't fall apart simply because the project has a sophisticated color pipeline.

My Recommended Approach for a Hollywood-Style Look

If I'm developing a film look from digital camera footage, my philosophy is simple:

Don't try to make digital footage look “old.” Make it behave more like film.

I would start with properly managed, scene-referred camera footage.

Then:

1. Establish exposure and white balance

Get the image technically and photographically balanced before trying to create the look.

2. Choose the film system

Select the negative/print combination that fits the project rather than selecting a preset simply because it looks impressive on one shot.

3. Establish the negative character

Shape color response, density, contrast, grain and halation.

4. Develop the creative look

Use the Lab and, when appropriate, grade between Negative and Print.

5. Control the print

The Print stage can become the final creative personality of the image.

6. Finish for the delivery space

Make sure the final image is correctly transformed for the intended SDR, HDR or cinema mastering environment.

This approach produces a look that feels intentional rather than filtered.

Why I Recommend Filmbox Pro

There are many excellent tools available to colorists today.

But Filmbox Pro stands out because it doesn't simply ask:

“What film LUT do you want?”

It asks a much more interesting question:

“How do you want this image to behave as film?”

That difference is enormous.

Its combination of film-negative modeling, print processing, grain, halation, acutance, film systems, advanced lab controls and color-managed workflow support gives professional colorists a remarkably deep environment for developing film-inspired images.

And the included Looks Library can also provide useful starting points before moving into the deeper Pro controls. The library contains more than 100 presets designed as starting points for different aesthetics and film characteristics.

Final Thoughts

For me, the best film emulation is not the one that screams “FILM.”

It is the one that gives the image:

better color separation, richer tonal relationships, natural highlight behavior, organic texture, dimensionality and photographic character.

That's why Filmbox Pro is one of the first tools I would consider when developing a premium cinematic film look from digital footage.

Whether I'm working on a feature film, episodic series, commercial, music video or branded project, the objective remains the same:

Don't put a film look on the image. Build the image as if it were photographed on film.

That is where Filmbox Pro becomes extremely powerful.

Explore Filmbox Pro by Video Village

Disclosure: Filmbox Pro is a commercial product from Video Village. This article reflects my professional assessment of its capabilities as a film-look-development tool.

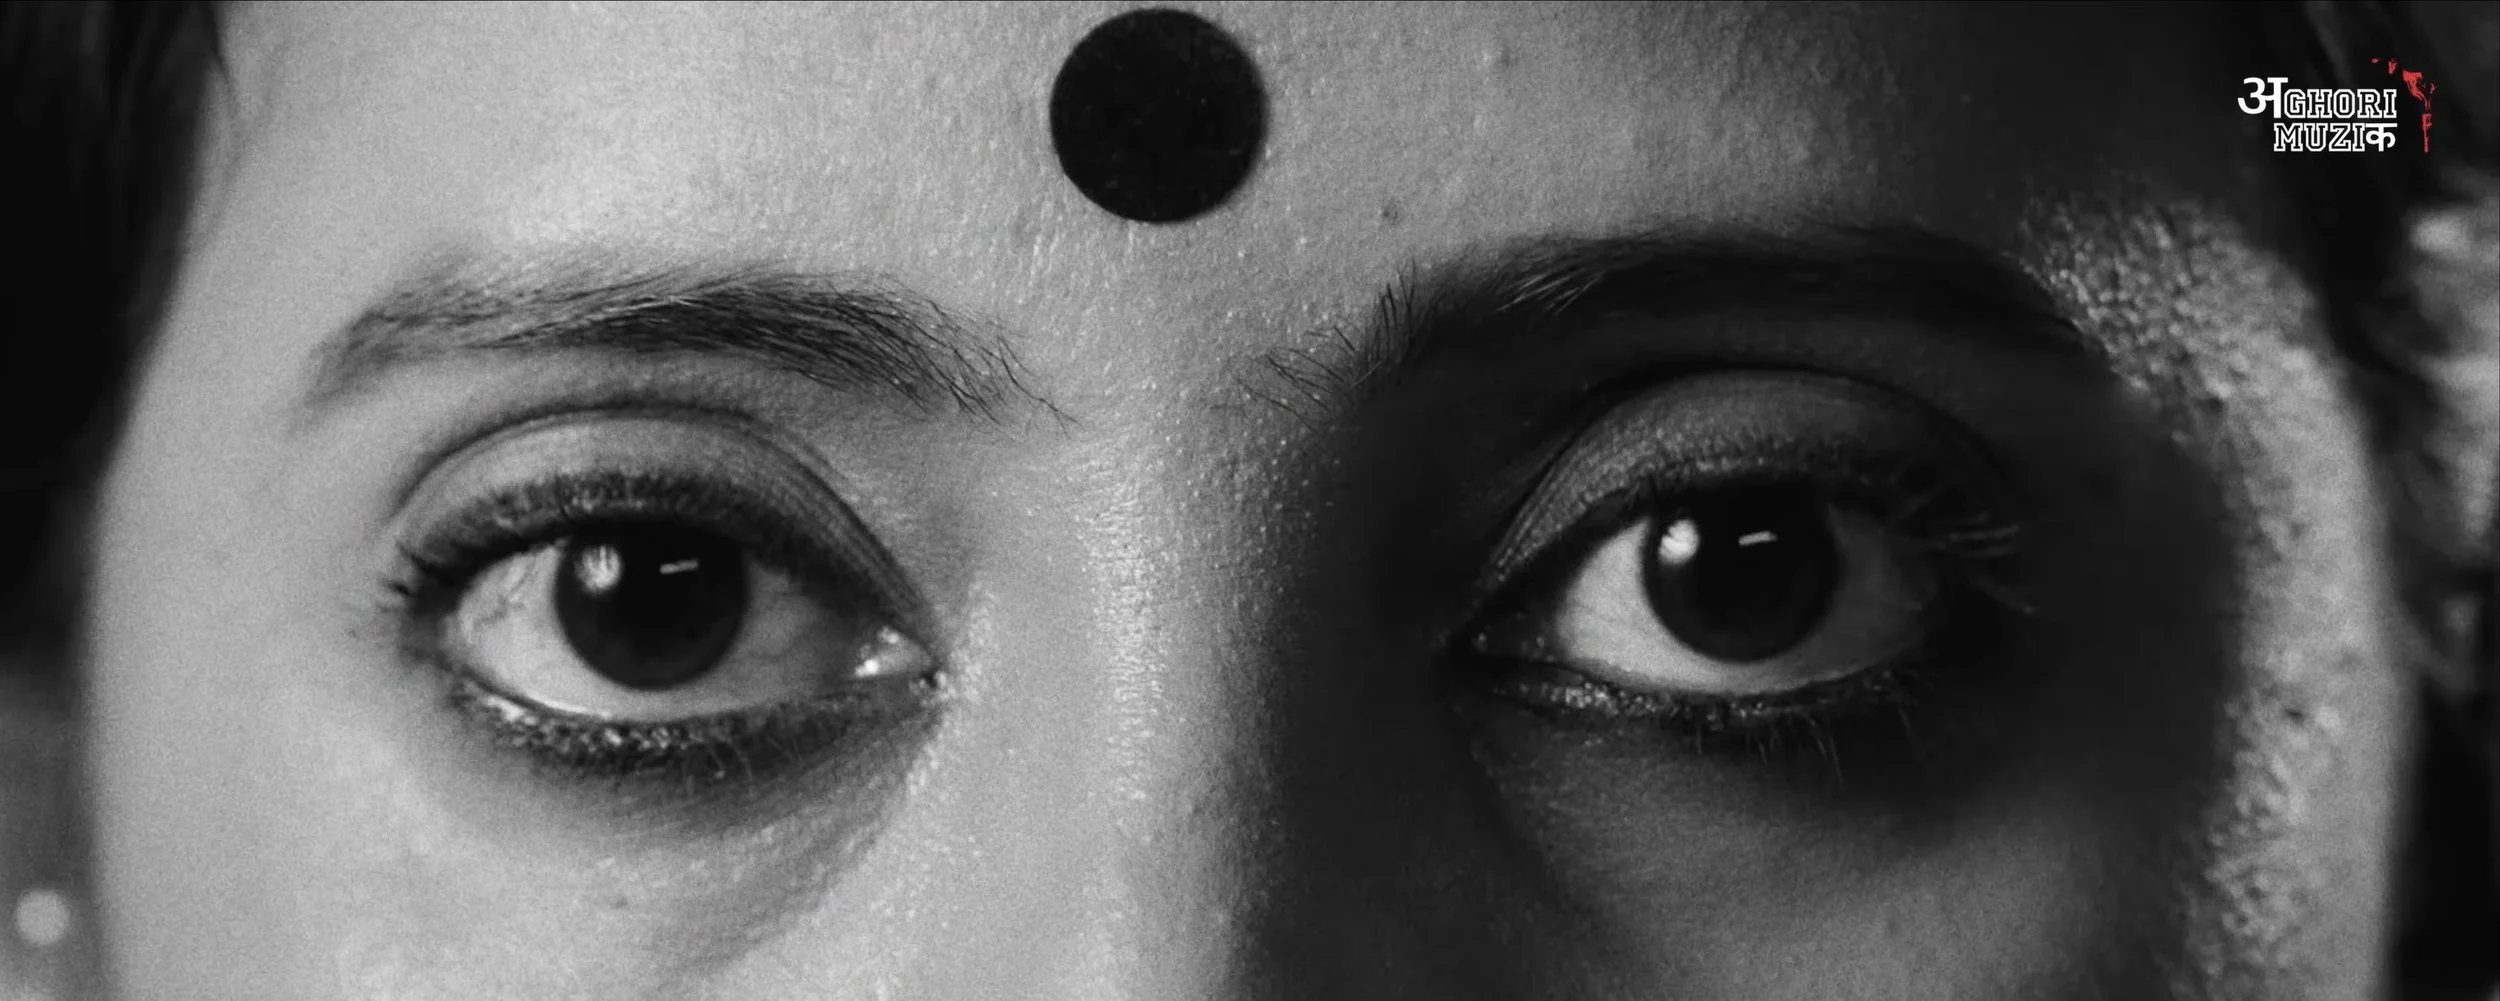
Color Grading for “Garba Gheli” | Aghori Muzik ft. Salim Merchant Filmikwork, Hollywood

Color Grading for “Garba Gheli” | Aghori Muzik ft. Salim Merchant

Color Artist: Sudip Shrestha | Filmikwork

“Garba Gheli,” the latest Hindi music video from Aghori Muzik, featuring legendary singer Salim Merchant.

Filmikwork provided professional music video color grading and color finishing for this vibrant celebration of Garba, Gujarat, and Navratri. The grade focused on rich colors, natural skin tones, cinematic contrast, and a polished contemporary music-video look.

The project brought together a talented creative team from India, with the final color finishing completed by Filmikwork.

Project: Garba Gheli – Aghori Muzik ft. Salim Merchant
Colorist: Sudip Shrestha
Color House: Filmikwork , Hollywood
Director: BIBTYA
DOP: Hardik Soni, Akshay Roshiya, Ronak Soni

Looking for a professional colorist in Los Angeles or Hollywood for your next music video, commercial, film, or digital project? Filmic LA provides professional color grading, color correction, and finishing services for clients in Los Angeles, Hollywood, India, and worldwide.

How to make your videos look beautiful?

Make it stand out

Whatever it is, the way you tell your story online can make all the difference.

Lights, camera, color! As a video color grading studio, we know that capturing beautiful footage is only half the battle. The other half is making sure that footage looks just as stunning on screen. That's why we're committed to making our color grading process as set-friendly as possible.

Here are a few ways we make sure our color grading process works seamlessly with your set:

  1. Flexibility: We understand that video shoots can be unpredictable, with lighting conditions changing from shot to shot. That's why we offer flexible scheduling options and can work with you to accommodate any last-minute changes to your shoot.

  2. Real-time feedback: We can provide real-time feedback on set to make sure that the footage you capture is optimized for color grading. This can save you time and money in post-production, and help you achieve the look you want.

  3. Collaboration: We work closely with you and your team to ensure that our color grading process is seamless and fits within your workflow. We'll be there every step of the way to answer any questions you have and make sure the final product exceeds your expectations.

  4. Portability: Our color grading equipment is designed to be portable and can be brought to your set if needed. This can save you time and money on transportation costs, and help keep your project on schedule.

At our video color grading studio, we're dedicated to making sure our process is set-friendly and works seamlessly with your production. We understand that every project is unique, and we'll work with you to create a customized solution that meets your specific needs. So why wait? Contact us today and let's create something amazing together!

Created using ChatGPT

How to color grade videos? Guide

How to Color Grade?

Color grading is the process of adjusting the colors and tones of a video to achieve a specific look or mood. Here is a general overview of the steps involved in color grading a video:

  1. Correct any technical issues: Before color grading your video, it's important to ensure that the video is technically sound. This can involve adjusting the exposure, white balance, and contrast to ensure that the footage is well-exposed and has accurate colors.

  2. Choose a color grading software: There are many color grading software options available, including DaVinci Resolve, Adobe Premiere Pro, Final Cut Pro, and others. Choose a software that suits your needs and preferences.

  3. Create a reference image or video: Before color grading your video, it can be helpful to create a reference image or video that represents the desired look. This can involve taking inspiration from other films, photographs, or art.

  4. Apply a LUT or preset: Some color grading software may include built-in LUTs (Look-Up Tables) or presets that can be applied to your footage to achieve a specific look. Applying a LUT or preset can be a good starting point for your color grading.

  5. Adjust the color wheels and curves: Use the color wheels and curves in your software to adjust the hue, saturation, and brightness of your footage. This can involve adjusting the shadows, midtones, and highlights to achieve a balanced and pleasing color palette.

  6. Adjust the exposure and contrast: Use the exposure and contrast tools to adjust the overall brightness and contrast of your footage. This can involve boosting or reducing the brightness and contrast to achieve a specific look.

  7. Refine the color grading: Once you have adjusted the color wheels, curves, exposure, and contrast, refine your color grading by adjusting the colors and tones of specific elements in your footage, such as skin tones, backgrounds, and objects.

  8. Apply the color grading to the entire video: Once you are happy with your color grading, apply the adjustments to the entire video. This can involve copying and pasting the adjustments to other clips or using adjustment layers to apply the color grading to multiple clips at once.

  9. Review your color grading: Finally, review your color grading to ensure that it meets your creative vision and technical standards. Watch your video on different monitors and devices to ensure that the color grading looks consistent across different platforms.

Color grading can be a complex and time-consuming process, and it's important to have a good understanding of color theory and video editing principles before attempting to color grade your footage. With practice and experience, however, you can achieve stunning and creative results through color grading.

Learn One on One Color grading with us at our Boutique Colour Studio In UAE.

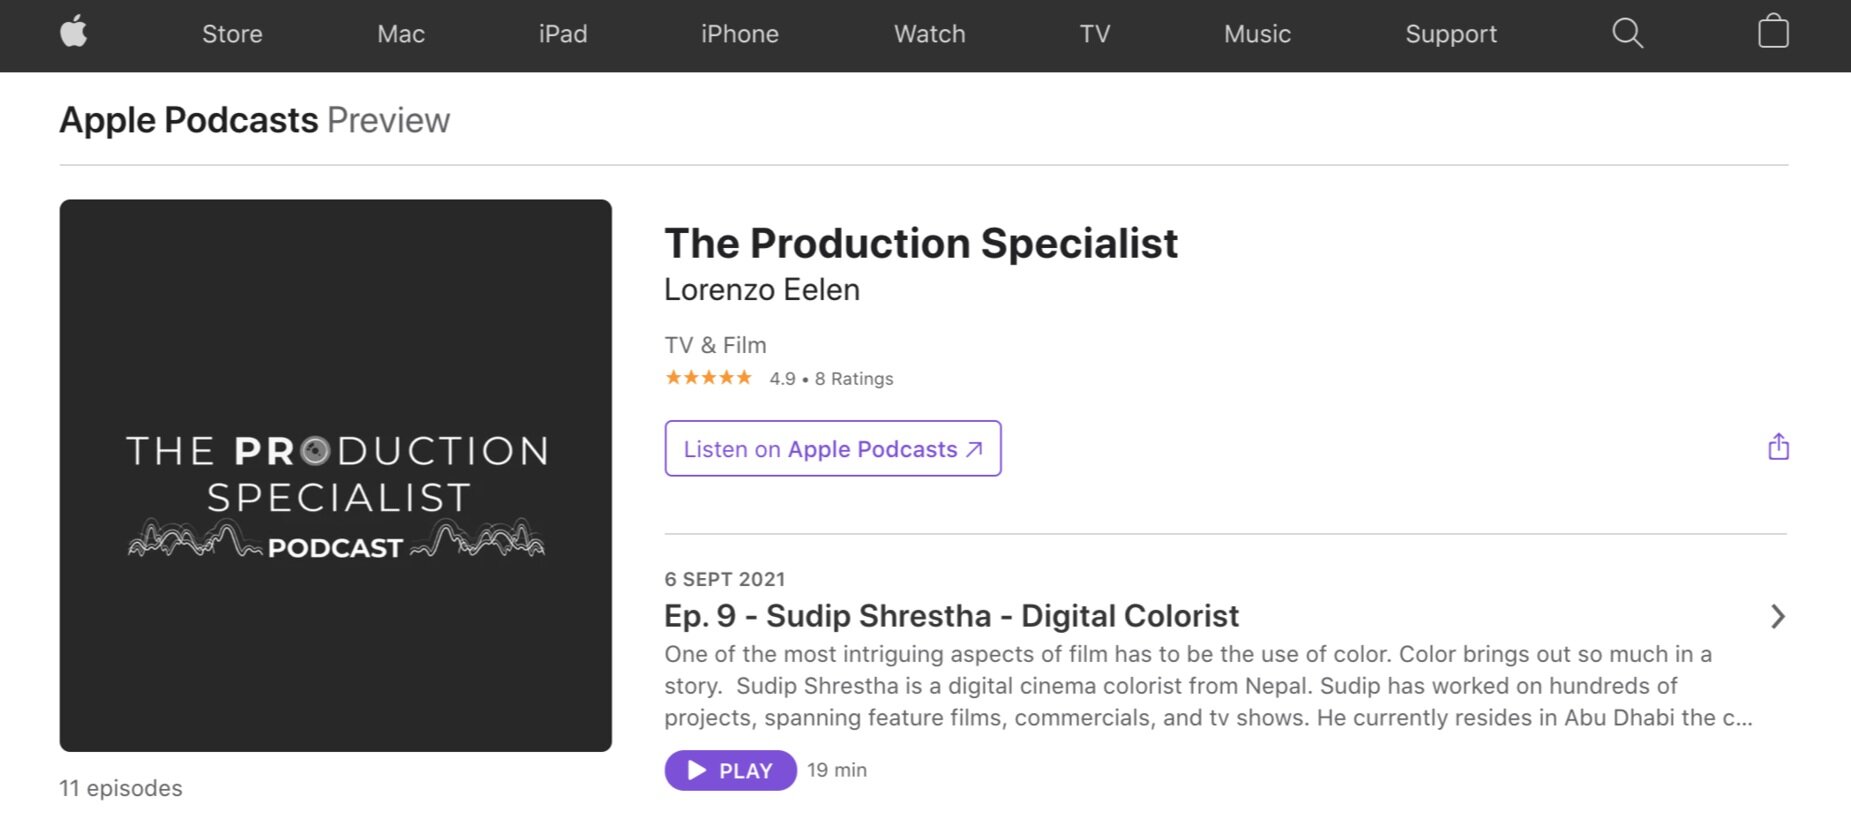
sharing my story of being digital colourist from nepal since 2007

I recently shared my career journey with The Production Specialist team. I hope it inspires all new editors, colorist or filmmakers to dream big.

The Production Specialist
Hosted by
Lorenzo Eelen

A podcast series of personal accounts from individuals and companies in emerging and frontier production industries. Delivered in a narrative and story driven way, the show presents the many different roles that a production might have.

Podcast Produced by - Black Dagger Audio - (Production Sound recording/mix services in UAE)

how to color grade for blue or green chroma?

How to color grade for blue or green chroma?

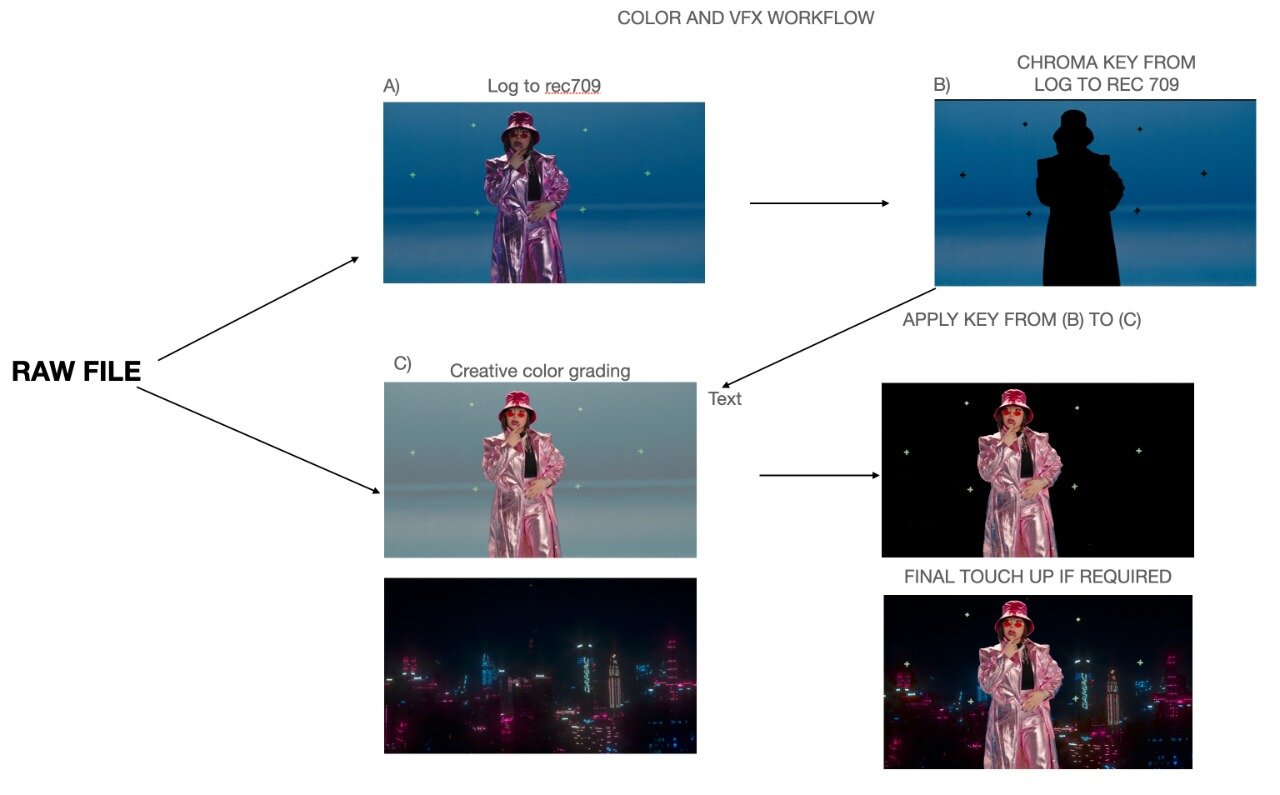
Grading for vfx heavy projects is different than regular color workflow.

Key steps to follow -

1 ) Conform your edit in timeline and export the LOG to Linear Rec709.

NOTE- Fix the blue/green chroma if required to assist the chroma keying for vfx.

chroma workflow

2) Set your look according to the vfx elements working closely with art direction/d.o.p/director for primary and secondary color grading.

3) Get file VFX comp and alpha mattes of all the shots for grading post VFX.

4) Final color grading.

(Choose any formats .exr or apple pro res 4444 for the workflow.)

the most powerful color grading tool using machine learning in FLAME

Z-depth map generator

Machine learning for live-action, scene-depth reclamation. Color correct and apply effects based on camera distance.

z depth map.png

Human face normal map generator

Use machine learning to generate 3D surface-orientation bump maps for color adjustment, relighting, and retouching.

human face map.png

Human face extraction and physical defocus

GPU-accelerated rack defocus effect. Extract alpha mattes using machine learning with a new human face region Semantic keyer.

human face exatraction.png

Semantic keyer for sky extraction

Isolate skies with a single click to remove clouds, add treatments to sky backgrounds, and more.

sky keyer.png

To know more about these features try - Autodesk Flame now.

Cheapest 4k color grading setup for Davinci Resolve Studio in 2021

Computer - Apple Mac Mini M1 -$1,299.00

Apple M1 chip with 8‑core CPU, 8‑core GPU, and 16‑core Neural Engine

  • 16GB unified memory

  • 1TB SSD storage

  • Gigabit Ethernet

Monitor Setup - 2

GUI - HP DreamColor Z27x G2 -$900.00

  • In-Plane Switching (IPS) Technology

  • HDMI + DisplayPort + USB Type-C Inputs

  • 2560 x 1440 WQHD Resolution

  • 1500:1 Static Contrast Ratio

Full Screen Color Grading Preview- EIZO CS2731 -$1,177.00

  • 27" In-Plane Switching (IPS) Panel

  • DisplayPort | HDMI | DVI-D | USB Type-C

  • 2560 x 1440 Native Resolution

  • 1000:1 Typical Contrast Ratio

Video I/O - UltraStudio 4K Mini -$995.00

UltraStudio 4K Mini is a portable Thunderbolt 3 capture and playback solution packed with the latest broadcast technology! You get broadcast quality 8 and 10‑bit high dynamic range capture in all formats up to 4K DCI at 60p, and 12‑bit high dynamic range capture in all formats up to 4K DCI at 30p. Plus, the built in SD card reader lets you mount camera media directly on your computer so you can start editing immediately!

Color Grading Panel - Tangent wave 2 Panel -$900.00

  • Multi Software support

  • 3 x High-Resolution Optical Trackballs

  • 9 x Programmable Knobs with Push Reset

  • 9 x Programmable Function Buttons

  • Large Ice-White OLED Display Area

This is very basic requirement for cheapest 4k color grading solution. Price may vary according to the region.

Long wishes - color graded by Sudip, Pixelhouse

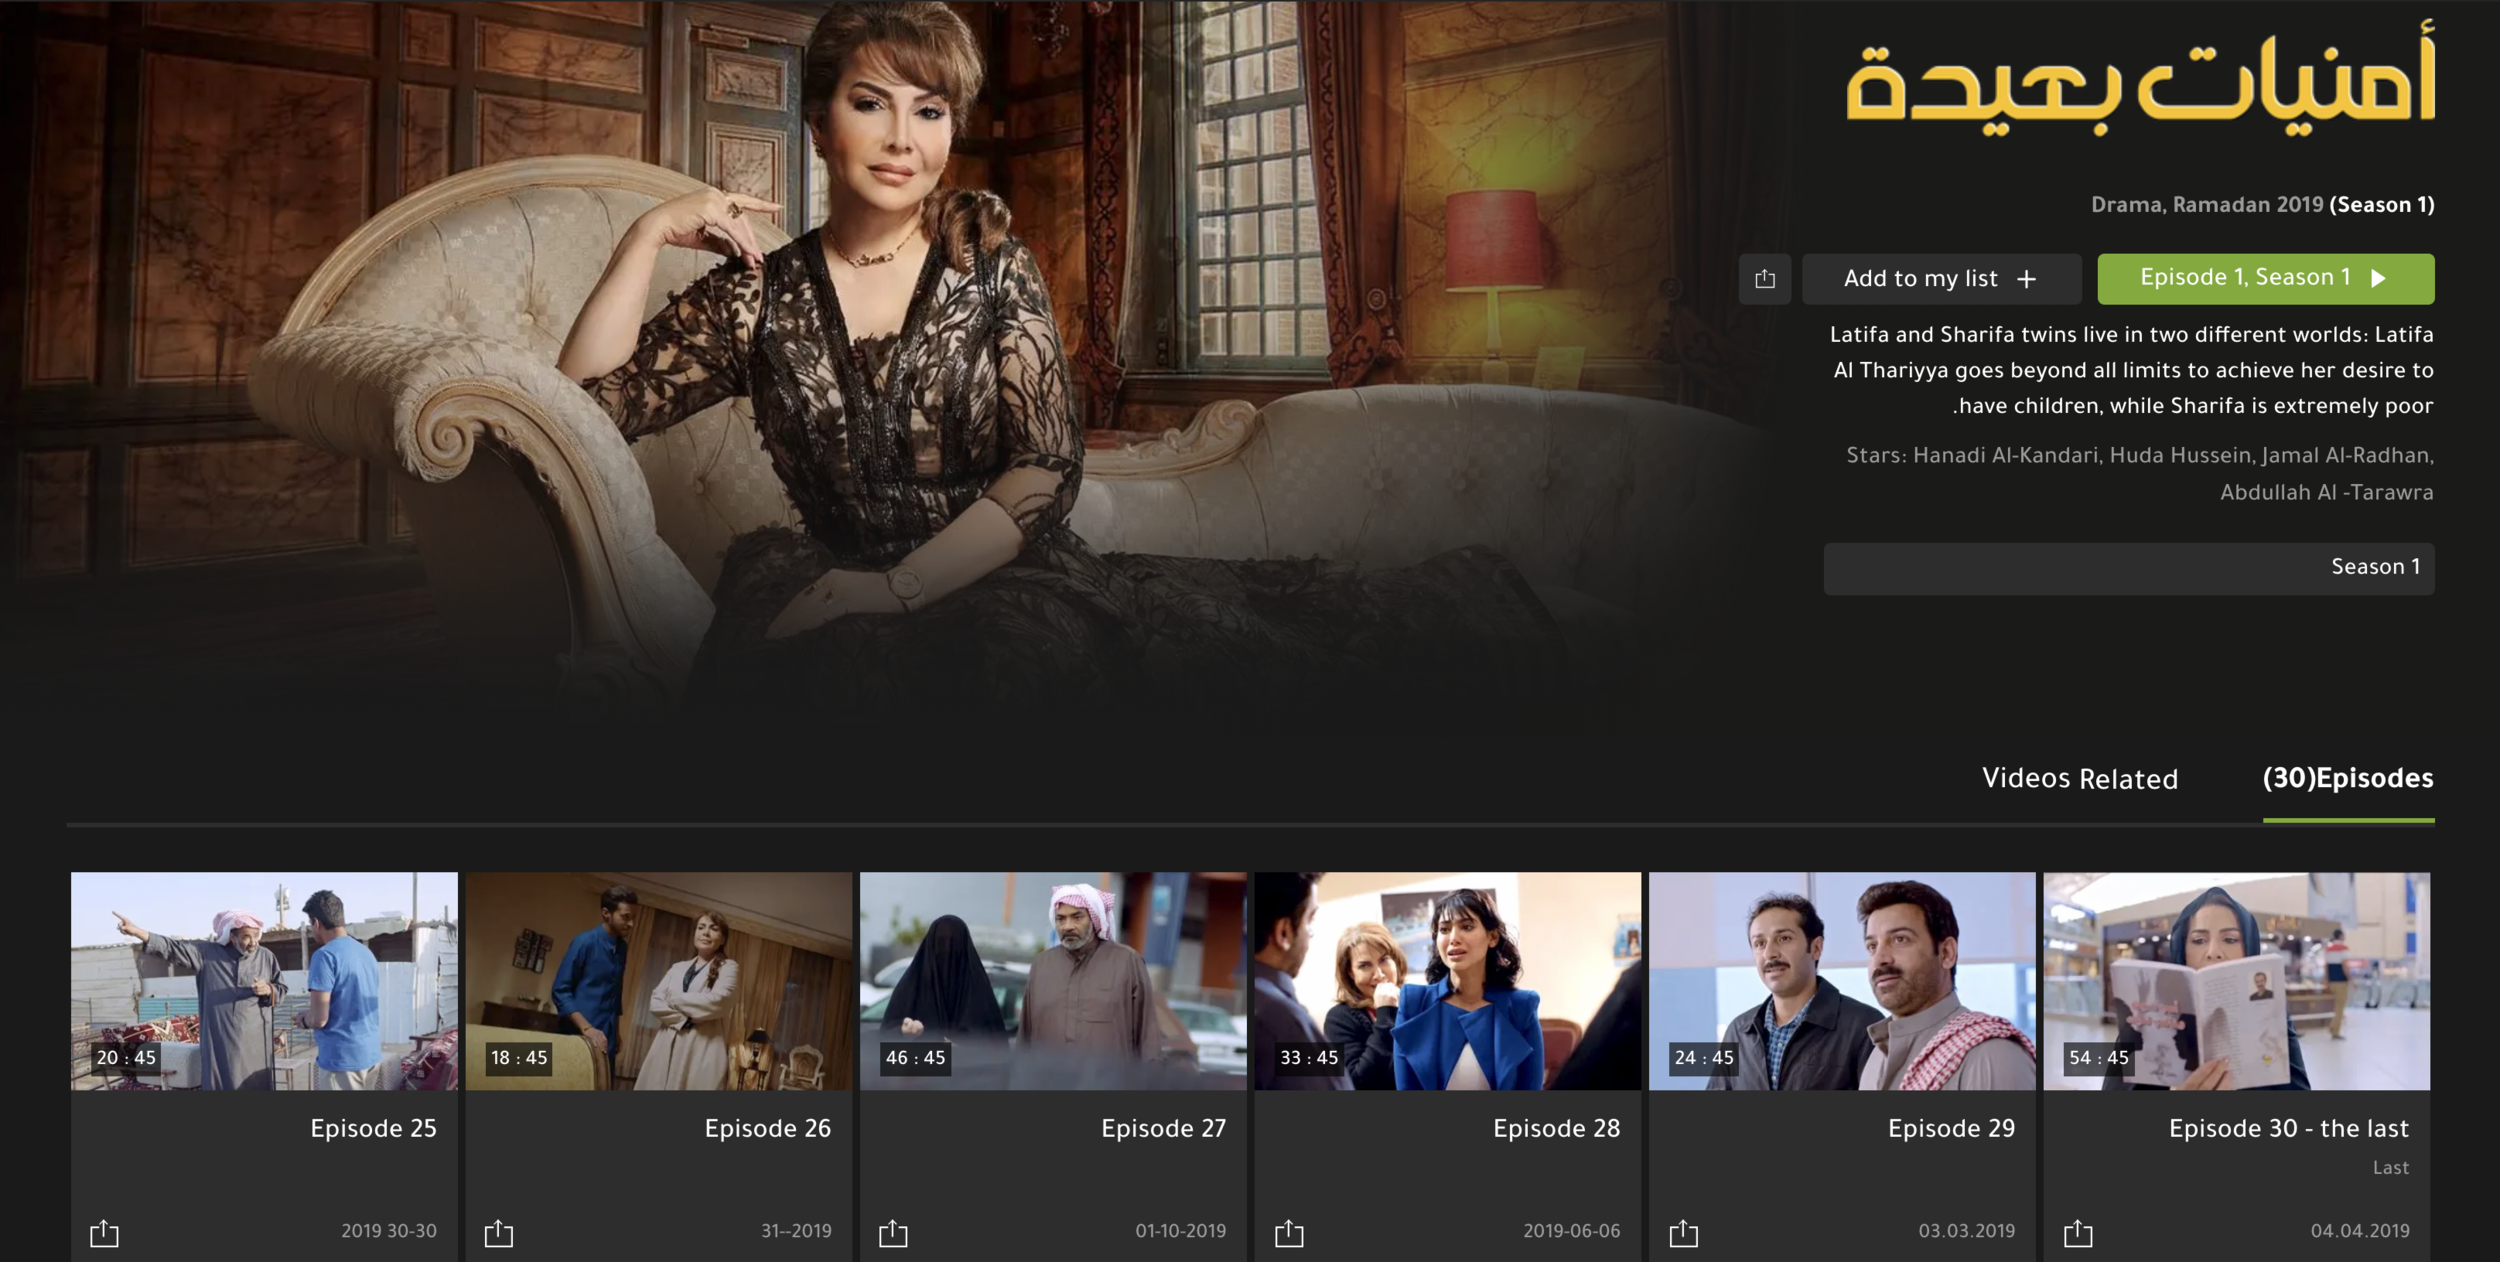
30 Episode Drama Series - color graded by Sudip Shrestha-Pixelhouse Productions, UAE.

30 Episode Drama Series - color graded by Sudip Shrestha-Pixelhouse Productions, UAE.

Color grading Drama Series - "LONG WISHES"

Latifa and Sharifa twins live in two different worlds: Latifa Al Thariyya goes beyond all limits to achieve her desire to have children, while Sharifa is extremely poor.

Watch MBC

Shot in arri alexa
Colorist - Sudip Shrestha
Duration - 30 Episodes. Each episode 45 mins
Project Duration for color - 2 working weeks.
Pixelhouse Productions

IMG_9488.JPG


Jason Antic, the AI man behind deoldify

DeOldify is a Self-Attention Generative Adversarial Network-based machine learning system that colorizes and restores old images and video . It’s only in the early stages but it’s already producing really impressive results.
— Jason Antic's

I recently discovered #deoldify, an AI-trained algorithm that colorizes old photos. This is not photo re-touching, but instead a computer that was trained to colorize black & white photos based on what colors it “thinks” things are. I was surprised by the result it produced.

source - github/deoldify

source - github/deoldify

Try yourself to colorise your old memories from github - deoldify

DIT & my dit cart

DIT - Digital Image Technician

A DIT (Digital Imaging Technician) is responsible for assisting the DP by controlling image quality, troubleshooting, on-set color correction, and managing production workflow. 

Homepage-Cart.png

ON SET DIT

Real time 8k workflow, HDR & 360 VR monitoring system.

Key Responsibilities

  • Managing media offloads

  • Building LUTs with the DoP for the different scenes

  • Applying those LUTs to transcoded ProRes footage for the offline edit

  • Creating 720p dailies to be placed in DropBox for the above-the-line team (or “adults” as we sometimes call them) to follow along with the production.

My DIT cart

DIT cart is the basis for every digital imaging technician.

Assimilate Scratch
Davinci Resolve
Filmlight Daylight
Pomfort Silverstack

Rogue-Fixed1.png

Basic DIT kit

www.pixelhouse.ae

Grading for vevo - Gara Eh for Ahmed Hassan - EGYPT

Color grading S-log in Sony A7s series cameras

The Sony A7s was definitely one of the hottest cameras from 2014, and as it's been in use for several years now, As a colourist, I have had plenty of opportunity to discover how to obtain the best possible image from it.

When shooting in HD internally, there is a growing consensus among A7s users that it's best practice to expose to the right +2 S (ETTR) (that is, exposure should be compensated brighter without clipping highlights).

Here, the video illustrates the effectiveness of exposing to the right two stops and overexposing a shot and making some quick adjustments in a color grading and achieving the best results.

Before/After color grading

Ahmed Hassan - Gara Eh (Official Video)DOP: Mo Ismael
Editor: Emshad Al Haq
Colourist: Sudip Shrestha
Post Production: Pixel House UAE
Universal Music MENA

Pixelhouse Production

Pixel House is based in Dubai and started operations in 2013 with a main focus on producing TV shows and video production projects.

For more information please visit : pixelhouse.ae

Pixelhouse music video production "Sa’at Bansaha" by Magra B

PIXELHOUSE MUSIC PRODUCTION

Pixelhouse production, dubai has recently launched Pixelhouse music to promote local and international music artist, filmmaker and creative talents. Now, Artists and Labels can benefit from our services to promote their music. We work closely with independent musicians and recording companies to develop their multimedia projects.

We can manage the whole production process. Our team can work on a screenplay provided by the Customer. Otherwise, we can write a tailor made script. Our filming crew develops that into high quality video content that really matches the song.

We offers customized solutions to suit different music projects. We can handle a wide range of productions. Our video crew specializes filming singers, musicians, bands, or even orchestras performing. We supply locations, lighting kits, props, actors, and all the personnel and the equipment required to shoot music videos.

We also film live music events, concerts and shows. Our services include live streaming and broadcasting. Pixelhouse productions provides music video production in Abu Dhabi and Dubai, UAE.

Please feel free to contact us for any of our services. For more information please visit www.pixelhouse.ae

Credits :- Singer - MAGRA B Featuring - WALAA TAHA Cinematographer & Colorsit - SUDIP SHRESTHA Editor - EMSHAD AL HAQ 2nd Camera - HASHMI Production Assistant - PRASAD PRIYADARSHANA Camera Assistant - HAKIM LOMALA Art Director - SHRUTI OZA Sylist - SUSANNA OSEYAN Production Manager - AJMAL PM Music Composer - MAGRA B Lyrics - AHMED FARED Music Arranger - FEELO Sound Engineering - OMAR SALAH Song Mastering - JASSEM MOHAMED Recorded at - STUDIO AL WATAN Artistic Production - AHMED AL HARMAWEY

music video produciton dubai.JPG


Best lut for vlogs - DSLR

Click on image to download the luts.

Click on image to download the luts.

These luts for vlogger are perfect to make your footage more cinematic.

This LUT pack will be some base luts to get you a finished look or to a good starting point. It works with  Adobe Premiere Pro CC, Final Cut XDavinci Resolve and Assimilate Scratch.

Disclaimer

  • We have designed a creative lut.
  • It is calibrated for properly exposed and white balanced image in standard camera settings.
  • You will have to manually adjust temperature, tint and exposure if encountered unexpected results.
  • For any DSLR clips shot in Neutral picture settings.
  • Developed using 3dlutcreator.

Color Grading a tv show SADEEM in Pixelhouse

Sadeem is a 30-episode documentary that aims to inform viewers of the successes of humanity in all areas of life and how their efforts have enabled them to uncover some of the mystery of the universe, focusing on the giant step towards Mars, United Arab Emirates.

Color Grading Sadeem TV show

Shot in Sony FS7
Colorist - Sudip Shrestha
PIXELHOUSE PRODUCTIONS, UAE

Colour grading is enhancing the raw image that was shot on film or digital media to present to an audience on different formats. It is the bridge between the camera and the screen. There is a technical translation aspect to it, as well as allowing for a creative side of the process. The cinematographer has a chance here to enhance the image for the audience to enjoy the intended vision of the film or program. Colour grading has replaced the ‘colour timing’ process that was previously done in a film laboratory.

The role of the colourist is to help enhance that image and to be the cinematographer’s ‘hands’ by understanding his vision and making sure the audience will see the program or film in the way the cinematographer intended it be viewed. The colourist has a responsibility to convey the cinematographer’s intent. Obviously we (colourists) give creative input and have the technical know-how to carry out this process.

Color grading for Bahrain media industry from Pixel House

- Colorist : Sudip Shrestha - Pixelhouse.ae

Pixelhouse production, Dubai is providing remote color grading solution for Bahrain Media Industry.

For any sorts of business inquiry please contact dyca@pixelhouse.ae

www.pixelhouse.ae

Download Davinci Resolve 12.5 lite FREE

Davinci Resolve 12.5 FREE DOWNLOAD

LITE VERSION

Blackmagic Design's DaVinci Resolve is a high-end color correction suite replete with an elaborate control surface designed for professional colorists. It costs $30,000.
There's $1,000 software-only version that runs on Mac, Windows and Linux - Davinci Resolve Studio and Free  Davinci Resolve Lite version.

What you miss in Davinci Resolve Lite Version?

Collaborative Team Work
Database Server Option to share database with multiple Resolves.
Remote grading
Edit Sizing
Real time noise reduction
Extended HDR grading controls
Motion Effects palette with noise reduction and motion blur.
Added support for DaVinci Color Transform Language, .dctl
ResolveFX Film Grain - GPU accelerated, 
ResolveFX Lens Flare
ResolveFX Lens Blur
Real Time Timeline Power Mastering
UHD Limit