post-production

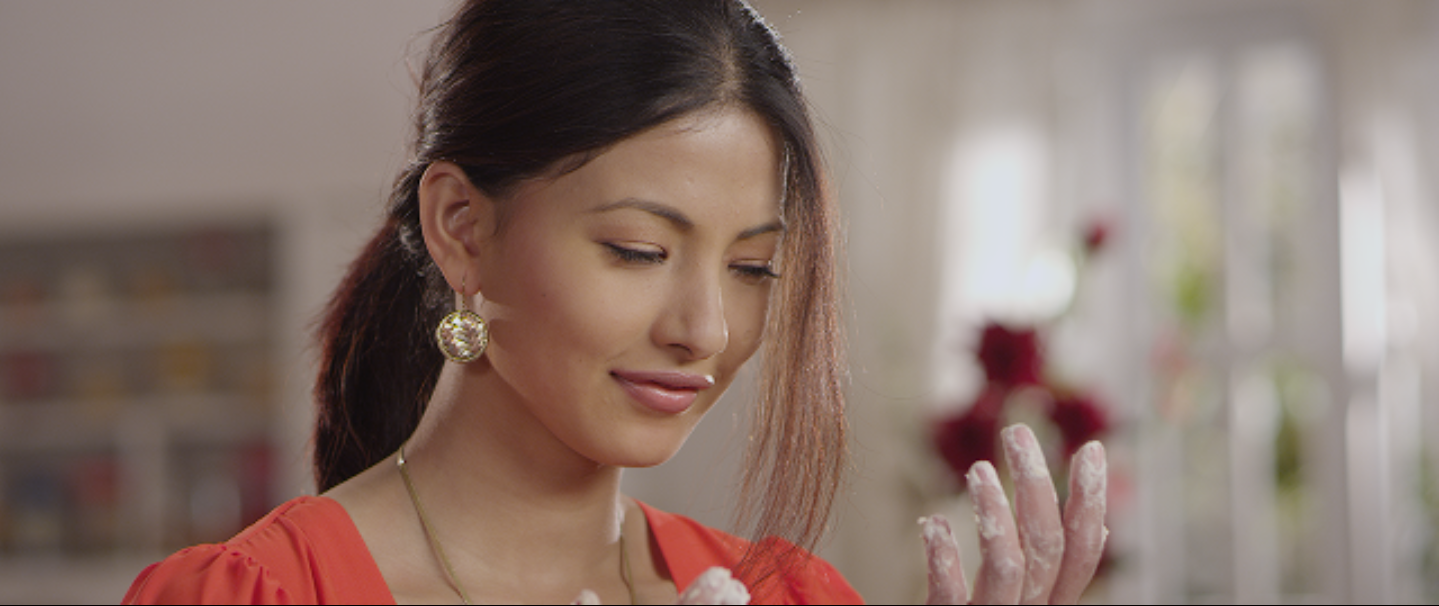
Birdman - Outstanding color grading feature film 2015 (HPA)

The Hollywood Post Alliance (HPA) has unveiled the winners of the 10th Annual HPA Awards this evening at a gala celebration held at the Skirball Cultural Center in Los Angeles.  The HPA Awards recognize individuals and companies for outstanding contributions made in the creation of feature films, television, commercials, and entertainment content enjoyed around the world.

Honors were bestowed in craft categories honoring behind the scenes artistry, Engineering Excellence, and Creativity and Innovation.  Leon D. Silverman, a founder and current president of the HPA, was the recipient of the prestigious HPA Lifetime Achievement Award.

The winners of the 2015 HPA Awards are:

Outstanding Color Grading – Sponsored by Dolby

Outstanding Color Grading – Feature Film

WINNER:
“Birdman” Steven J. Scott // Technicolor

NOMINEES:
“Monsoon” Charles Boileau // Post-Moderne

“Lady of Csejte” Keith Roush // Roush Media

“The Boxtrolls” John Daro // FotoKem

“Whiplash” Natasha Leonnet // Modern VideoFilm

Outstanding Color Grading – Television

WINNER:
“Boardwalk Empire – Golden Days for Boys and Girls” John Crowley // Technicolor PostWorks NY

NOMINEES:
“Game of Thrones – Hardhome” Joe Finley // Chainsaw, Inc.

“Masters of Sex – A Parliament of Owls” Matt Lear // Sony Pictures Television

“Olive Kitteridge – Incoming Tide” Pankaj Bajpai // Encore

“Sense8 – What’s Going On?” Tony Dustin // Technicolor

Outstanding Color Grading – Commercial

WINNER:
Lincoln – “Intro” Tom Poole // Company 3

NOMINEES:
Caterpillar – “Lantern Festival” Rob Sciarratta // Company 3

Dodge – “Wisdom” Beau Leon // Company 3

Lexus – “Face Off” Dave Hussey // Company 3

Toyota – “Harrier” Siggy Ferstl // Company 3

Online color test challenge -Xrite

How well do you see color?

FACT: 1 out of 255 women and 1 out of 12 men have some form of color vision deficiency. Take the online color challenge, based on the Farnsworth Munsell 100 Hue .

Regardless of your color vision score, your ability to see color accurately depends on many factors.

  • Lighting: Light plays a significant role in color perception. It's actually the color of the light that determines the color your brain will perceive. Examine samples side-by-side when comparing colors, preferably under controlled lighting conditions.
  • Backgrounds Effects: A phenomenon called simultaneous contrast means that the background upon which we’re evaluating color strongly affects our eye's ability to correctly perceive the color.
  • Retinal Fatigue: Our eyes get tired very easily. When we stare at an object for longer than a few seconds, chemicals in our eyes start to deplete and begin sending incorrect information to our brains.
  • Poor Color Memory: Our brains find it extremely difficult to remember the specifics of any given color. Even looking at two colors across the room from each other to see if they match is a challenge.
  • Age: As we get older, color perception starts to fade. However, color perception isn’t just innate; it's also a learned skill.
  • Accept the color test challenge. Click Here.

Shooting in Dubai Guidelines and Faqs

Shoot Music video, film, corporate video – The Right Way.


If you’re shooting in Dubai, the first thing to consider is filming permission. If you want to film in a public place you must have official permission from the Dubai Film and Television Commission (DFTC).


Only companies registered in Dubai Media City (DMC) or Dubai Studio City DSC) can apply for permission from the DFTC. If yours is not such a company, you have to engage a qualified company to do this. One issue with the permission is cost. If you’re shooting for a corporate video or a television show you are most likely not used to having to pay an application fee of US $220 (800 dirhams) plus an additional US $550 (2,000 dhs) per day of filming in a public place.


Plus whatever administration fee the company applying for the permission on your behalf might charge. A good way to reduce this cost is to do all your public location shooting on particular days so you limit the daily charge. The steps to getting filming permission are:


The steps to getting filming permission are:


 1. Find a company registered in Dubai Media or Studio City that will apply for the permission on your behalf. Most companies will not do this unless they have crew on the job. The reason for this is that if anything happens during the shoot that upsets the authorities, the company that secured the permission could risk having their trade license revoked.
 
2. The company making the application should send you a list of all information they will need. This includes passport scans for everyone coming to Dubai for the shoot and a no objection letter confirming you are happy for the company to apply for the permission on your behalf.
 
3. Once the company making the application submits the information and passport scans you provide along with the required application documents you have to wait until the DFTC completes the process. The DFTC will contact other government bodies such as the police and the municipality before granting filming permission. Waiting to hear back from these authorities can sometimes delay things. The company submitting the application should follow up daily after three working days.
 
4. Once approved, the DFTC will notify the applying company and let them know the permission, an A4 document you must carry with you when filming, is ready for collection. If an application is rejected, it is unlikely you will be told why. Generally applications are approved.


If you want to do a shoot in UAE, plan in advance - and if you want to shoot in public places, allow time to get filming permission - at least five working days. Remember you will need a Dubai Media City or Dubai Studio City company to secure the permission on your behalf and most of these companies will not apply for the permission unless they have someone on location when you shoot.

Shoot permission requirements for UAE?


1.Passport copies of all crew.(Clear color scans.)

2.Letter from you to us and we will add a letter from us to the authorites on letterhead with stamp.Here’s a template of your letter.

To who’m it may concern,…………… are working with film production company ­­­­­­­­­…….............................  with a media licence to film in the UAE on a TV commercial shoot for ……………We will be filming at the following locations in Dubai(or name the emirates) and would like to have permission to shoot from Date………………. to Date………………..

List of all locations  and list of all crew.

The script and storyboard is attached and we naturally promise to abide by the rules regulations and morals of the United Arab Emirates.We appreciate your kind corporation in this matter.

With regards.(Sign and stamp on letterhead).

3.Treatment and simple storyboard.

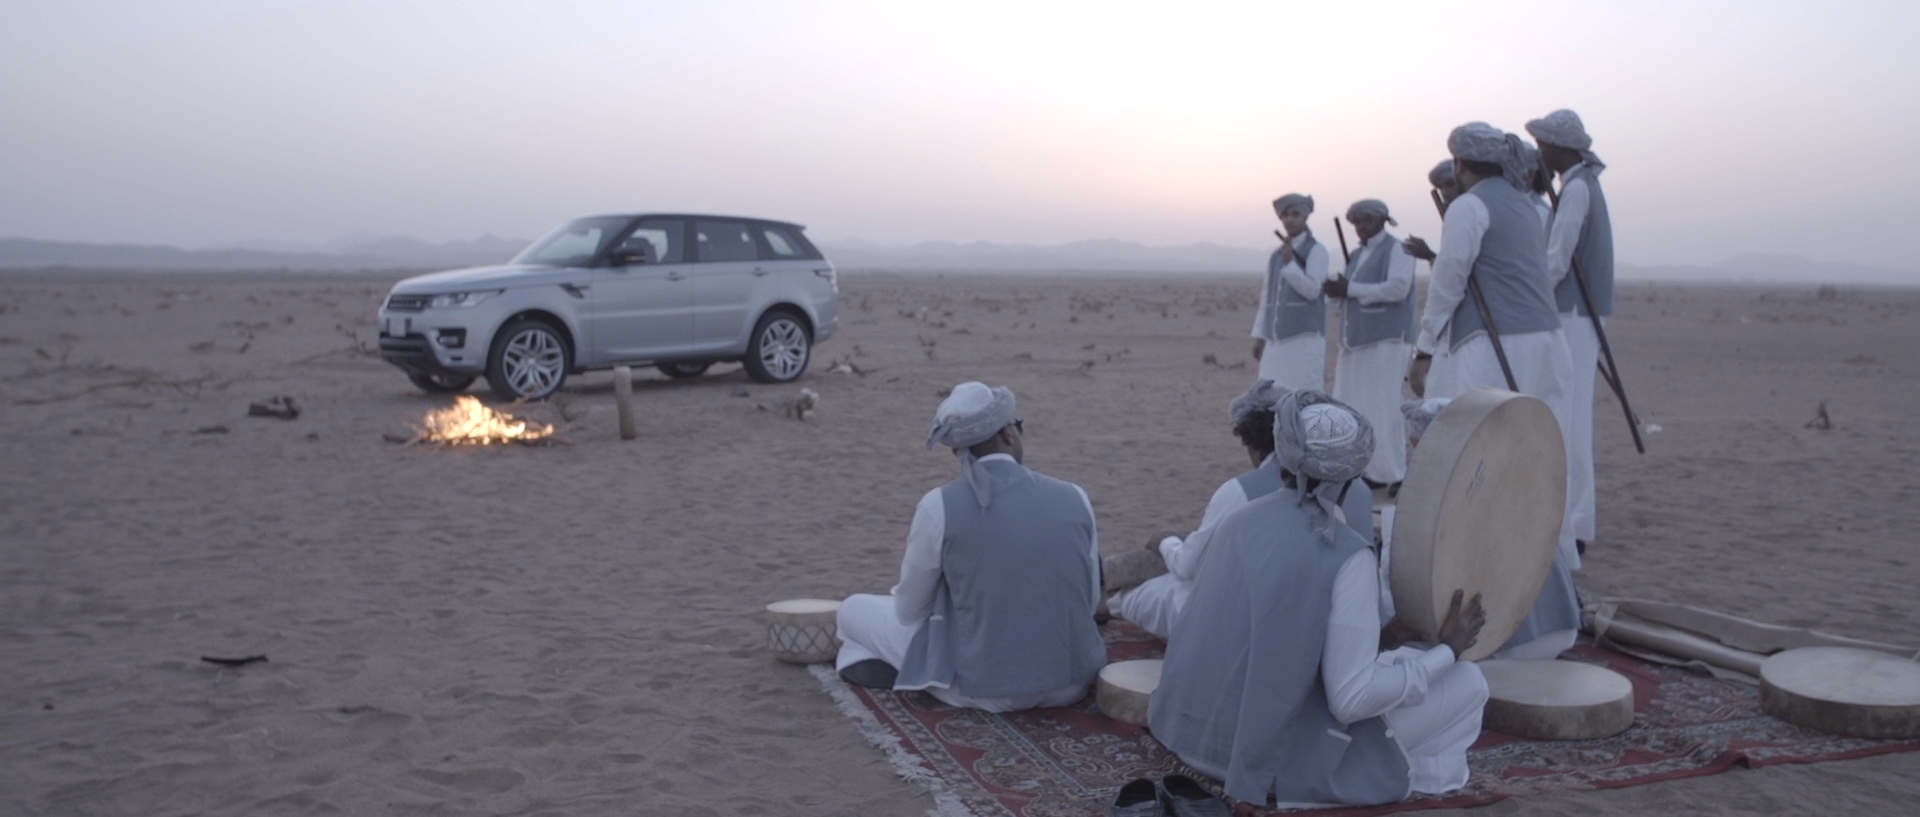
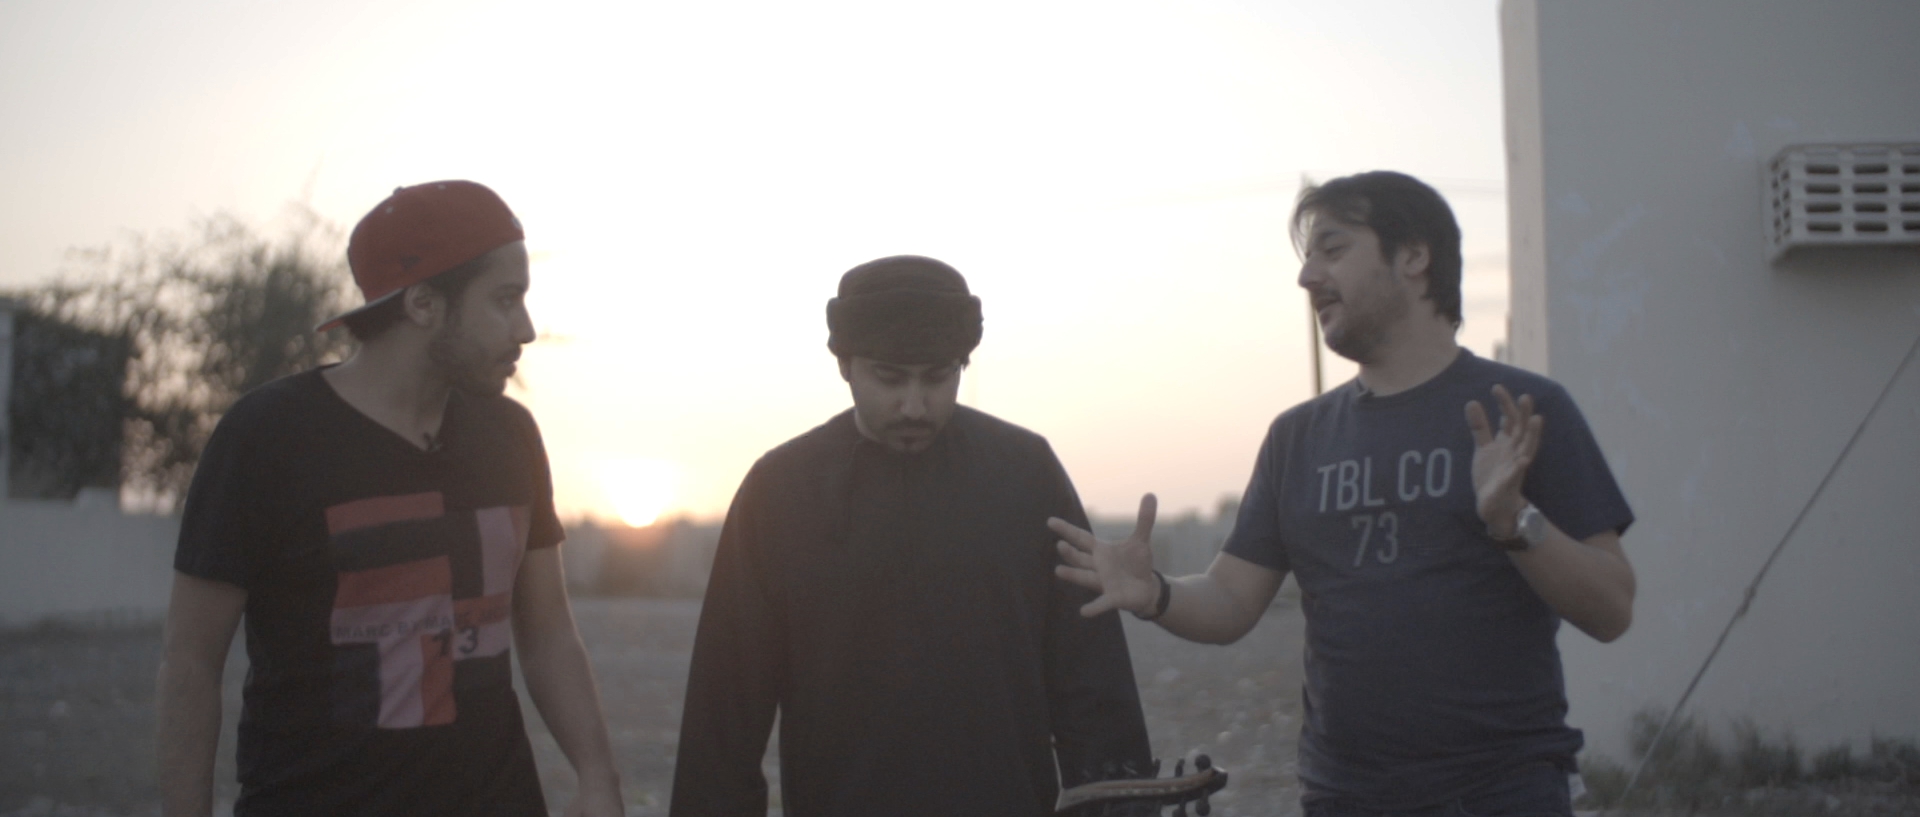
Color Grading - SAHARA AL ARAB - MY LAND.MY MUSIC


MYLAND. MYMUSIC. - 'Sahara Al Arab' is the outcome of unique collaboration between Land Rover and Sony Music Entertainment

This collective recognises and celebrates the rich musical tapestry of Arabia. It all started with a musical journey, discovering and documenting the musicians and sounds of the region’s varied communities and landscapes. The final soundtrack is composed of words, music and ambient notes from five countries across the Middle East & North Africa region.

Colorist - Sudip Shrestha | Shot in Sony fs700.

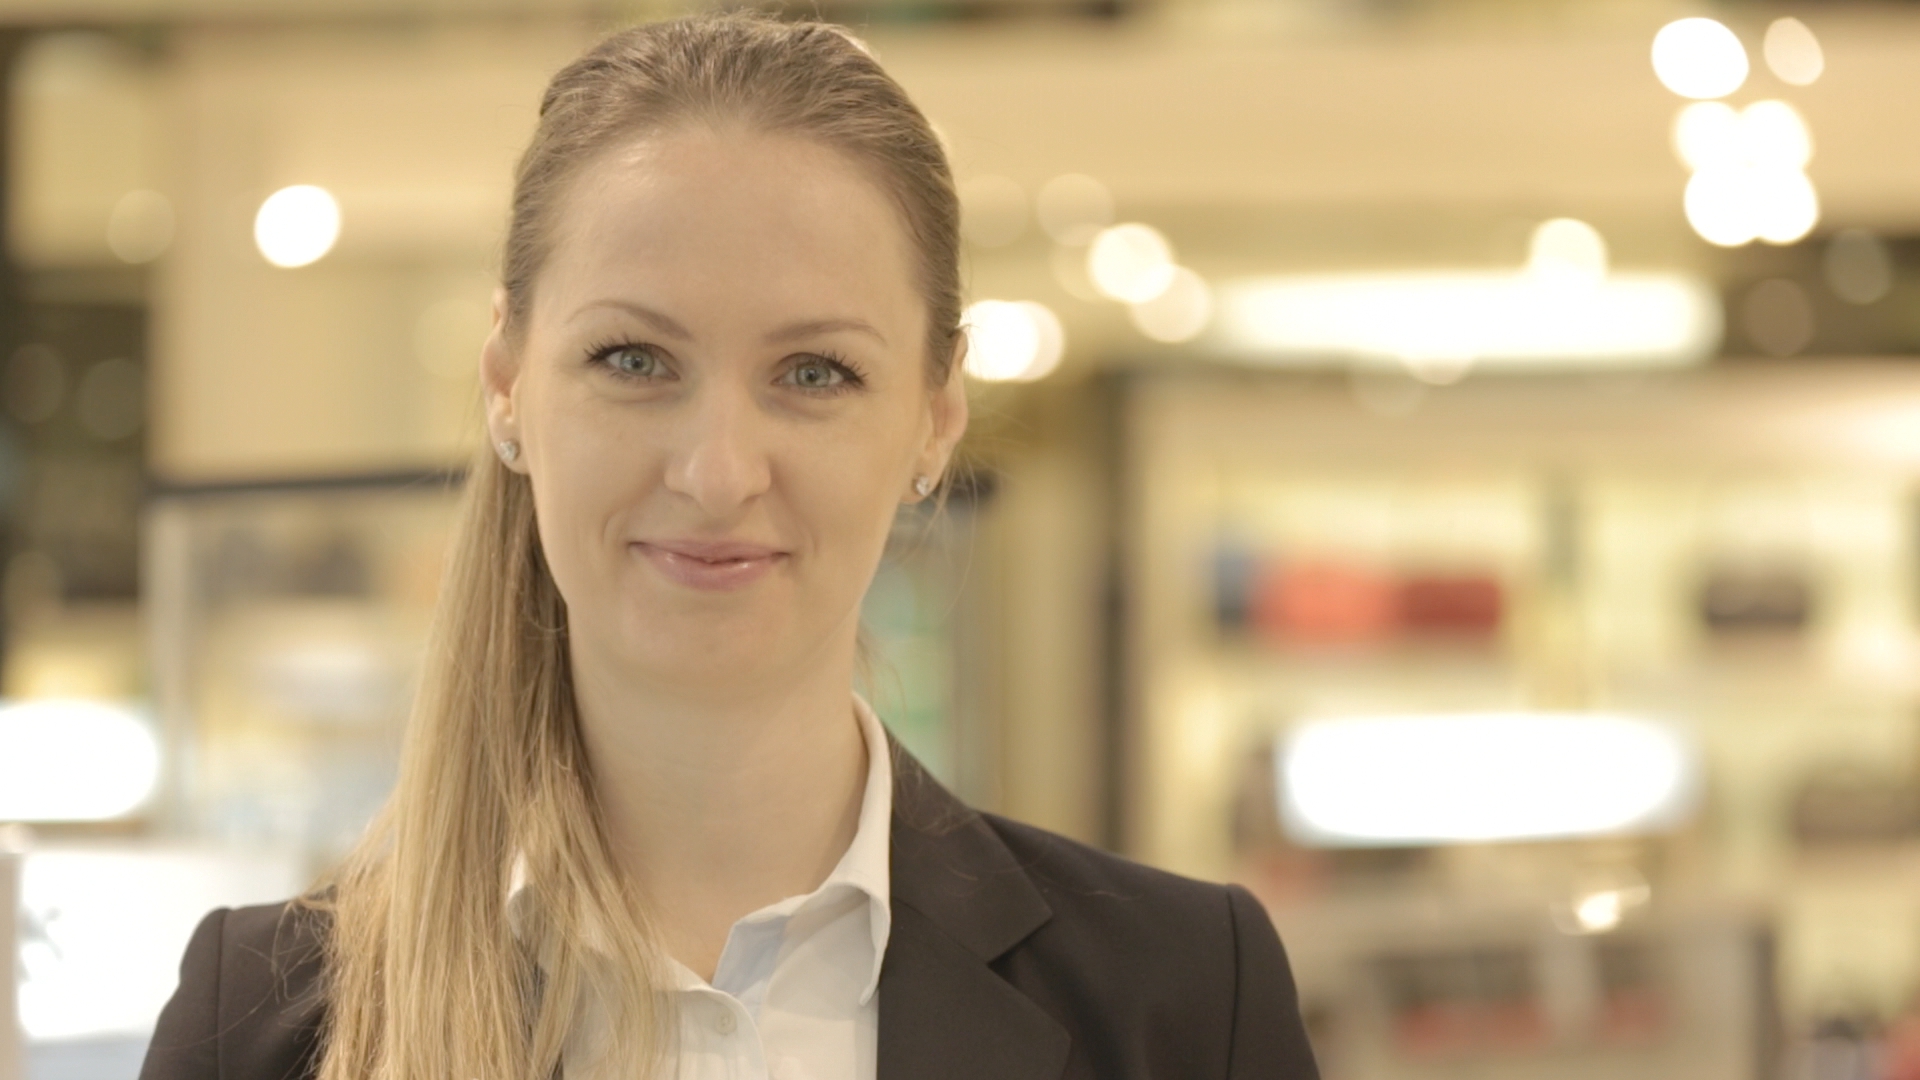
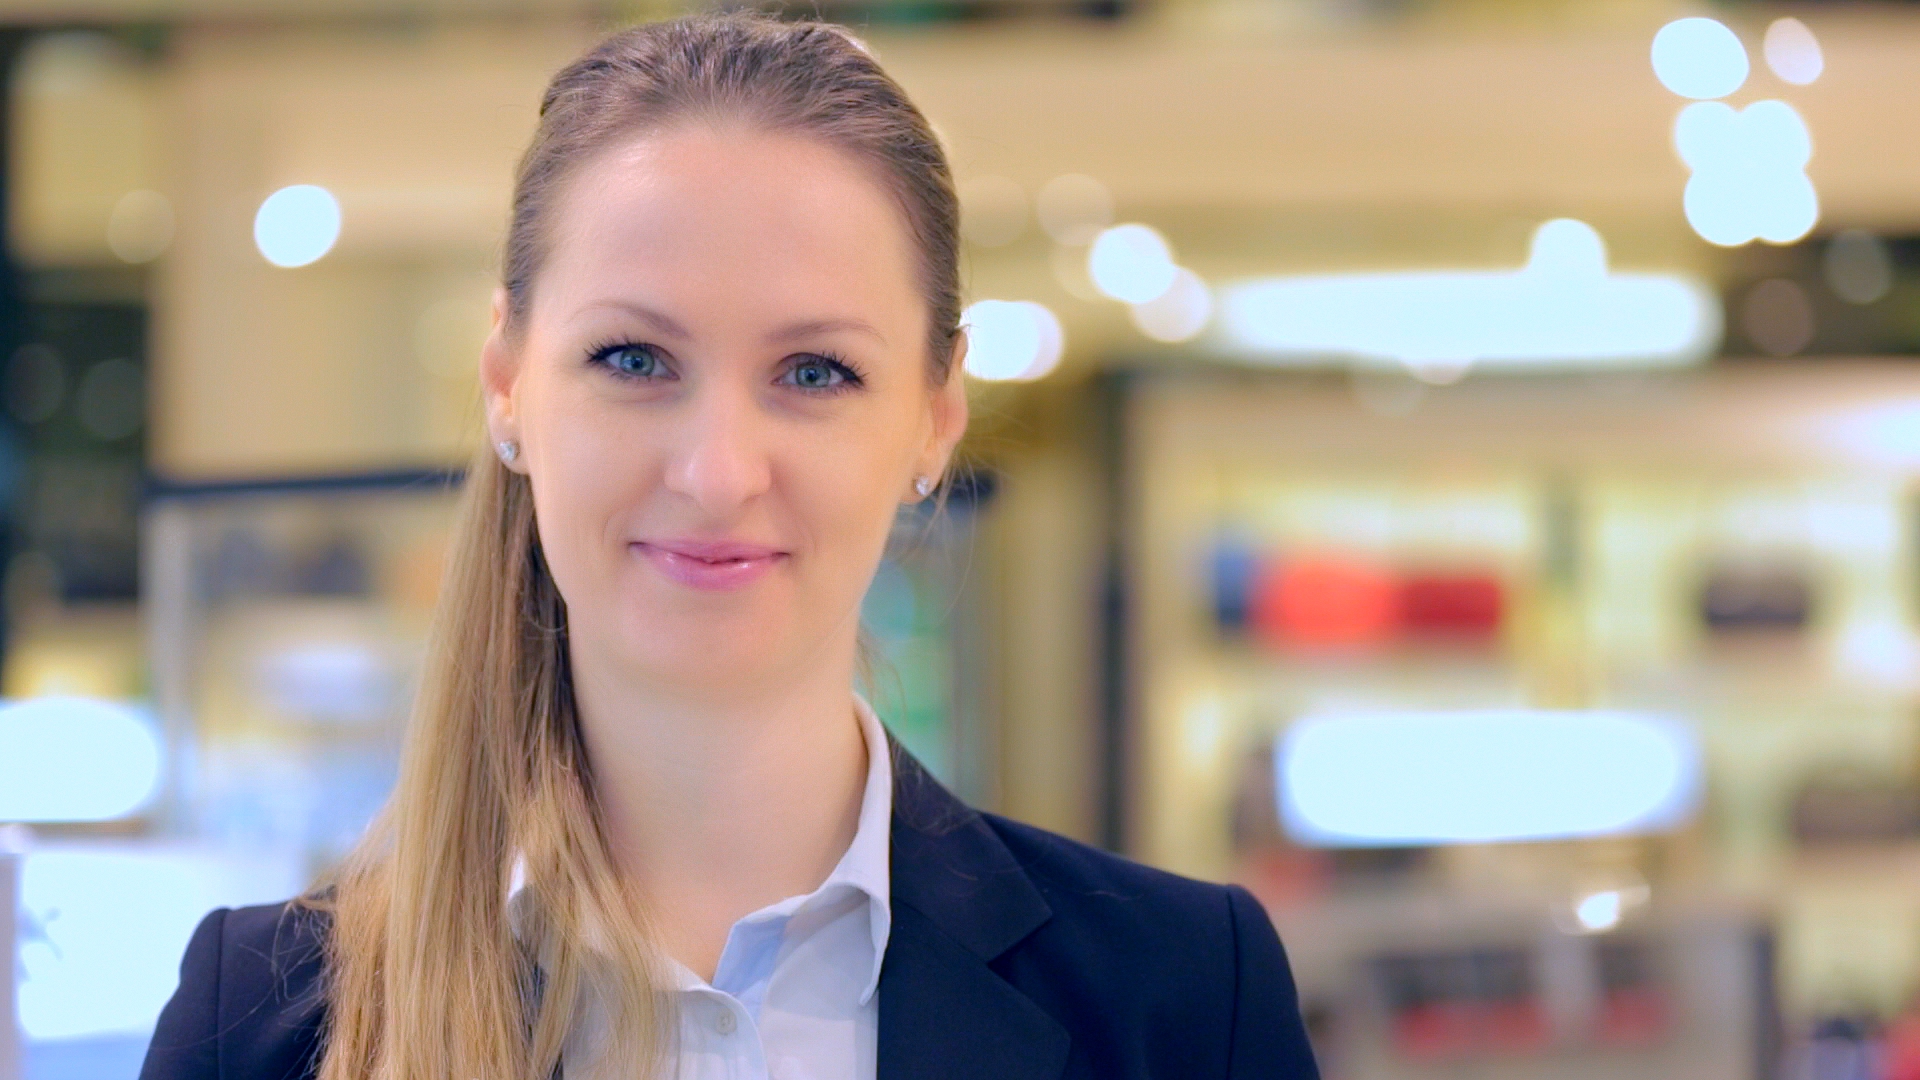
How to match your camera colors accurate? Use Color Checker

ColorChecker Passport Video is a powerful ‘capture to edit’ color solution for any filmmaker looking to save time, providing a consistent and predictable neutral starting point so you can get to your look faster than ever before. Take it with you on every video shoot – either indoor or outdoor. It will quickly become your go-to color tool during pre-production, capture and edit.

The X-Rite ColorChecker Passport Video will get you to a worry-free, color balanced and consistently neutral place, with ideal camera exposure, faster than ever before. This essential color chart will enable you to get a better camera-to-camera match, achieve perfect exposure and easily shoot and edit for mixed lighting in a convenient portable protective case. The ColorChecker Passport Video will help to reduce your video editing time, allowing you to get to your creative look faster. 

For more info : X-Rite

Free eBooks on Color Grading & Color Science

If you’re an apprentice colorist looking to deepen your understanding of the art, craft and science of color grading then these books will provide you with an excellent place to start.

Alexis Van Hurkman – Color Correction Handbook, 2nd Edition

If you’re looking for a one-stop comprehensive education on all things involved in color grading from setting up your suite to understanding your color management workflow as well as the technically creative aspects of bringing a film to life, you really can’t do better than Alexis Van Hurkman’s Color Correction Handbook.

Click on the image to open the book.

Click on the image to open the book.


Alexis Van Hurkman – Look Book Creative Grading Techniques

his brand new book from colorist Alexis Van Hurkman focuses entirely on the creative aspects of color grading by walking through numerous Looks and Creative Grading Techniques such as undertones, bleach by pass, day-for-night, monochrome, duo and tritones and many many more.

cc2.jpg

Steve Hullfish – The Art & Technique of Digital Color Correction

The only guide to the art and technique of color correction based on the invaluable knowledge of more than a dozen of the top colorists in the world. This book allows you unprecedented access to the way the masters of the craft approach their work.”


Color & Mastering For Digital Cinema

Glenn is currently the CEO of ARRI, having served on many of the industry’s premiere technical boards including the SMPTE, so his technical credits are extensive.

First published in 2006, quite a fair few technical advances have been made in the industry but I include it in this list as it is one of the few books available on colour theory and science as related to digital cinema.cc


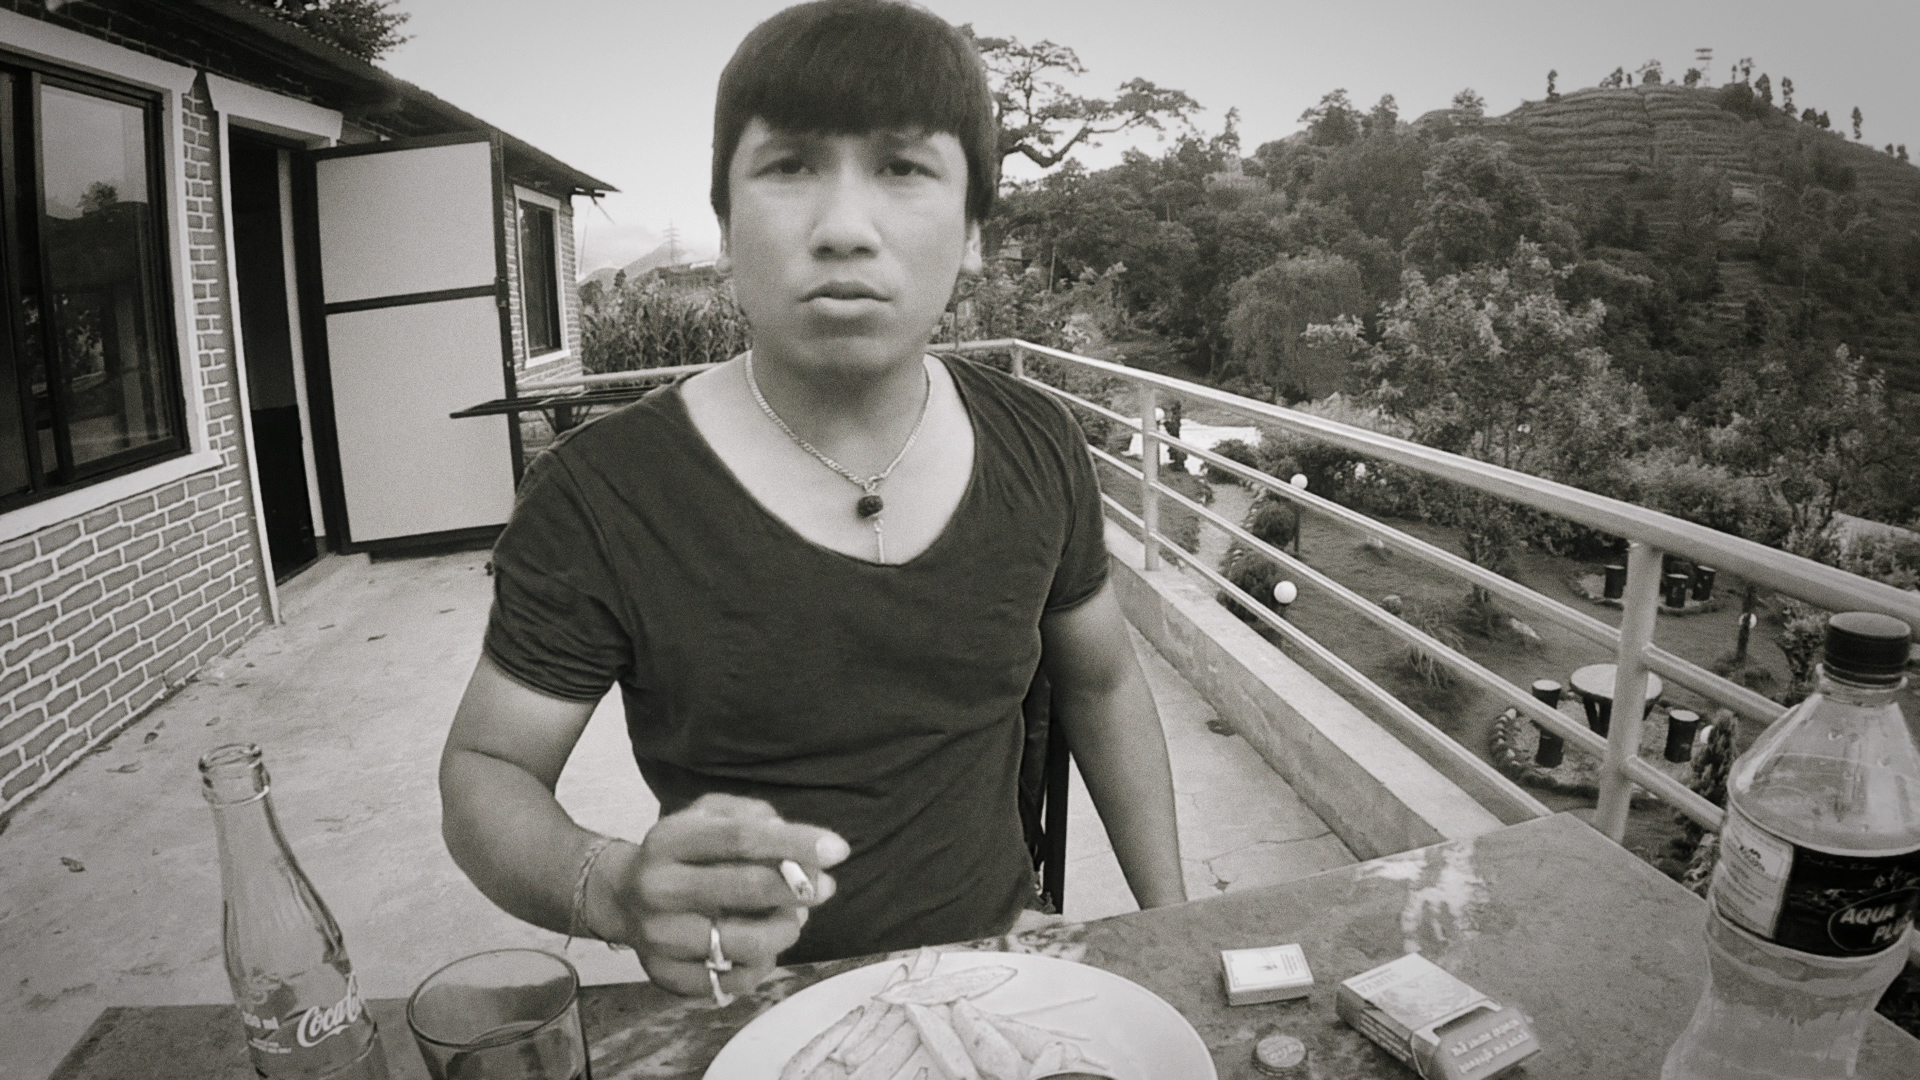
Nepal's first Point Of View - Cinematography film "FACEBOOK TODAY"

Nepal's first person point of view - Cinematography Style short film "Facebook Today" is ready for festival release. Film was shot in 2014 in Nepal and based in real incidents happened due to social networking sites.

Film Title : Facebook Today
Length : 7 min 30 sec
Director : Sudip Shrestha
Executive Producer : Hari Bhusal
Editor : Nimesh Shrestha
Audio : Rav Singh
Actors : Sarwapratik Shrestha, Anjala Nakarmi, Rajendra Mokta
Writer : Sarwapratik Shrestha
Production : Anup Shrestha

Why Shoot in LOG or FLAT?

Shooting flat is a great tool in the cinematographers tool box and with the right equipment can bring great benefits in post production flexibility. Most of the modern large sensor cameras with their low noise sensors and ability to record to high end 10 bit codecs either internally or externally are excellent tools for shooting flat. But small sensor cameras with their higher noise levels do not make the best candidates for shooting flat. In many cases a better result will be obtained by creating your desired look in camera. Or at least getting close to the desired look in camera and then just tweaking and fine tuning the look in post.

Redlogfilm

Redlogfilm

Shooting flat has become a fashionable way to shoot and many individuals and companies have released camera settings said to provide the flattest images or to maximise the camera dynamic range. Don’t get me wrong, I’m not saying that shooting flat is necessarily wrong or that you shouldn’t shoot flat, but you do need to understand the compromises that can result from shooting flat.

First of all what is meant by shooting flat? The term comes from the fact that images shot flat look, err, well…. flat when viewed on a standard TV or monitor. They have low contrast and may often look milky or washed out. Why is this? Well most TV’s and monitors only have a contrast range that is the equivalent of about 6 stops. (Even a state of the art OLED monitor only has a range of about 10 to 11 stops). The whole way we broadcast and distribute video is based on this 6 stop range. The majority of HD TV’s and monitors use a gamma curve based on REC-709, which also only has a 6 to 7 stop range. Our own visual system has a dynamic range of up to 20 stops (there is a lot of debate over exactly how big the range really is and in bright light our dynamic range drops significantly). So we can see a bigger range than most TV’s can show, so we can see bright clouds in the sky as well as deep shadows while a TV would struggle to show the same scene.

A point to remember here: A TV or monitor has a limited brightness range. It can only ever display at it’s maximum brightness and best darkness. Trying to drive it harder with a bigger signal will not make it any brighter.

Feed the monitor with an image with a 6 stop range and a Rec-709 signal and the monitor will be showing it’s blackest blacks and it’s brightest whites.

But what happens if we simply feed a 6 stop monitor with an 11 stop image? Well it can’t produce a brighter picture so the brightest parts of the displayed scene are no brighter and the darker, no darker so the image you see appears to have the same brightness range but with less contrast as 11 stops are being squeezed into a 6 stop brightness range, it starts to look flat and un-interesting. The bigger the dynamic range you try to show on your 6 stop monitor, the flatter the image will look. Clearly this is undesirable for direct TV broadcasting etc. So what is normally done is to map the first 5  stops from the camera more or less directly to the first 5 stops of the display so that the all important shadows and mid-tones have natural looking contrast. Then take the brighter extended range of the camera, which may be 3 or 4 stops and map those into the remaining 1 or 2 stops of the monitor. This is a form of compression. In most cases we don’t notice it as it is only effecting highlights and our own visual system tends to concentrate on shadows and mid-tones while largely ignoring highlights. This compression is achieved using techniques such as knee compression and is one of the things that gives video it’s distinctive electronic look.

A slightly different approach to just compressing the highlights is to compress much more of the cameras output. Gamma curves like Sony’s cinegammas or hypergammas use compression that gets progressively more aggressive as you go up the exposure range. This allows even greater dynamic ranges to be captured at the expense of a slight lack of contrast in the viewed image. Taking things to the maximum we have gamma curves that use log based compression where each brighter stop is in effect compressed twice as much as the previous one. Log gamma curves like S-Log or Log-C are capable of capturing massive dynamic ranges of anywhere up to 14 stops. View these log compressed images back on your conventional TV or monitor and because even the mid range is highly compressed  they will look very low contrast and very flat indeed.

Note: Log gamma does not actually increase compression, in fact it allocates exactly the sane amount of data to every stop of exposure. However it must be remembered that for every stop you go up in exposure the brightness of the scene becomes 2 times brighter. So to record the scene accurately you should use twice as much data for every stop you add. But Log does not do this, it just adds a small amount of extra data. Thus in effect RELATIVE TO THE BRIGHTNESS RANGE OF THE SCENE the amount of data is halved for each stop you go up in exposure.

So, if you have followed this article so far you should understand that we can capture a greater dynamic range than most monitors can display, but when doing so the image looks un-interesting and flat.

So, if the images look bad, why do it? The benefits of capturing a big dynamic range are that highlights are less likely to look over exposed and  your final image contrast can be adjusted in post production. These are the reasons why it is seen as desirable to shoot flat.

But there are several catches. One is that the amount of image noise that the camera produces will limit how far you can manipulate your image in post production. The codec that you use to record your pictures may also limit how much you can manipulate your image due to compression artefacts such as banding or blocking. Another is that it is quite easy to create a camera profile or setup that produces a flat looking image, for example by artificially raising the shadows, that superficially looks like a flat, high dynamic range image, but doesn’t actually provide a greater dynamic range, all that’s happened is that shadows have been made brighter but no extra dynamic range has actually been gained.

Of course there are different degrees of flat. There is super flat log style shooting as well as intermediate flat-ish cinegamma or hypergamma shooting. But it if you are going to shoot flat it is vital that the recorded image coming from the camera will stand up to the kind of post production manipulation you wish to apply to it. This is especially important when using highly compressed codecs.


Redgamma 3

Redgamma 3

When you use a high compression codec it adds noise to the image, this is in addition to any sensor noise etc. If you create a look in camera, the additional compression noise is added after the look has been created. As the look has been set, the compression noise is not really going to change as you won’t be making big changes to the image. But if you shoot flat, when you start manipulating the image the compression noise gets pushed, shoved and stretched, this can lead to degradation of the image compared to creating the look in camera. In addition you need more data to record a bigger dynamic range, so a very flat (wide dynamic range) image may be pushing the codec very hard resulting in even more compression noise and artefacts.
So if you do want to shoot flat you need a camera with very low noise. You also need a robust codec, preferably 10 bit (10 bit has more data levels than 8 bit so contains more tonal information) and you need to ensure that the camera setup or gamma is truly capturing a greater dynamic range, otherwise your really wasting your time.

X-Rite ColorMunki Smile - Cheapest Monitor Calibration

We've all been there, looking at our pictures on the computer, wondering why they don't look the same as we remember them. Maybe all the colors look a little off, or only one or two. It just shouldn't be this way! With X-Rite ColorMunki Smile it doesn't have to.

ColorMunki Smile is the perfect tool for the photo hobbyist, like the family photographer, scrap booker, or designer. You'll even appreciate the difference when you're gaming or viewing images on line. Really it's for just about any enthusiast that …

ColorMunki Smile is the perfect tool for the photo hobbyist, like the family photographer, scrap booker, or designer. You'll even appreciate the difference when you're gaming or viewing images on line. Really it's for just about any enthusiast that wants to know the color on their monitor is correct.

Price US $ 89.00

The X-Rite ColorMunki Smile Color Calibration Solution is a simple calibration tool to help ensure your laptop or desktop monitors are consistent and displaying proper color values. This calibration solution can be used with just one LCD or LED monitor or on several to maintain accuracy from monitor to monitor. Once the colorimeter has been placed over the desired monitor, operation and calibration is handled through an intuitive wizard-driven software program that utilizes the same color engine technology found in professional-level X-Rite color calibration solutions. Once calibrated, a before and after image can instantly show you comparative results.

A calibration reminder will also automatically notify you as to when it is time to re-calibrate displays, helping you to consistently maintain color accuracy across all of your monitors.

  • Helps to ascertain proper color accuracy and consistency on one or several monitors.
  • Straight-forward, simple software requires no color science knowledge.
  • Automatic reminders notify you when it is time to re-calibrate your monitors.
  • Simple online help videos provide troubleshooting assistance and eliminate the need to refer to other manual.

AUTO DCP - Try AUTODCP for free

Drop Apple ProRes or other video files into your Dropbox folder and automatically create DCPs!

Auto DCP - Interesting service for editors who needs to create Digital Cinema Package for worldwide distribution.

After you install the application, a special AutoDCP folder appears beneath the Apps folder within your Dropbox folder.  This folder can be managed and shared just like any other Dropbox folder.  And AutoDCP works anywhere Dropbox works including Mac, PC and Linux platforms.

Simply drag your video files (such as Apple ProRes files) into the AutoDCP folder and the application makes DCPs automatically!

TRY IT NOW.


The Cheapest Color Grading Panel OXYGEN PRO PANEL $800

Strong oxygen Oxygentec ProPanel MK II officially certified toner Taiwan 

A control surface is an essential piece of gear for professional color correction.

The new OxyenTec ProPanel's relatively straightforward interface accompanies the most critical elements for a control surface: the triple rings and dials for controlling shadows, midtones, and highlights. 

t just around $800, OxygenTec's board is most likely a less expensive distinct option for the JL Cooper Eclipse, the Avid Artist Color, the Tangent Element and even the more established Tangent Wave model. 

The DaVinci control surface maps a considerable lot of Resolve's capacities to devoted catches and handles, making reviewing a breeze. Be that as it may, its weighty sticker is out of scope for some. Fortunately, outsider surfaces from Tangent, JL Cooper,Avid and newcomer OxygenTec outfit a significant part of the DaVinci board at a small amount of the expense. With less catches and dials, you'll be looking through menus to discover the parameter to change, a long way from a major issue to numerous. 

The ProPanel is accessible now and incorporates locally with DaVinci Resolve, joining by means of USB. Beside the primary dials and trackballs, a few catches line the highest point of the control surface. From left to right, you have charges for

  • Undo
  • Redo
  • Grab Still
  • Play Still
  • Previous Node
  • Next Node
  • Start Dynamic
  • Mark for Keyframing
  • Base Memory (resets just the node you’re on)

No matter which model you choose, a control surface is an essential aspect of getting any job graded and delivered on time. 

Icolorsit Video Review

Davinci Resolve 12 - Beta Released

The latest version of Blackmagic's  Davinci Resolve 12, has arrived.

Davinci Resolve 12 - Beta version - Color Interface

Davinci Resolve 12 - Beta version - Color Interface

It has become so much more over the last few years, and in version 12, it's now a full-fledged non-linear editor. The free version is known as DaVinci Resolve 12 and paid version DaVinci Resolve 12 Studio.

They are essentially still the same products, and the free version still has the same limitations. With the nearly $1,000 Resolve 12 Studio (which is a free upgrade for previous owners of Resolve), you'll get support for multiple GPUs, 4K output, motion blur effects, temporal and spatial noise reduction, 3D tools, and remote and multi user collaboration tools. 

Whats New?

  • Enhanced 3D Tracker 
  • Brand New 3D Keyer for Color Correction and Compositing
  • Slick New Interface that's Cleaner, Easier on the Eyes
  • Multicam Editing with a Host of Sync Options
  • Improved Trimming including Advanced Simultaneous Multi-Track Trimming
  • Nesting Timelines for Working on Large Projects with Multiple Complex Timelines
  • On-Screen Controls for Manipulating and Animating Motion paths of Graphics
  • Highly Customizable Transitions Using Curves Editor with Bezier Handles
  • Real Time Audio Mixing by Recording Fader Moves
  • VST and Audio Unit Plugins for Full Control of Audio
  • Export to Avid Pro Tools for Professional Audio Mix
  • Improved Media Management and Bins
  • Download Davinci Resolve 12 - free version.

GRADING SHOT IN RED - LOG VS LINEAR OVERVIEW

REDlogFilm and REDgamma are options in REDCINE-X® that affect how digital values are translated into visible tones. This article delves into how these and other gamma settings work, along with how they can be used to simplify post-production—regardless of whether this is with quick dailies or manually-graded feature films.

REDGAMMA3

REDGAMMA3

Use RED GAMMA - For Instant Results

With RED®, the gamma setting may also be comprised of other tonal curves. To give images the more pleasing and familiar toe and shoulder characteristics of film tones, REDgamma and similar settings are the net result of both a standard log curve and a contrast curve:
The contrast curve causes shadows and highlights to more pleasingly roll off into black and white, respectively, and improves contrast and color saturation within the more visually important mid-tones. Images will also appear to “pop” since they will seem more three-dimensional:

REDgamma4 is therefore a good starting point and typically requires the least color grading. It is therefore an ideal solution when needing a quick turnaround time with dailies and other demo footage.

On the other hand, a contrast curve is more subjective than the standard log curve. Just as each film stock had its own characteristic look, a given camera model, software package or production company can all have different styles. A given look may also depend on the output medium, creative choices and scene content. As a result, such looks can complicate post-production if applied prior to grading or visual effects by third parties. If these considerations are important, there’s another option . . .

REDLOGFILM

REDLOGFILM


Use REDLOGFILM - For Fully Manual Grading

REDlogFilm provides a more standardized starting point for manual grading because it only includes a traditional log curve. The particular curve replicates the well-supported response of Cineon film scans, which ensures predictable results with custom LUTs and other post-production software. REDlogFilm can also be easily translated back into linear when visual effects, image compositing and color matrix transformations are needed.

A typical REDlogFilm workflow therefore includes first converting the linear REDCODE® RAW (R3D®) file into one of several standard digital intermediate formats, using REDCINE-X PRO® or other software packages. Then, the output can be shared with post-production houses and all other third parties familiar with the Cineon specification. The final result incorporates a fully customized color grading that utilizes gamma-encoding:

However, REDlogFilm images will initially appear flat, with lighter and noisier shadows, along with darker and more abrupt highlights. Tones retain the full dynamic range and are not actually any noisier though—they are just being displayed differently. REDlogFilm is also not designed for visualizing exposure in-camera.

One should therefore only use REDlogFilm when files are expected to undergo substantial grading afterwards. This may require an experienced colorist and post-production team in order to get results that meet or surpass what can be achieved straight from the camera with REDgamma4. However, for teams that are familiar with grading log film scans, REDlogFilm is designed to be faster and simpler.

In practice, gamma can be specified both in-camera and from within REDCINE-X. In either case, the setting is embedded as metadata and does not affect the recorded data until the R3D file gets converted into another format. If newer gamma curves are released, these R3D files can therefore be re-developed using the most recent color science.

Regardless, options are available for either common post-production route. With dailies, stills and personal projects, or when capture to post-production is handled in-house, REDgamma4 gives the simplicity and speed of a mainstream DSLR camera. With coordinated projects involving visual effects and third party post-production, or when libraries of custom LUTs have been developed using the Cineon standard, REDlogFilm gives the familiarity of scanned film—but with full digital flexibility.


.

Get Inspired : Adobe Color CC with Lumetri Color Tool

ADOBE COLOR CC

Adobe Color CC is a very helpful tool for artists and designers that allows them to capture five colors through whatever is being viewed through their iOS device’s camera. And, it works flawlessly.

What makes Adobe Color CC so incredibly useful for creative types is that it’s so simple to use — simply point your camera and snap a photo. You’re then given an accurate color palate, including HEX codes and RGBS numbers to import into your preferred program (which is likely Adobe Photoshop if you’re reading this). After you’ve taken a photo, you’re then able to name your color theme for later use. The color theme is automatically added to your Creative Cloud library, allowing easy integration with Photoshop and Illustrator. The theme is also automatically synced to the Color service, which also allows you to use it in Photoshop and Illustrator, as well as InDesign and Adobe’s other mobile apps like Illustrator Draw.

Even though Adobe Color CC generally captures the exact color of an object, you’re able to bring the color into an interactive color wheel to allow you to edit and refine your color theme to exactly how you want it. Colors can also be shared, tagged and commented on through email, Facebook and Twitter, as well as other users of the Adobe Color CC.

Adobe Color CC is a simple but intuitive tool, and an absolutely necessary iOS app for illustrators and designers. Being able to not only grasp a color from the real-world, make it digital, and then edit the color as necessary is quite a useful thing to be able to do. Head over to theApp Store to download this gem for free.

Learn How it Works- Adobe Color CC?

LUMETRI COLOR TOOL

A true color correction panel into Adobe Premiere Pro is the best thing the application has seen in years. 

The Lumetri color panel brings simplicity and ease of use via Photoshop/Lightroom-like tools to an application that was extremely challenging to do color work with before.

Pros:

  • Super simple interface
  • Multiple panels that work depending on how you like to adjust color
  • Linked with Adobe Hue
  • Built-in LUTs that allow you to immediately play with color grades
  • The Color Wheel pane is designed very intelligently, and should reduce the chances of “over-cooking” a scene
  • Sharpen option works really well

Cons:

  • The built-in LUTs are only ok, nothing jaw dropping
  • Renders after utilizing the color panel can take a while to process.

Learn How to use Lumetri?

KING OF CREATIVE DI - ASSIMILATE SCRATCH 8.3

Experience the highest levels of creative DI with SCRATCH®. Feel the speed of real-time for ultimate productivity.

THE NEW UPDATE 8.3 features :

Full resolution support for RED, ARRI, Sony, Canon, Panasonic, DLSR and all other popular camera and media formats

Real-time full resolution, native playback of all popular camera formats

  • Fully ACES compliant
  • Oculus Rift VR360 file format including Cylindrical, Equi-rectangular, and Cube formats, for output to a secondary monitor, or an Oculus Rift DKI or DKII
  • REDCODE RAW.r3d including monochrome footage. Support for multiple RED Rocket cards with DRX control
  • RED Dragon
  • ARRIRAW including new ASSIMILATE customARRI fast Debayer – built for significant speed while still preserving color accuracy
  • Sony F5/F55/F65 including 6K and 8K
  • SONY Mpeg-2 .mp4, .mov and XAVC HD/4K .mxf
  • Phantom
  • SI2K
  • Panasonic RAW, P2/MXF and AVCHD
  • Canon C500, C300, Magic Lantern (.raw and .mlv), 5D, 7D5D, 7D
  • Blackmagic Design Cinema DNG, BMDPocket camera
  • Vanguard Video H.264 encoding (Mac and Windows)
  • Aaton Penelope
  • Ikonoscop
  • GoPro
  • QuickTime
  • DPX
  • Over 50 additional formats

    Powerful finishing tools

  • Shot Versioning: SCRATCH CONstruct manage multiple versions of the same 2D or 3D shots within the same timeline for easy comparison
  • Vector paint
  • Subtitling support
  • Apply OFX plug-ins to create a wide range of visual effects
  • Direct Output: Real-time tools for frame-rate conversion, image-resolution scaling and frame-accuracy to monitors, projectors and tape decks using both DVI and SDI interfaces
  • Multiple Deliverables: Create alternate versions in different resolutions, image formats and framing, all from a single source
  • Fast, highly interactive color grading

  • An entirely new, flexible viewing model

  • High-speed conform and confidence checking

  • Mix-and-match RED.r3d files with ARRIRAW or Phantom (or any other media format recognized by SCRATCH), even Canon DSLR, within the same resolution-independent timeline
  • State of the art metadata and timecode support

  • Advanced audio sync

  • Stereo 3D workflow support

  • Live View™

    Flexibility and extensibility

    Future-proof your workflow with an advanced and scriptable XML back-end that allows you to:

  • Automate SCRATCH to maximize productivity
  • Access your job anywhere via HTML
  • Integrate SCRATCH via XML with other tools in your workflow such as Nuke, Shotgun, Avid or Final Cut Pro
  • Enhance SCRATCH with OFX plug-ins such as Sapphire, Beauty Box, Twixtor, and Neat Video
  • Built-in SQL database supports a full range of metadata


  • System Requirement
  • OSX 10.7 and up
  • Windows 7 and up
  • CPU

  • Min. preferred: Intel i7 Quadcore
  • GFX

  • Preferred: Quadro K500, K6000 / Firepro W8000, W9000
  • OSX: NVIDIA 4000, K5000, ATI Radeon 5770 / 5870, FirePro D500 / D700
  • RAM

  • Min 8Gb, Preferred 12Gb
  • SDI

  • AJA Kona, T-Tap, Io
  • Bluefish444 Epoch
  • BlackMagic DeckLink, UltraStudio
  • NVIDIA Quadro 6000SDI on Windows

    FREE DOWNLOAD TRIAL VERSION HERE.

Dolby Vision - HDR & Future

Technology has moved far beyond current TV and movie imaging standards. Dolby Vision takes full advantage of what’s possible. This end-to-end solution delivers a dramatically different visual experience that fully expresses the original creative intent. Dolby Vision enhances today’s viewing experiences and is ready for the next wave of innovation from TV, movies, games, and streaming services.

The Dolby format offers a high dynamic range (HDR), meaning a wider range between the whitest whites and blackest blacks in a picture, along with features including a greater contrast ratio and color gamut. It can be projected in theaters with a Dolby Vision projection system that use Christie laser projectors.


Dolby researched human visual perception of luminance changes, then developed a new quantization curve based on those findings. The goal was to specify brightness levels from 0 to 10,000 cd/m2 using 10-bit or 12-bit encoding. The resulting PQ curve, approved as SMPTE Standard 2084, replaces gamma for Dolby Vision image encoding. In post-production, this means the image must be graded twice—one time for the standard P3 color space that most cinema viewers will see, and then again in the PQ format that specifies characteristics of the HDR version. Read this 2014 SMPTE presentation by Dolby Labs researcher Scott Miller for the nitty-gritty. 

Disney's Tomorrowland -- the first theatrical release in Dolby VIsion.

Disney's Tomorrowland -- the first theatrical release in Dolby VIsion.

Tomorrowland was graded on DaVinci Resolve already has ablility to grade and master in Dolby Vision Format.


The grapherScope Try it for free - win/mac

HELPS TO LEARN, TEACH, TALK, CHANGE COLOR

SCOPEs for videographers, photographers, graphic designers and whoever want to learn, teach, talk, change color .  Application features-

  1. Stand-alone solution; for Mac OS X and Windows Platform
  2. Global SCOPEs like: Vectorscope, Waveform Monitor, RGB Parade, Saturation Spectra, Luminance Spectra
  3. Filtered SCOPEs like: Skin Scope, Shadow Vectorscope, Highlight Vectorscope, Midtone Vectorscope
  4. Up to 3 pixel pickers at one time for color evaluation
  5. Interplays with photo viewers, video players, internet browsers, photo editors, video editors, color grading tools, effect tools etc.
  6. Does analyze color in real-time 
  7. Tracks adjustments during color correction, color grading or retouching
  8. New: Organic adaptation to partner applications by resizable frameless SCOPEs, auto hide functions and GUI recognition
  9. Quick and intuitive access by few key strokes and mouse clicks
  10. Does analyze from any area of primary screen
  11. Stays always on foreground of all programs, resizable, can stay also on secondary monitor 
  12. Easy to use compare procedure 
  13. Based on YCbCr Rec. 709 color model
  14. Eliminates any influence of visual manipulation
  15. Helps color correction and grading in a non optimized environment
  16. Helps in case of broadcast save working

Grapherscope

Understanding Color & technology

Color is an extremely important part of modern filmmaking.The way we perceive color is greatly influenced by our cultural understanding. We all grew up learning that Fire is Hot and Ice is Cold. Therefor red and orange are warm colors while blue and cyan are cool colors.This association in our mind is so strong that filmmakers can actually invoke a sense of temperature just by the color palette they use in their films.

Lets understand color technically -

How Digital Camera Capture Color?

How pixel gets its color?

CCD

History and science of Color Temperature : Filmmakeriq.com

Color in digital filmmaking - Filmmakeriq.com


Make a Digital Cinema Package with OpenDCP for free

DCP- Universal format to exhibit your movie worldwide.


What Is DCP?

Digital Cinema Initiatives (most of the major studios) coined the expression when looking at ways of packaging Digital Cinema contents. DCP is a collection of digital files used to store and convey Digital Cinema audio, image, and data streams (Wikipedia).

A DCP is usually made up of large MXF (Material Exchange Format) and XML files.

Making a DCP means -

  • Creating the image sequence, from your digital masters, into TIFF, BMP or DPX will take up a lot of space.
  • Converting the image sequence to JPEG 2000 images will take a lot of processing power.
  • One of the great benefits of image sequences is that if you need to change a portion of your film, a shot or scene needs fixing, you only need to re-render that shot or scene and replace those images in your sequence without having to re-export the whole film.
  • The best format for your delivery drive (or USB stick) is Linux EXT.
  • One of the main benefits of DCP is the XYZ colour space, which has a much greater gamut:

How do I make a DCP?
Watch the video for a more detailed look at the DCP making process. In simple terms, it goes like this:

1. Export your film as a 16-bit TIFF sequence.
2. Use free, open source DCP software to convert the TIFF sequence into JPEG 2000
3. The DCP software then wraps the video (JPEG2000) and audio (WAV) in to MXF files.
4. The final stage is creating the DCP which generates 6 files that will be recognised by a DCP server.