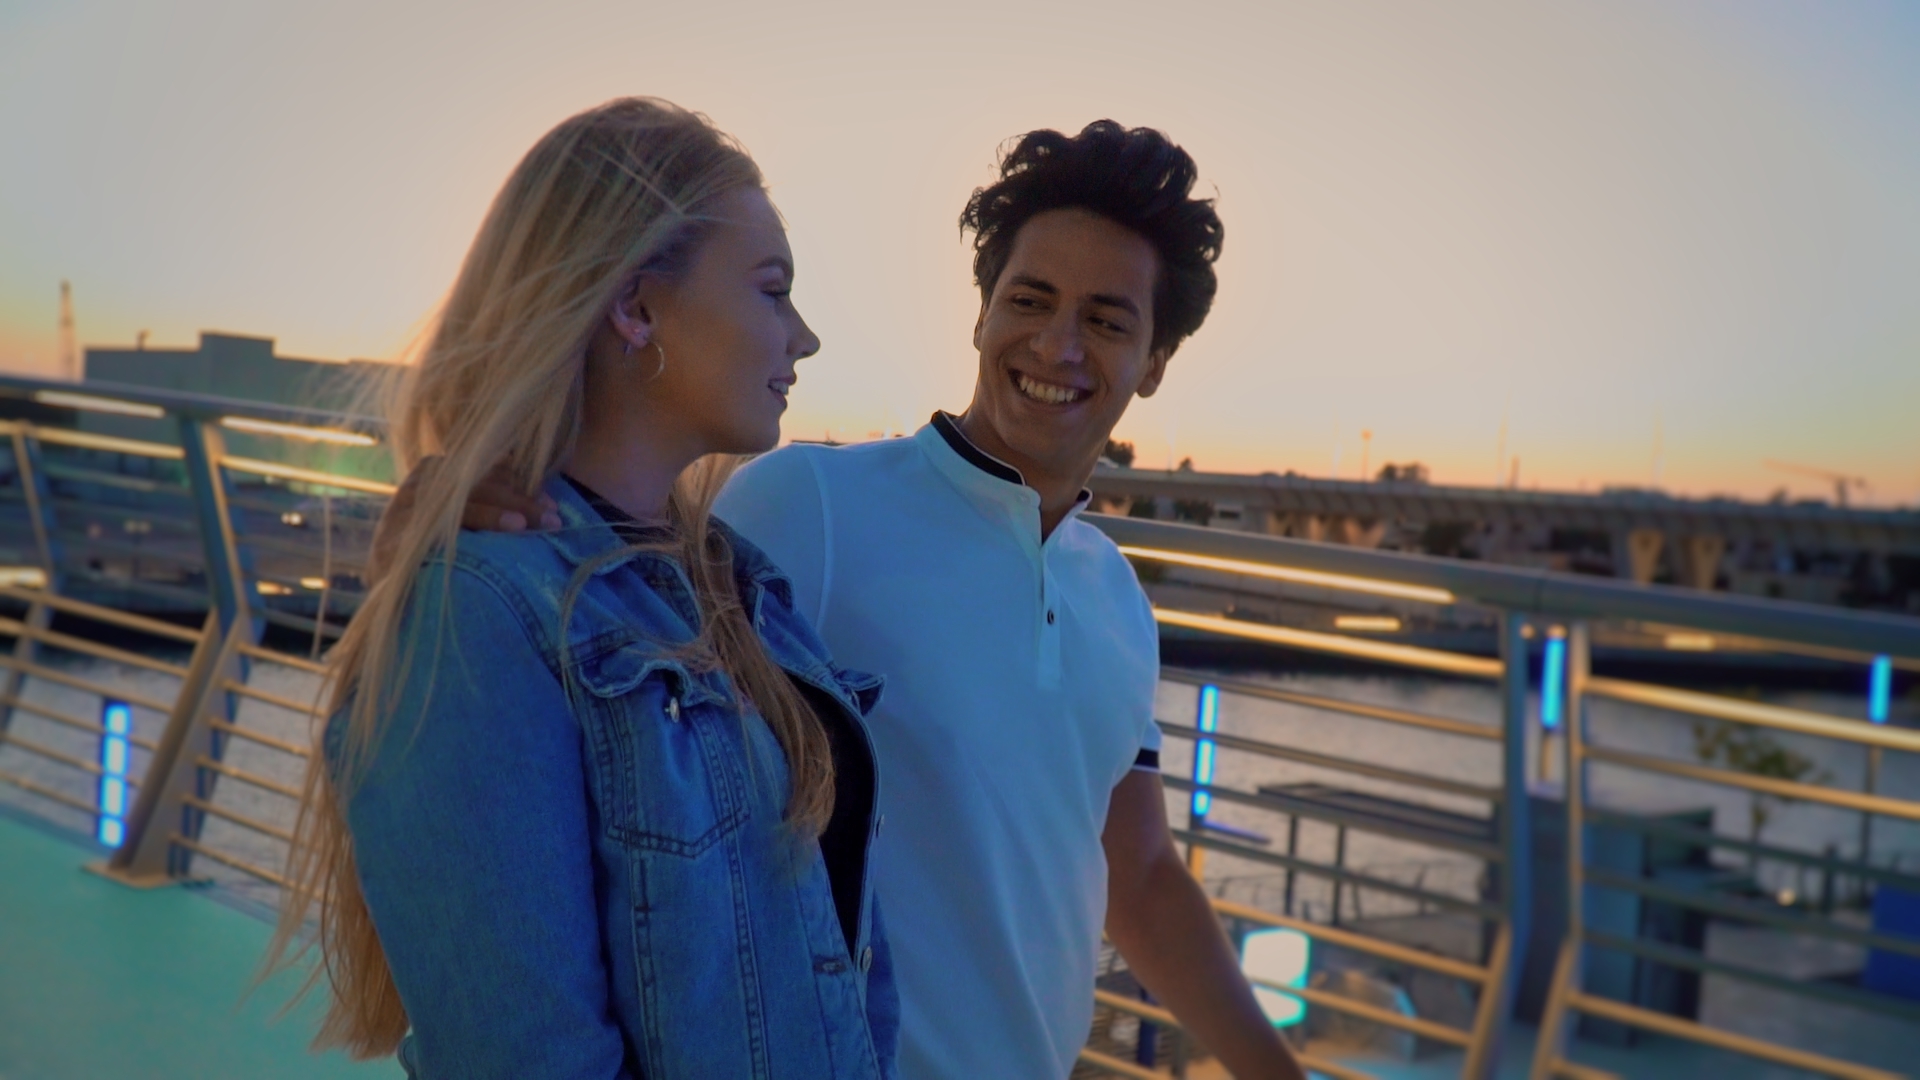
Cinema colorist

Color Suite to Bloatware Davinci Resolve 21

The Bloatware Dilemma: Why Resolve 21’s Photo Page Has Colorists Ringing the Alarm

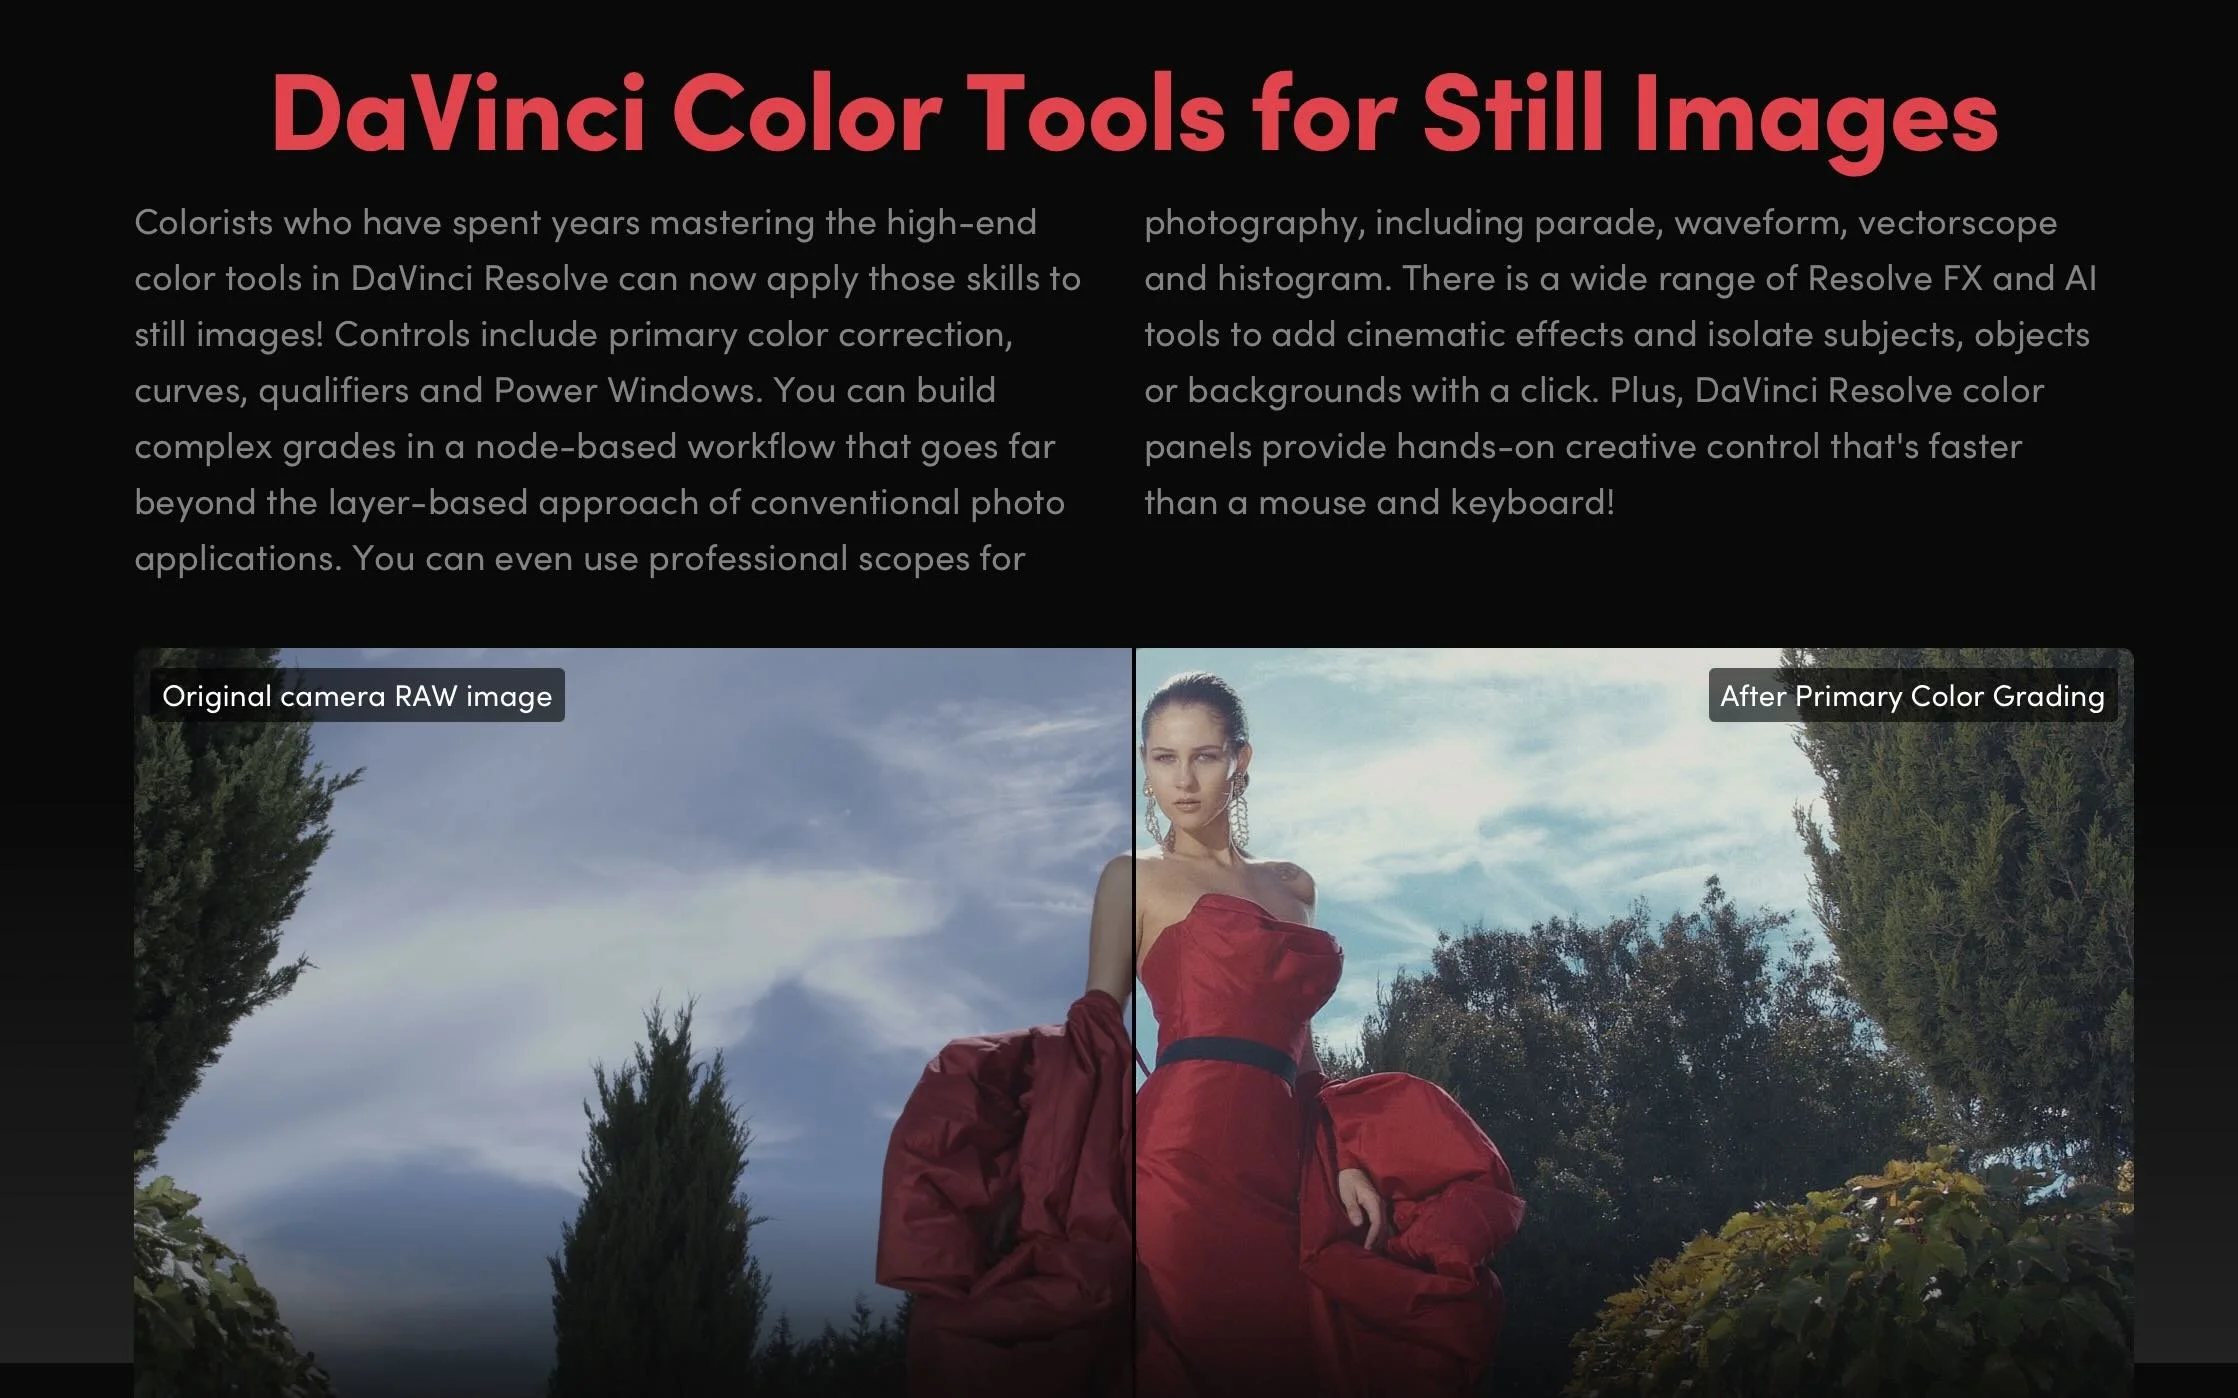
Blackmagic Design dropped DaVinci Resolve 21, and the headline feature sparked an immediate civil war in the post-production community. Alongside expected AI upgrades like IntelliTrack, Blackmagic unveiled a fully dedicated Photo Page designed to process, manage, and grade RAW still photography using Resolve’s famous node-based system.

While hybrid content creators praised the update as a potential "Adobe killer," professional colorists are pushing back hard. The community consensus? Blackmagic is steering its flagship program directly into "jack of all trades, master of none" territory, risking the very stability that made the software an industry standard.

The All-in-One Trap: From Color Suite to Bloatware

For a decade, Blackmagic’s aggressive expansion has been celebrated. They took an elite, expensive color-grading platform and seamlessly stitched in the Edit, Cut, Fusion (VFX), and Fairlight (Audio) pages. It was a masterclass in disruption.

However, with the introduction of the Photo page, colorists argue that Blackmagic has crossed a line from "post-production suite" to unnecessary software bloat. Video and film are time-based mediums. Photography is spatial and static. Forcing a photo cataloging and raw processing system into a video render engine feels less like a strategic evolution and more like a feature-creep identity crisis.

Why Colorists Are Criticizing the Photo Page

The core objection from colorists isn't that they hate photographers; it's that they fear code instability and distracted development priorities.

  • The "Jack of All Trades" Dilution: When software tries to handle everything—from 3D spatial audio mastering to Lightroom catalog migrations—engineering resources get split. Colorists are frustrated that decades-old bugs or niche workflow requests on the Color Page are taking a backseat to building tethering systems for still cameras.

  • The Lightroom Comparison is Flawed: YouTube thumbnails might scream "Goodbye Lightroom," but professionals know better. Resolve 21 lacks critical photographer infrastructure: standard print modules, advanced lens correction profiles, pixel-level healing brushes, and native DNG exports. It’s clunky for photographers, making it a feature nobody asked for.

  • Performance Hijacking: Running a high-end color panel (like the Advanced Panel) to tweak a single JPEG image feels absurd. Colorists worry that the underlying database and GPU acceleration architectures will suffer under the weight of managing thousands of high-megapixel static image files alongside heavy timelines.

A Warning from Creative History

The industry has seen this movie before, and it didn't end well. Look no further than Adobe. Photoshop, once a pure digital darkroom, became bloated with 3D engines and video timelines that users despised, forcing Adobe to eventually strip them out.

By pushing Resolve into the photo arena, Blackmagic risks alienating the core demographic that built the software's prestige: the professional colorist. When Hollywood facilities choose a color grading platform, they choose it because it is the absolute master of color—not because it can also edit a wedding photographer's RAW files.

Final Thoughts: Stick to the Code

Blackmagic Design deserves credit for their legendary free-update model and fierce defense of perpetual licenses. But DaVinci Resolve 21's Photo page feels like a feature built for marketing bullet points rather than professional necessity.

If Blackmagic wants to conquer the photography market, they should build a dedicated standalone app. Forcing it into Resolve risks breaking the finest color tool ever made by turning it into a sluggish, generalized ecosystem. Sometimes, being the master of one is exactly what the industry needs.

What are your thoughts on Resolve 21? Are you using the Photo page, or do you think Blackmagic needs to stop adding pages and focus on core stability? Let’s discuss in the comments below.

True Hollywood Film Look - Filmbox Pro

Filmbox Pro: The Ultimate Film Look Development Tool for a True Hollywood Film Look in 2026

As a professional video colorist, I am always looking for tools that do more than simply add a “film LUT” to an image. A convincing cinematic image is not just about contrast, saturation, or adding grain. It is about how color, density, highlight roll-off, texture, halation, acutance, and print characteristics interact as a complete imaging system.

That is why Filmbox Pro has become one of my favorite tools for film look development.

Rather than treating film as a preset or a simple LUT, Filmbox Pro approaches the problem as a photochemical imaging process. Video Village describes it as a comprehensive emulation of the characteristics of film negative and print, including color response, tone, grain, halation and other spatial characteristics.

For colorists working on commercials, music videos, features, episodics and high-end branded content, this makes Filmbox Pro a particularly powerful starting point for developing a sophisticated Hollywood-style film aesthetic.

Why Film Look Development Is More Than a LUT

One of the biggest mistakes in digital color grading is thinking that a cinematic look can be created simply by applying a LUT.

A LUT primarily describes a mathematical color transformation. Film, however, is a physical imaging process.

Film responds differently to exposure, color, density and contrast. Highlights do not simply become brighter; they develop characteristic density and color behavior. Bright sources can interact with the emulsion to create halation. Grain is related to the photographic process rather than being a uniform overlay.

That distinction matters.

When I develop a film look, I want the image to feel as though it has passed through a coherent imaging pipeline—not as though someone placed a grain layer and a vintage LUT on top of digital footage.

This is where Filmbox Pro becomes particularly interesting.

Filmbox Pro Treats Film as a Complete Imaging System

One of the strongest aspects of Filmbox Pro is its architecture.

Instead of providing only a final color transform, Filmbox Pro separates the process into components such as Camera, Negative, Lab, Print and Display. This allows the colorist to approach the image more like a traditional film workflow.

The Negative stage can influence characteristics such as:

  • Color and tone

  • Grain

  • Halation

  • Acutance

  • Gate weave

  • Flicker

  • Aura

The Lab stage provides another level of creative control, while the Print stage allows the final character of the image to be shaped as though the negative were being printed.

This is a fundamentally different approach from simply choosing a “cinematic LUT.”

The Negative-to-Print Workflow Is a Major Advantage

For serious look development, one of my favorite features is Filmbox Pro's ability to separate Negative Only and Print Only processing.

You can create a workflow where Filmbox first creates the characteristics of a film negative, perform creative grading between the negative and print stages, and then apply the print process afterward.

This effectively gives the colorist a digital approximation of a film-DI workflow. Video Village specifically recommends this multi-node approach when you want creative operations to behave as though they are being performed between negative and print.

For me, this is where Filmbox Pro moves beyond being a “film look plugin” and becomes a look-development environment.

The Difference Is in the Highlight and Skin-Tone Behavior

A great film look should not make every image orange and teal.

In professional work, particularly narrative cinema and premium advertising, I want skin tones to remain believable while the surrounding palette develops character.

Filmbox Pro's film-based color response can provide a much more sophisticated starting point for this than simply manipulating saturation and contrast.

The goal isn't to make the audience think:

“That has a film LUT on it.”

The goal is for the audience to simply feel that the image has cinematic density, texture and dimensionality.

That subtlety is what I look for.

Halation That Actually Feels Photochemical

Halation is another area where many digital film-emulation workflows fall short.

A simple blur or colored glow around highlights can quickly look artificial.

Filmbox Pro approaches halation as part of its spatial film simulation, with controls for radius, opacity, color and larger-scale aura characteristics.

Used carefully, this can help create the subtle separation around practical lights, windows, specular highlights and high-contrast edges that audiences subconsciously associate with film.

The key word is subtle.

As a colorist, I would rarely recommend turning halation up simply because the control is available. The best film effects are often the ones viewers don't consciously notice.

Grain Should Be Part of the Image, Not an Overlay

Digital grain overlays often look like texture placed over a digital image.

Film grain should feel integrated with the image formation process.

Filmbox Pro's grain processing is designed around the emulated negative, rather than simply applying a generic noise layer. The plugin also provides detailed control over the negative's spatial characteristics.

This makes a significant difference when you're trying to create a premium 35mm or large-format aesthetic.

And importantly, more grain doesn't automatically mean more cinematic.

For a Hollywood commercial, I may want extremely restrained texture. For a period drama or independent feature, I may push the texture considerably further.

The creative decision should follow the story, not the plugin.

Choosing the Right Film Stock

Another reason I recommend Filmbox Pro for serious look development is the range of film systems and stocks available.

The current Filmbox Pro ecosystem includes systems such as Vision3 and Vintage Cinema, with different negative and print characteristics designed to work together.

This gives the colorist a much more useful question than:

“Which LUT looks cinematic?”

Instead, the question becomes:

“What photographic behavior supports this story?”

Do I want:

  • Clean, modern 35mm?

  • Softer vintage color?

  • Fine-grain large-format character?

  • Stronger halation?

  • More restrained saturation?

  • A warmer print response?

  • A more nostalgic negative?

  • A harder, more graphic contrast structure?

These decisions become part of the look-development process.

Start With Filmbox—Then Grade

One important point: I don't believe Filmbox Pro should replace the colorist.

It should empower the colorist.

I generally think of Filmbox as a sophisticated film-imaging stage inside the grading pipeline rather than a magic button.

For example, exposure, balance and major image corrections can be performed before Filmbox, allowing the film emulation to respond to the image appropriately. Video Village recommends scene-referred, photometrically accurate operations upstream when authenticity is the goal.

From there, the colorist can use the Negative/Lab/Print architecture to develop the creative look.

That gives you considerably more control than applying a finished LUT at the end of the node tree.

Filmbox Pro Fits Modern Color-Managed Workflows

Another reason I consider Filmbox Pro particularly relevant to modern professional post-production is its support for advanced color pipelines.

It supports ACES 1.3, ACES 2.0 and Resolve Color Management, along with SDR and HDR workflows. It also supports major camera and intermediate color spaces.

This matters because today's productions increasingly move between:

  • ARRI LogC

  • RED

  • Sony

  • Canon

  • Blackmagic RAW

  • ACES

  • DaVinci Wide Gamut

  • HDR

  • Rec.709

  • P3

  • Streaming deliverables

A film look shouldn't fall apart simply because the project has a sophisticated color pipeline.

My Recommended Approach for a Hollywood-Style Look

If I'm developing a film look from digital camera footage, my philosophy is simple:

Don't try to make digital footage look “old.” Make it behave more like film.

I would start with properly managed, scene-referred camera footage.

Then:

1. Establish exposure and white balance

Get the image technically and photographically balanced before trying to create the look.

2. Choose the film system

Select the negative/print combination that fits the project rather than selecting a preset simply because it looks impressive on one shot.

3. Establish the negative character

Shape color response, density, contrast, grain and halation.

4. Develop the creative look

Use the Lab and, when appropriate, grade between Negative and Print.

5. Control the print

The Print stage can become the final creative personality of the image.

6. Finish for the delivery space

Make sure the final image is correctly transformed for the intended SDR, HDR or cinema mastering environment.

This approach produces a look that feels intentional rather than filtered.

Why I Recommend Filmbox Pro

There are many excellent tools available to colorists today.

But Filmbox Pro stands out because it doesn't simply ask:

“What film LUT do you want?”

It asks a much more interesting question:

“How do you want this image to behave as film?”

That difference is enormous.

Its combination of film-negative modeling, print processing, grain, halation, acutance, film systems, advanced lab controls and color-managed workflow support gives professional colorists a remarkably deep environment for developing film-inspired images.

And the included Looks Library can also provide useful starting points before moving into the deeper Pro controls. The library contains more than 100 presets designed as starting points for different aesthetics and film characteristics.

Final Thoughts

For me, the best film emulation is not the one that screams “FILM.”

It is the one that gives the image:

better color separation, richer tonal relationships, natural highlight behavior, organic texture, dimensionality and photographic character.

That's why Filmbox Pro is one of the first tools I would consider when developing a premium cinematic film look from digital footage.

Whether I'm working on a feature film, episodic series, commercial, music video or branded project, the objective remains the same:

Don't put a film look on the image. Build the image as if it were photographed on film.

That is where Filmbox Pro becomes extremely powerful.

Explore Filmbox Pro by Video Village

Disclosure: Filmbox Pro is a commercial product from Video Village. This article reflects my professional assessment of its capabilities as a film-look-development tool.

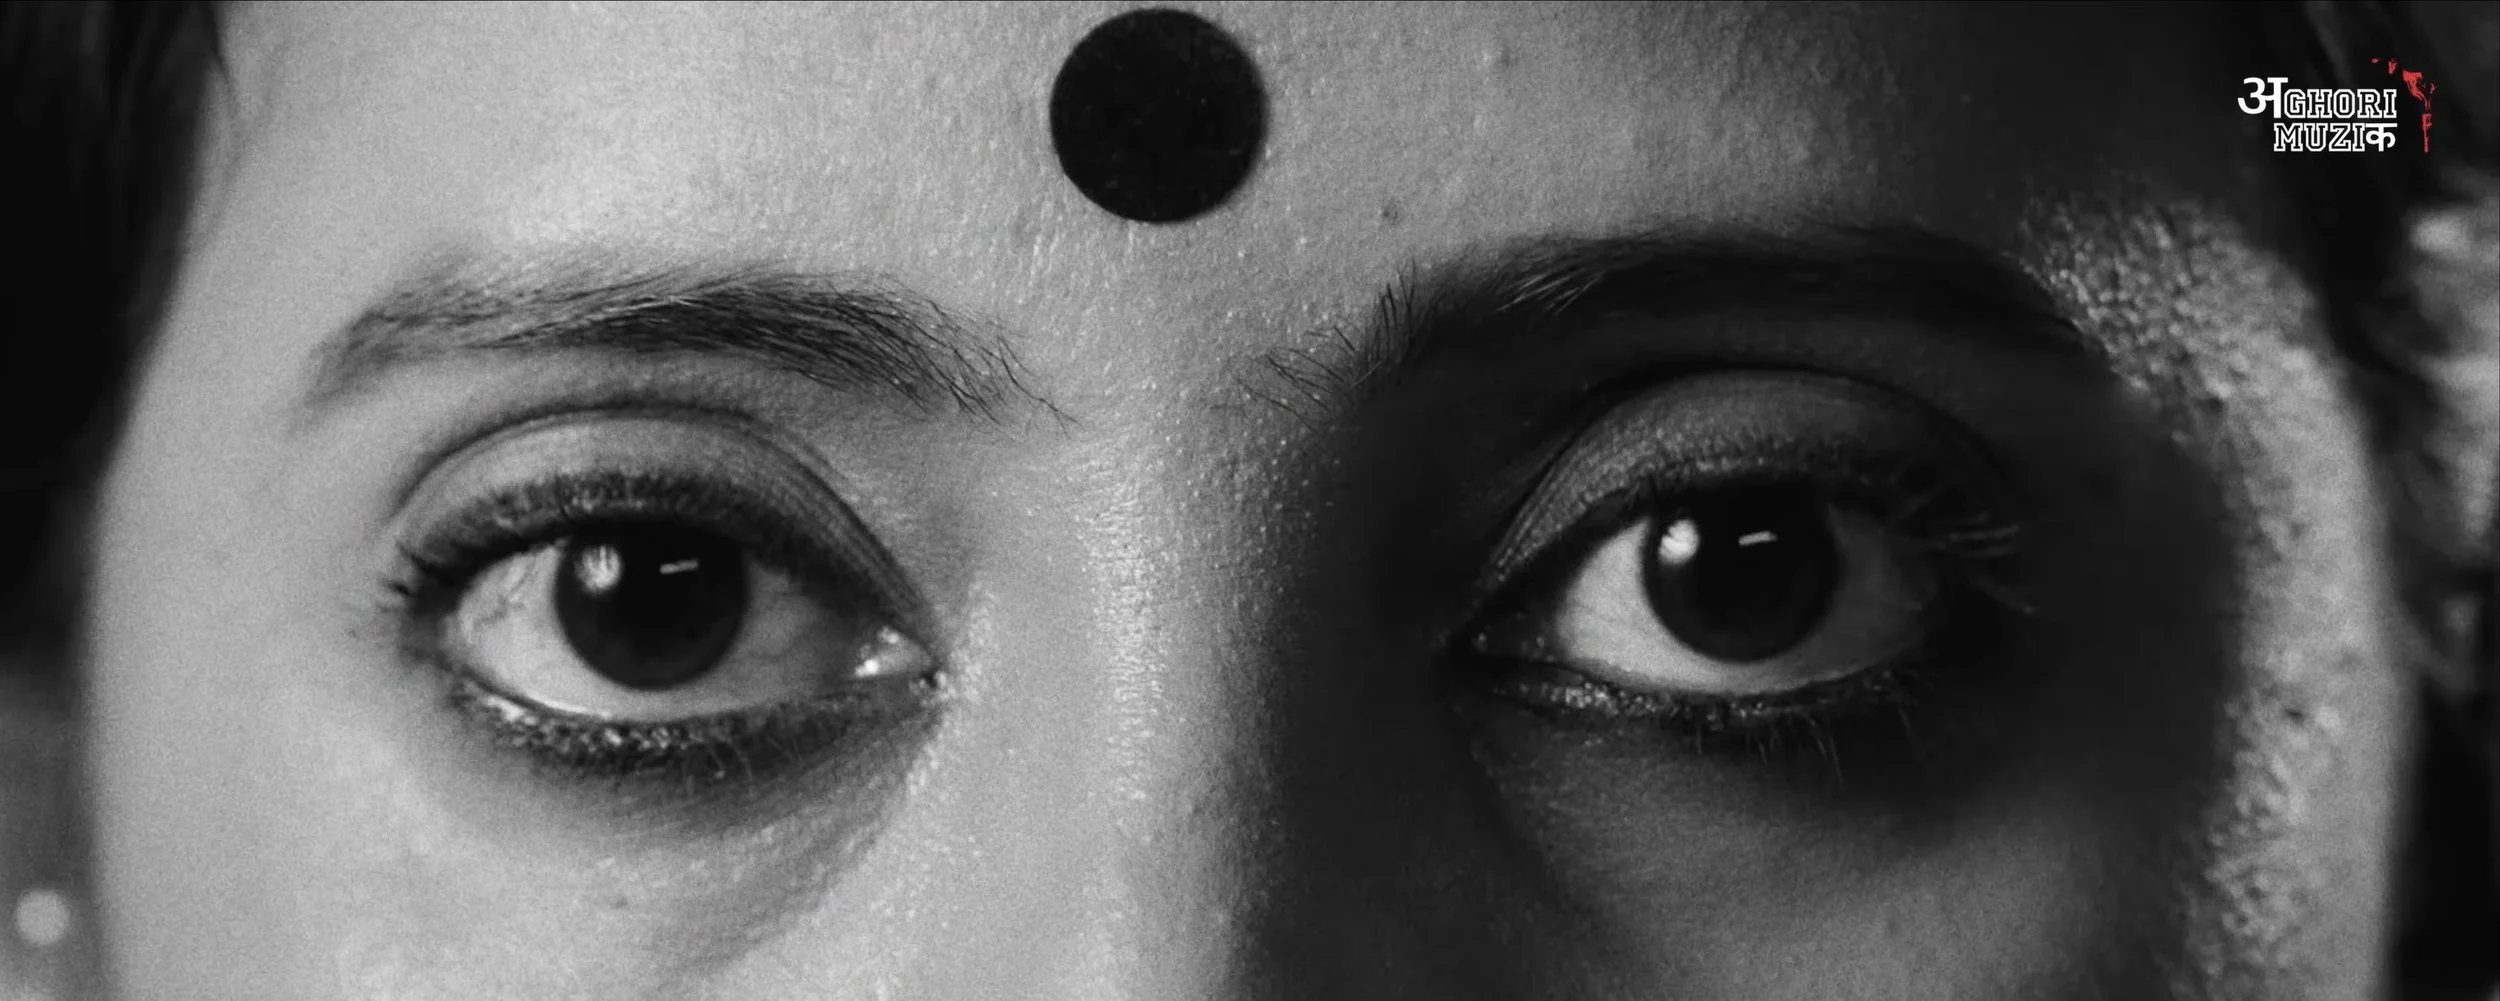
Color Grading for “Garba Gheli” | Aghori Muzik ft. Salim Merchant Filmikwork, Hollywood

Color Grading for “Garba Gheli” | Aghori Muzik ft. Salim Merchant

Color Artist: Sudip Shrestha | Filmikwork

“Garba Gheli,” the latest Hindi music video from Aghori Muzik, featuring legendary singer Salim Merchant.

Filmikwork provided professional music video color grading and color finishing for this vibrant celebration of Garba, Gujarat, and Navratri. The grade focused on rich colors, natural skin tones, cinematic contrast, and a polished contemporary music-video look.

The project brought together a talented creative team from India, with the final color finishing completed by Filmikwork.

Project: Garba Gheli – Aghori Muzik ft. Salim Merchant
Colorist: Sudip Shrestha
Color House: Filmikwork , Hollywood
Director: BIBTYA
DOP: Hardik Soni, Akshay Roshiya, Ronak Soni

Looking for a professional colorist in Los Angeles or Hollywood for your next music video, commercial, film, or digital project? Filmic LA provides professional color grading, color correction, and finishing services for clients in Los Angeles, Hollywood, India, and worldwide.

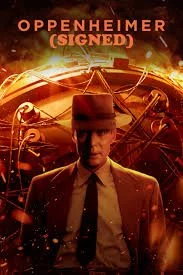
Hoyte van Hoytema - Master of Modern Cinematography

Hoyte van Hoytema - The Dutch Master of Modern Cinematography

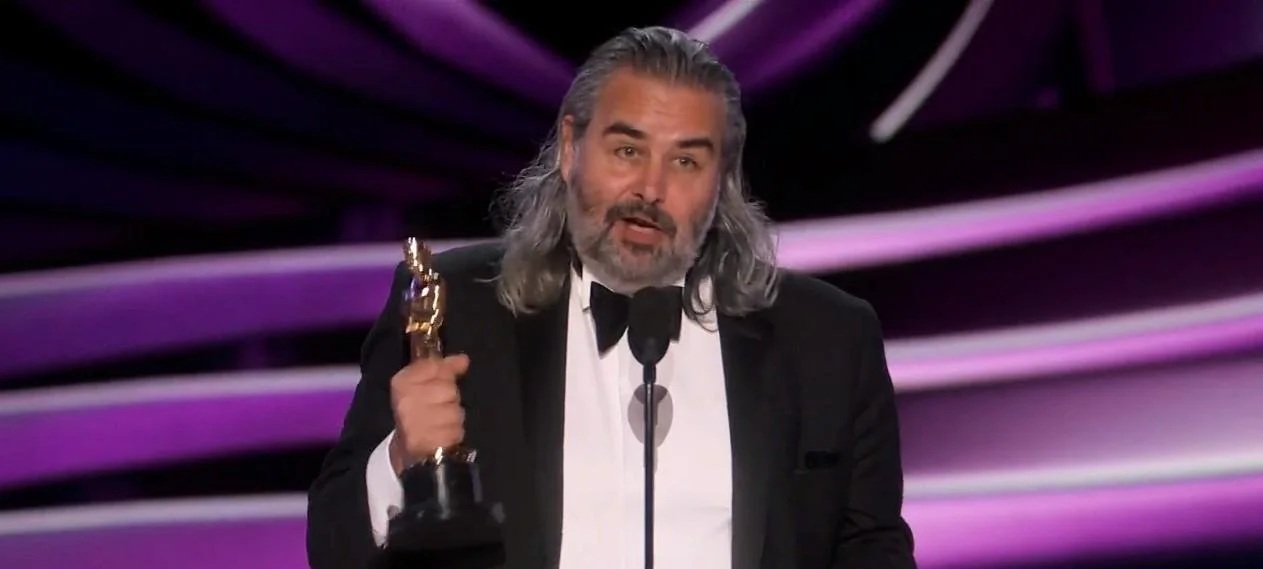
If you have marveled at the vast, terrifying emptiness of space in Interstellar or felt the claustrophobic tension of a World War II beach in Dunkirk, you have seen the world through the eyes of Hoyte van Hoytema. Born in Switzerland to Dutch parents and rejected twice by Dutch film schools, van Hoytema forged his own path at the National Film School in Łódź, Poland, eventually becoming one of the most influential cinematographers working today.

hoytema

Hoyte van Hoytema

Filmik - Master of Cinematography


The "Hoytema" Signature Style

What makes his work instantly recognizable? It is the contradiction of intimacy on a massive scale.

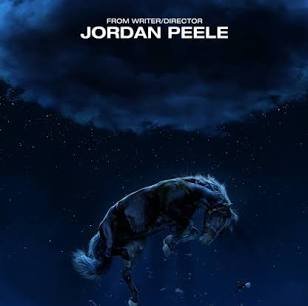
  • Humanizing IMAX: Van Hoytema is famous for shouldering massive IMAX cameras as if they were lightweight documentary rigs. On films like Tenet and Nope, he used handheld techniques to keep the audience physically close to the characters, making blockbuster spectacles feel personal and grounded.

  • The Texture of Film: A staunch advocate for celluloid, he prefers the organic grain of film over digital. For Oppenheimer, he even pushed Kodak to create a brand-new 65mm black-and-white film stock to distinguish the timeline, a historic first for cinema.
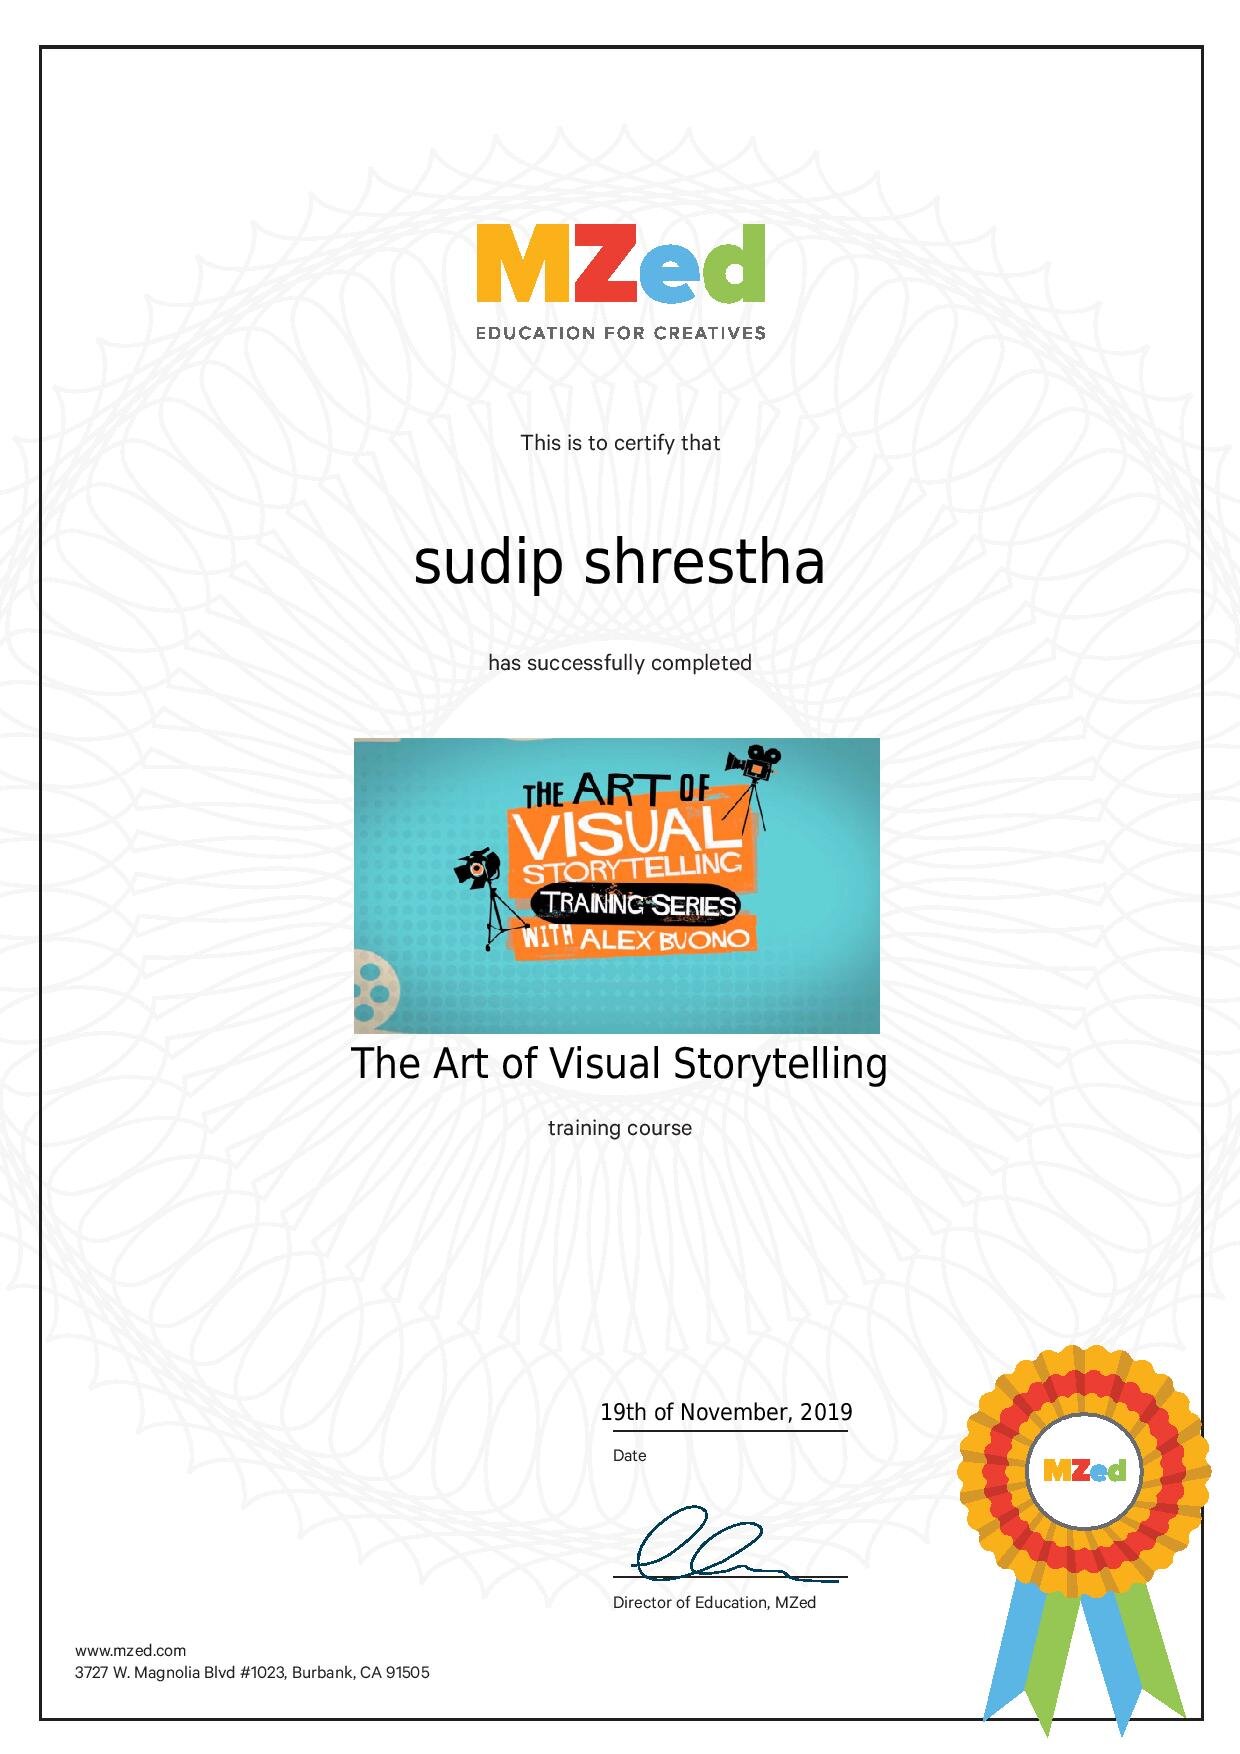
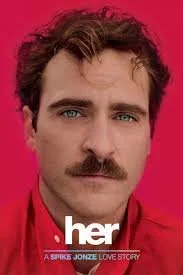
  • Natural Lighting & Shallow Focus: He often relies on natural light and "dirty" practical sources rather than over-polished studio lighting. In Her, he used a shallow depth of field (blurry background) to isolate the protagonist, emphasizing his loneliness in a crowded future.

    Why He Matters

    Hoyte van Hoytema proves that cinematography is not just about "pretty shots"—it is about emotion. Whether capturing a vampire in the snow or an atomic bomb test in the desert, his camera always prioritizes the human feeling within the frame.


    Trivia: "Did you know he was rejected by film school twice before winning an Oscar?".

Heartfelt thanks for UAE Golden Visa - Sudip Shrestha

To,
Government of UAE

I am writing this blog to express my sincere gratitude to the UAE government for introducing the Golden Visa initiative.

The Golden Visa program has not only opened up new opportunities for individuals like myself but has also demonstrated the UAE's commitment to fostering a welcoming environment for global talent. The ease of obtaining residency through the Golden Visa has made a significant impact on the lives of many, allowing us to contribute more actively to the growth and development of the UAE.

The forward-thinking approach of the UAE government in implementing such initiatives is truly commendable. The Golden Visa not only provides a sense of security and stability but also encourages individuals to invest their skills, knowledge, and resources in the country.

I am truly grateful for the opportunities that the Golden Visa has presented, and I look forward to being a contributing member of the UAE filmmaking community.

Thank you once again for your vision and leadership in making the UAE an even more attractive and inclusive place for individuals from around the world.

Kind regards,

Sudip Shrestha (Colorist)

How to color grade videos? Guide

How to Color Grade?

Color grading is the process of adjusting the colors and tones of a video to achieve a specific look or mood. Here is a general overview of the steps involved in color grading a video:

  1. Correct any technical issues: Before color grading your video, it's important to ensure that the video is technically sound. This can involve adjusting the exposure, white balance, and contrast to ensure that the footage is well-exposed and has accurate colors.

  2. Choose a color grading software: There are many color grading software options available, including DaVinci Resolve, Adobe Premiere Pro, Final Cut Pro, and others. Choose a software that suits your needs and preferences.

  3. Create a reference image or video: Before color grading your video, it can be helpful to create a reference image or video that represents the desired look. This can involve taking inspiration from other films, photographs, or art.

  4. Apply a LUT or preset: Some color grading software may include built-in LUTs (Look-Up Tables) or presets that can be applied to your footage to achieve a specific look. Applying a LUT or preset can be a good starting point for your color grading.

  5. Adjust the color wheels and curves: Use the color wheels and curves in your software to adjust the hue, saturation, and brightness of your footage. This can involve adjusting the shadows, midtones, and highlights to achieve a balanced and pleasing color palette.

  6. Adjust the exposure and contrast: Use the exposure and contrast tools to adjust the overall brightness and contrast of your footage. This can involve boosting or reducing the brightness and contrast to achieve a specific look.

  7. Refine the color grading: Once you have adjusted the color wheels, curves, exposure, and contrast, refine your color grading by adjusting the colors and tones of specific elements in your footage, such as skin tones, backgrounds, and objects.

  8. Apply the color grading to the entire video: Once you are happy with your color grading, apply the adjustments to the entire video. This can involve copying and pasting the adjustments to other clips or using adjustment layers to apply the color grading to multiple clips at once.

  9. Review your color grading: Finally, review your color grading to ensure that it meets your creative vision and technical standards. Watch your video on different monitors and devices to ensure that the color grading looks consistent across different platforms.

Color grading can be a complex and time-consuming process, and it's important to have a good understanding of color theory and video editing principles before attempting to color grade your footage. With practice and experience, however, you can achieve stunning and creative results through color grading.

Learn One on One Color grading with us at our Boutique Colour Studio In UAE.

Camera setting for Dolby Vision Mastering

What is dolby vision?

Original Camera Sources

For mastering first run movies in Dolby Vision, the original camera files or original film scans are ideal as modern digital camera systems as well as negative film stock can capture 13+ stops of dynamic range.

The exposure and lighting decisions made on set will determine the level of dynamic range and usable color gamut for a Dolby Vision HDR master.  While it is possible to stretch the dynamic range of the content in post-production the best results are really defined by the HDR image that is captured in the acquisition phase.

Digital camera sources:

For any digital acquisition we recommend using either RAW recording (no de-mosaicing / de-bayering performed in camera), or if not available or applicable using a compressed source format in its lowest available compression and highest quantization (bit depth) using a “log style” OETF (Opto Electrical Transfer Function). Intra-frame codecs should be preferred over Long-GOP codecs.

Assuming a correct exposure, the following original sources can be considered as minimum requirements for Dolby Vision mastering.

Capture Format

  • RAW - ArriRaw, RedCode, Sony X-OCN etc.

  • Compressed - XAVC-I, ProRes or other I-Frame only formats

Quantization (min.)

  • 16bit linear

  • 10 bit log

OETF - Capture transfer function

  • LogC, S-Log,3 Log3G10, etc.

Color Space

  • Camera native color space - S-Gamut3, REDWideGamutRGB, Panasonic V-Gamut, etc.

No looks, color corrections or other transforms should be baked into the original camera files. Some cameras’ default color space is set to Rec.709 or sRGB. This color space should not be used for recording. Record in the camera’s native color space, instead.
 

Mobile media sources:

Depending on the budget, story, or when a small, flexible camera is required, creators might want to incorporate content captured by a mobile phone, like the iPhone 12 as well. Using phones to capture real-life situations also often has the advantage that those being filmed are more likely to act naturally than if a larger camera and recording equipment are being used. However, if you are in any doubt about whether a phone should be used as part of your production, as with any other camera selection, this should be checked with those who are commissioning the content you are producing. 

The Dolby Vision iPhone recording specifications (Profile 8.4)

Codec/Format:

  • HEVC Main10 video in Apple Quicktime container (.mov)

HDR format:

  • Dolby Vision with HLG base layer (Profile 8.4)

Transfer Characteristic:

  • HLG (ITU-R BT.2100-1)

Color primaries:

  • BT.2020

Chroma sampling:

  • 4:2:0

Bit depth:

  • 10 bit

Film sources:

Scanning Format

  • ADX OpenEXR

  • dpx

Quantization (min.)

  • 16bit linear

  • 10 bit log

Source - professionalsupport.dolby.com/

the most powerful color grading tool using machine learning in FLAME

Z-depth map generator

Machine learning for live-action, scene-depth reclamation. Color correct and apply effects based on camera distance.

z depth map.png

Human face normal map generator

Use machine learning to generate 3D surface-orientation bump maps for color adjustment, relighting, and retouching.

human face map.png

Human face extraction and physical defocus

GPU-accelerated rack defocus effect. Extract alpha mattes using machine learning with a new human face region Semantic keyer.

human face exatraction.png

Semantic keyer for sky extraction

Isolate skies with a single click to remove clouds, add treatments to sky backgrounds, and more.

sky keyer.png

To know more about these features try - Autodesk Flame now.

top 3 ofx plugins for colorist in 2021

Neat Video ofx

Neat Video is a powerful video editing plug-in designed to reduce digital noise and other imperfections. It is an extremely effective way to clean up video from any source including video cameras, digitized film, TV tuners and others.

Boris fx Continuum 2021

The post-production industry’s most complete plugin collection delivers nearly 350 creative effects in 20 categories, 4000+ presets, built-in Academy Award-winning Mocha planar tracking and masking, a Beat Reactor that drives VFX to music, and the FX Browser. Busy editors and artists rely on Continuum to get the job done.

Film Convert Nitrate

FilmConvert is a film emulation plugin that can take Log-based video and transform it into full color corrected media with a natural grain similar to that of commonly loved film stocks. Currently, Nitrate works with Premiere and After Effects, with an OFX version for Resolve.

If you want to review any plugins please comment below.

control, creativity, confidence and collaboration is baselight 5.3

New features developed to promote control, creativity, confidence and collaboration

FilmLight today announced Baselight 5.3, the latest release of the company’s renowned colour grading platform.

This release includes many improvements to boost control throughout the grading process, such as Partial Conform and T-CAM v2, with even more new features that keep the system at the cutting edge of creativity, including Lens Distortion and an expanded Look Library. New features to improve confidence and collaboration with other departments are also included, such as improved trackers, wildcards for sequence versioning, improved export facilities, and more.

Conform

Baselight 5.3’s powerful Partial Conform feature allows you to conform new media to existing shots in the timeline, so you can piece together complex conforms by loading a single edit list and then conform parts separately using different criteria. Combined with the robust filtering in Shots View, it provides a much faster way to update media for multiple shots.

Input/sequence versioning, introduced in a previous release, provides massive time savings in quick-turnaround VFX jobs where new versions are constantly arriving. And with Baselight 5.3, you have even more flexibility with the introduction of wildcards. Wildcards allow you to work with versions within date folders, or with more complex file and folder naming strategies. Baselight can even detect dates automatically.

Colour

Baselight 5.3 sees the introduction of a new release of T-CAM, FilmLight’s display rendering transforms based on emulating human perception. T-CAM v2 improves appearance matching between viewing conditions, provides better shadow definition and improved skin tones, and minimises noise in underexposed images.

The new Lens Distortion feature allows you to correct – or apply – lens distortion based on analysis of the image or by using presets for common industry lenses. This is useful for preparing plates for VFX, but it can also be used for creative grading effects too.

And if you need to perform operations like tracking or Paint on distorted plates, you can place any Baselight grading stack in a Lens Distortion ‘sandwich’ to modify the undistorted image before re-applying the distortion.

The new LUT operator allows you to set input and output colour spaces for each LUT. You can also apply LUTs embedded in ARRI and RED camera files, and even use Baselight’s Media Import Rules so that this happens automatically whenever you add these types of camera file to your timeline.

We’ve also expanded the Baselight Look Library, adding ENR and other classic film and digital looks that preserve dynamic range for modern scene-referred and HDR workflows.

A host of other improvements have been made to colour control throughout Baselight, including the new Gamut Alarm, which allows you to pin-point out-of-gamut colours based on your current settings, and the Processing Format functionality, where you can specify that all image processing happens at the working format resolution for consistent results with spatial shaders and OFX plugins that behave differently when applied to different image resolutions.

Efficiency

Baselight 5.3 takes Baselight’s already powerful trackers and improves on them even more. Featuring a simplified user interface, all trackers allow you to create planes separately and easily reuse them, enter custom names for easy identification, and filter motion data for the smoothest track possible.

Baselight 5.3 also introduces web browser-based system management. Access system administration information directly via a browser, where you can view and amend jobs, the operations queue, licences, diagnostic information and more. The web interface is built using the FilmLight API, the new programming interface to Baselight and Daylight designed to automate otherwise time-consuming tasks.

ARRIRAW MXF files are now trimmed – either during Consolidate or copying via FLUX Manage – to create new MXF files, retaining any audio tracks in the source media. This includes ARRI MXF files that use Apple ProRes.

Delivery

Baselight’s powerful export functionality for reports, LUTs and other metadata has also been boosted. An improved UI makes batch export file naming easy, and the new Export Preview allows you to view a list of the files that will be created. All exports are now processed in the Operations Queue, too, so you can export without locking the user interface, or process exports on another system such as a FLUX Store.

In this latest release, Baselight also introduces hardware-accelerated H.264 and HEVC encoding, and native support for non-Latin text – such as Chinese, Japanese and Korean – throughout the application, in filenames, metadata, counters, burnins and even in PDF reports.

The latest release is available to download now on the FilmLight web site for existing clients. Beta releases of Daylight 5.3 and Baselight Editions 5.3 are also available on request for interoperability with Baselight 5.3.

If you are looking to book freelance baselight colorist in UAE or Middle East - Please contact me digitalcinemacolorist@gmail.com

Client can attend Color Grading Session via Private Live Streaming

Now, Client can attend Color Grading Session via Live Streaming

It’s time for work from home and now clients can attend color session via live streaming. The new feature in Assimilate scratch can change the industry forever and hope the technology evolves.

• Stream the current timeline out to Facebook, Youtube, or a custom streaming server
• Capture other live rtmp streams to comp into your own live stream

Color collaboration features

• Share projects between multiple systems in a single facility on shared storage
• SCRATCH online project repository to work with multiple artists simultaneously on a single project from places all over the globe.
• SCRATCH remote: connect multiple SCRATCH systems from all around the world for a creative grading session.
• Stream SCRATCH output directly to a media server for others to live view your creative work.
• Publish to SCRATCH Web, Facebook, Vimeo or YouTube to share content online and in a secure manner for review and approval.
• Sync Player: slave one or more SCRATCH players and (remote) control playback from the master system.

For live color grading session - contact me.

Long wishes - color graded by Sudip, Pixelhouse

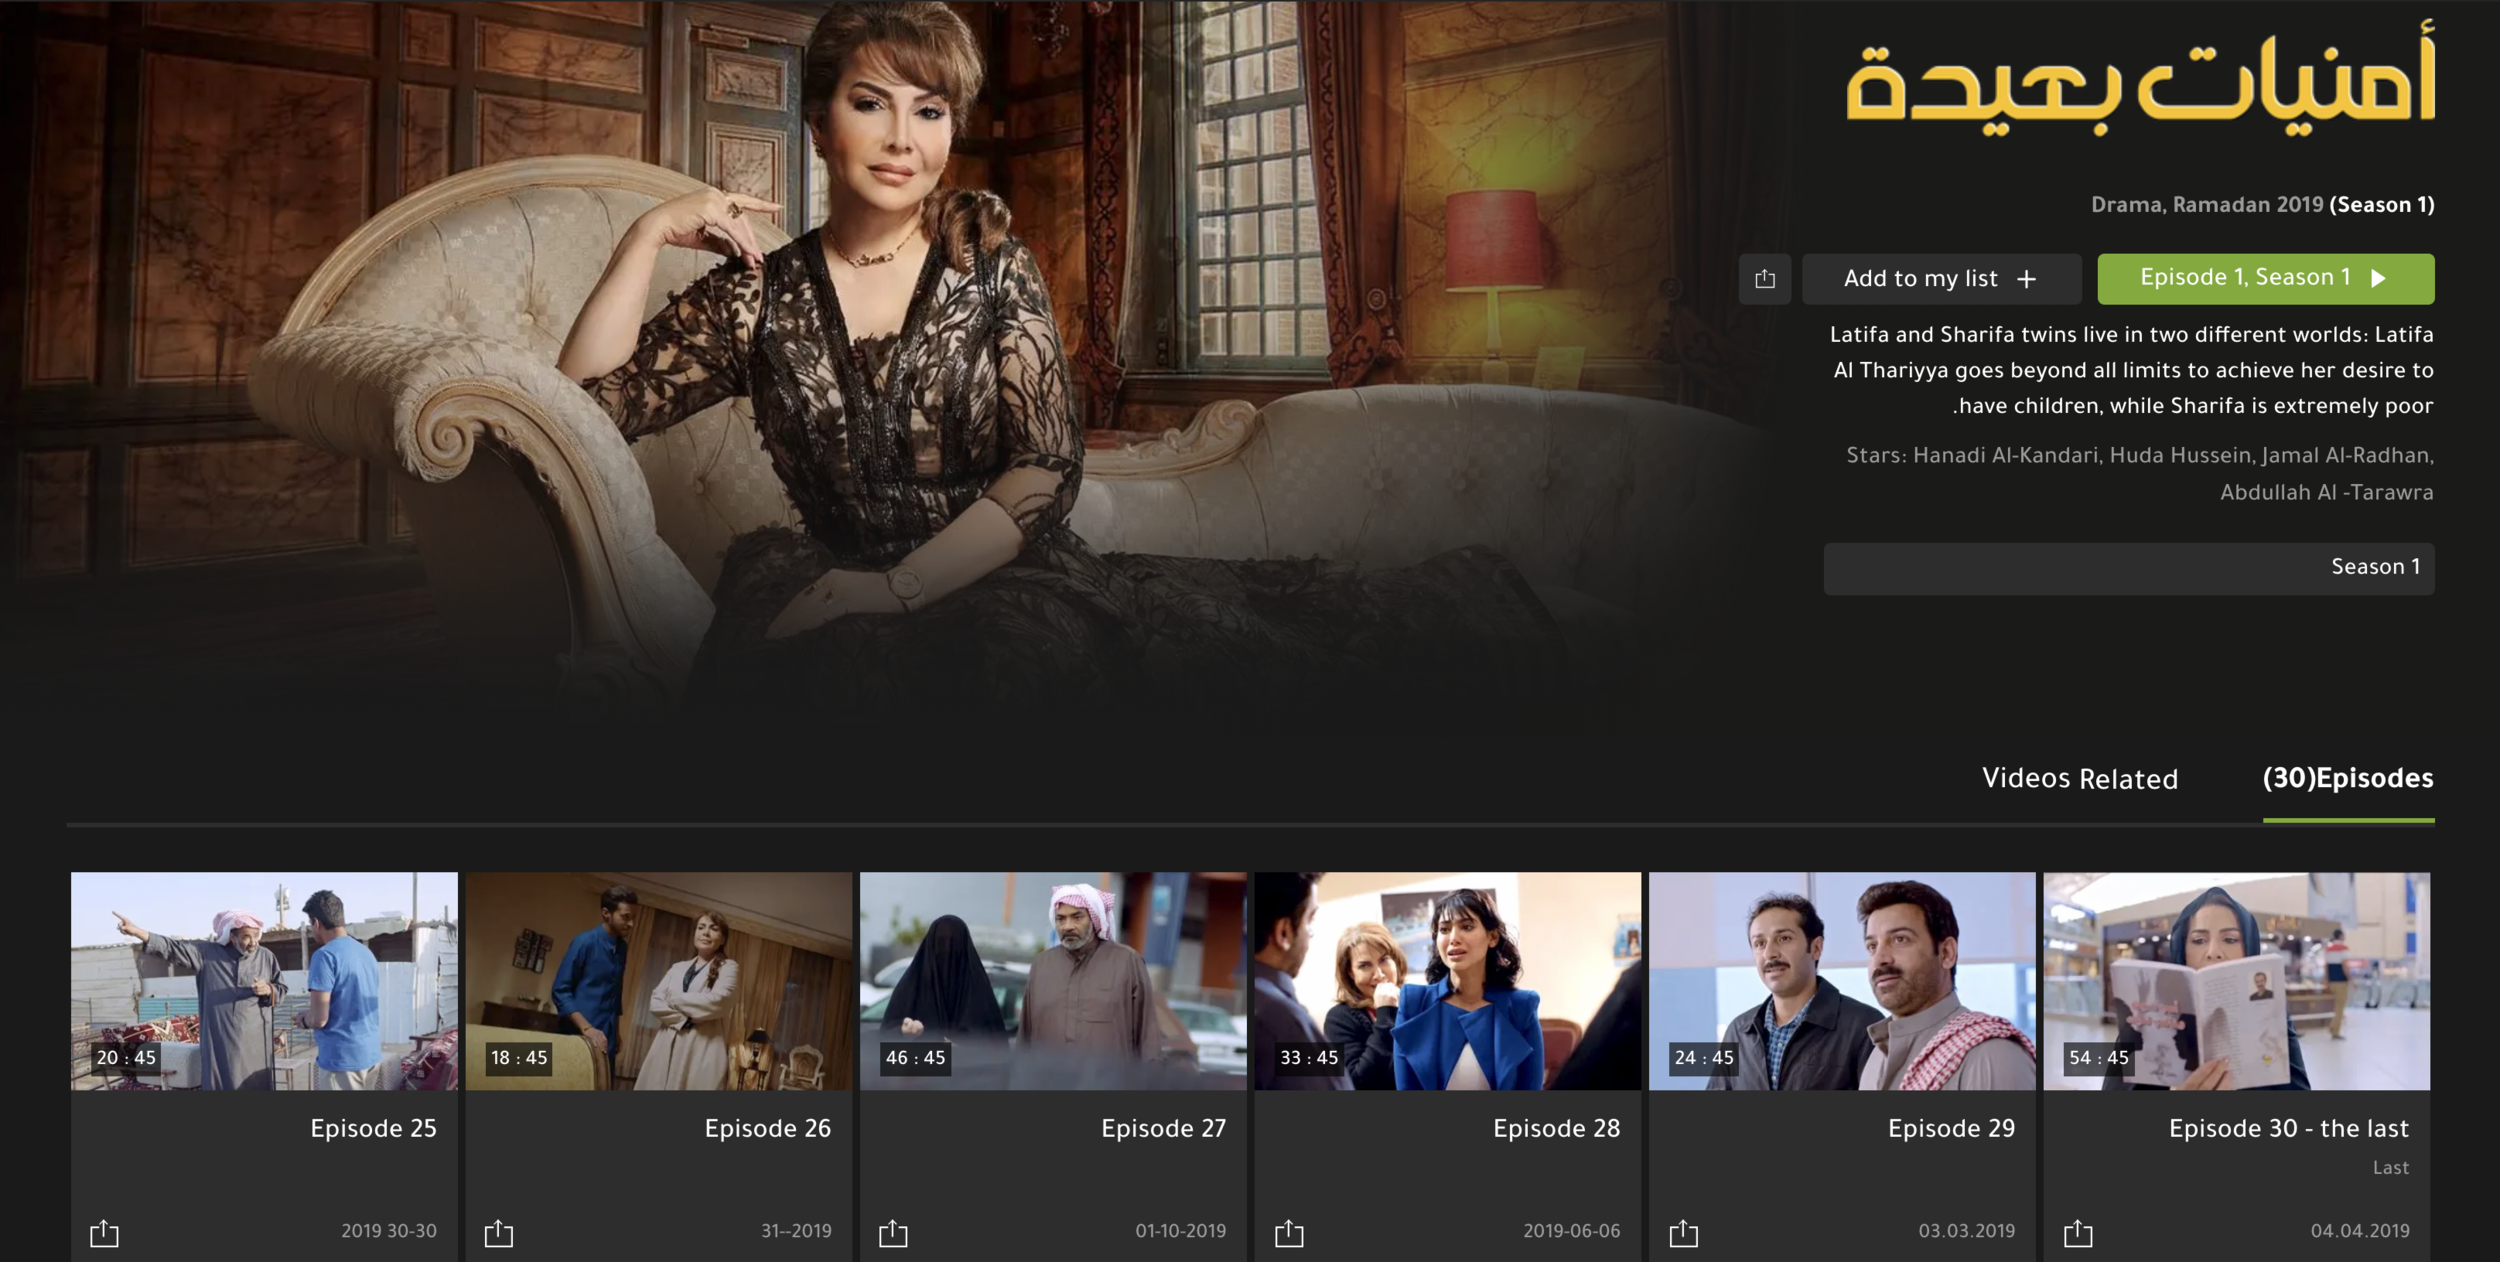
30 Episode Drama Series - color graded by Sudip Shrestha-Pixelhouse Productions, UAE.

30 Episode Drama Series - color graded by Sudip Shrestha-Pixelhouse Productions, UAE.

Color grading Drama Series - "LONG WISHES"

Latifa and Sharifa twins live in two different worlds: Latifa Al Thariyya goes beyond all limits to achieve her desire to have children, while Sharifa is extremely poor.

Watch MBC

Shot in arri alexa
Colorist - Sudip Shrestha
Duration - 30 Episodes. Each episode 45 mins
Project Duration for color - 2 working weeks.
Pixelhouse Productions

IMG_9488.JPG


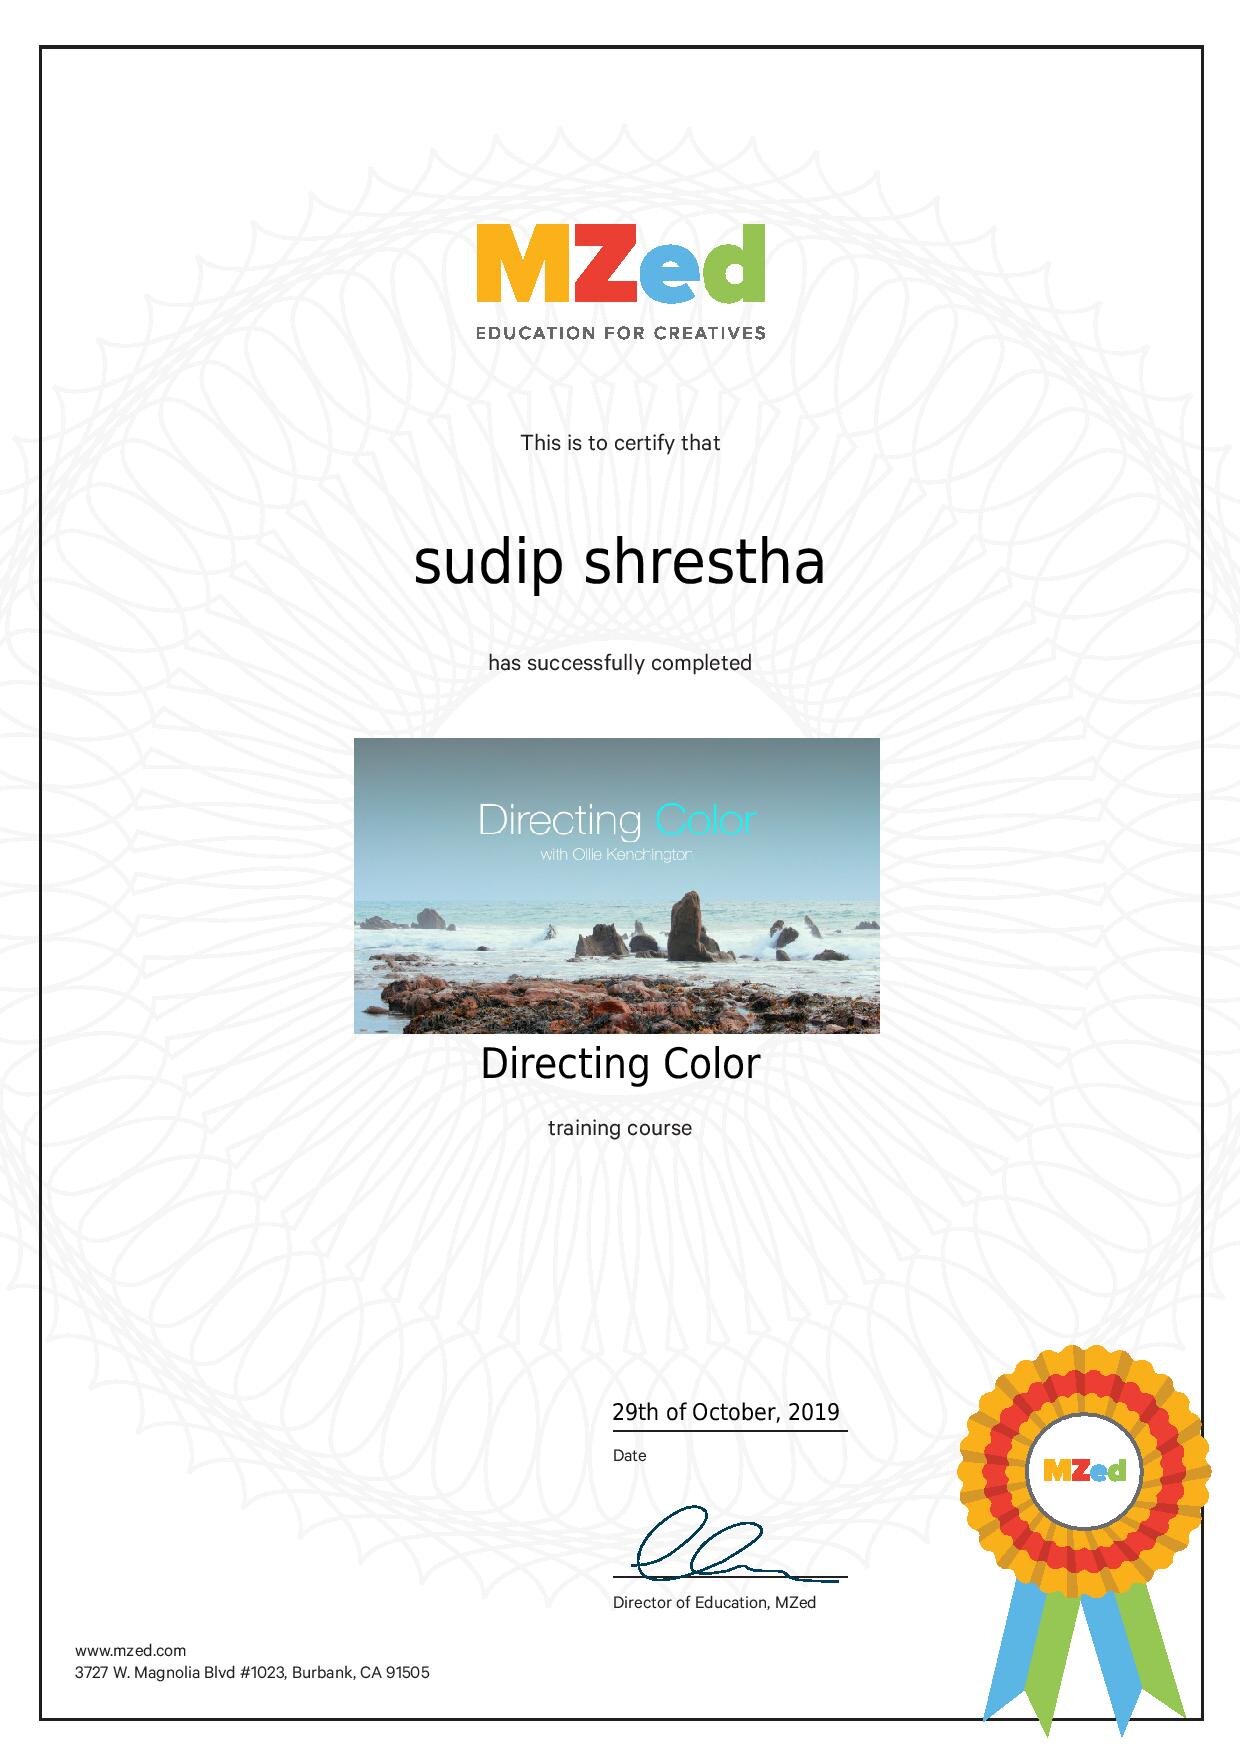
Online Certified from MZED

Online Certification Program - Sudip Shrestha

Updating oneself is always an on going process. Everyday we face new challenges and updates in every faculty. Online course is a key to unlock and discover new updates. As a colorist, I try my best to study and update my faculty and participate in all sorts of forums.

After 1 year of paid subscription of MZED I have found it very helpful to novice and expert colorist and highly recommend its subscription for every filmmakers.

MZed Pro is a subscription membership that gives you unlimited streaming access to more than 160 hours of MZed's critically acclaimed catalogue of education, including filmmaking courses from Philip Bloom, Shane Hurlbut ASC, Vincent Laforet, Alex Buono and many more.

HPA AWARD for outstanding Color Grading 2019

Outstanding Color Grading – Theatrical Feature

First Man
Natasha Leonnet // EFILM

Roma
Steven J. Scott // Technicolor

Green Book
Walter Volpatto // FotoKem

The Nutcracker and the Four Realms
Tom Poole // Company 3

Us
Michael Hatzer // Technicolor

Spider-Man: Into the Spider-Verse
Natasha Leonnet // EFILM

Outstanding Color Grading – Episodic or Non-theatrical Feature

The Handmaid’s Tale – Liars
Bill Ferwerda // Deluxe Toronto

The Marvelous Mrs. Maisel – Vote for Kennedy, Vote for Kennedy
Steven Bodner // Light Iron

Game of Thrones – Winterfell
Joe Finley // Sim, Los Angeles

I Am the Night – Pilot
Stefan Sonnenfeld // Company 3

Gotham – Legend of the Dark Knight: The Trial of Jim Gordon
Paul Westerbeck // Picture Shop

The Man in the High Castle – Jahr Null
Roy Vasich // Technicolor

Outstanding Color Grading – Commercial  

Zara – Woman Campaign Spring Summer 2019
Tim Masick // Company 3

Tiffany & Co. – Believe in Dreams: A Tiffany Holiday
James Tillett // Moving Picture Company

Hennessy X.O. – The Seven Worlds
Stephen Nakamura // Company 3

Palms Casino – Unstatus Quo
Ricky Gausis // Moving Picture Company

Audi – Cashew
Tom Poole // Company 3

Creating IMF for Netflix in UAE

What is IMF?

The Interoperable Master Format (IMF) is a family of standards for implementation of CMW. Published by SMPTE, the ST 2067 family defines methods for interchange of a wide variety of audiovisual content, including all common television and cinema formats. The promise of IMF is reliable CMW, assembled from off-the-shelf components and local requirements.

If you have IMF Delivery for Netflix please contact us.

Dolby Vision Mastering in UAE

HDR

HDR is considered an important new technological step in image display since it provides an immediately visible clear improvement in image quality, even to the untrained eye and independently of image resolution, screen size or viewing distance. In addition, the increase in data rate for an HDR signal is minimal, thus creating great visual impact for small increase in cost.

What is Dolby Vision?

Dolby has played a key role in the development of HDR for both commercial cinema and home theatre applications. The most significant advantage of Dolby Vision HDR is the addition of dynamic metadata to the core HDR image data.

This metadata carries scene-by-scene instructions that a Dolby Vision-capable display can use to make sure it portrays the content as accurately as possible. Dolby Vision-capable TVs combine the scene-by-scene information received from the source with an awareness of their own capabilities in terms of brightness, contrast and color performance.

The minimum specification for Dolby Vision mastering requires the use of reference monitors with a contrast ratio of 200,000:1, peak brightness of 1000 nits, color range ‘approaching’ the Rec 2020 standard, and support for the SMPTE ST-2084 HDR format.

Dolby Vision Content Producers

Netflix, Amazon Prime Video,Vudu, Lionsgate, Sony Pictures, Universal and Warner Bros - have all released Dolby Vision contents.
Note - It’s not mandatory for a content creator to deliver both HDR10 and Dolby Vision.

DOLBY VISION MASTERING IN UAE

DOLBY VISION MASTERING IN UAE

For more information & services on dolby vision mastering in UAE contact - www.pixelhouse.ae

DIT & my dit cart

DIT - Digital Image Technician

A DIT (Digital Imaging Technician) is responsible for assisting the DP by controlling image quality, troubleshooting, on-set color correction, and managing production workflow. 

Homepage-Cart.png

ON SET DIT

Real time 8k workflow, HDR & 360 VR monitoring system.

Key Responsibilities

  • Managing media offloads

  • Building LUTs with the DoP for the different scenes

  • Applying those LUTs to transcoded ProRes footage for the offline edit

  • Creating 720p dailies to be placed in DropBox for the above-the-line team (or “adults” as we sometimes call them) to follow along with the production.

My DIT cart

DIT cart is the basis for every digital imaging technician.

Assimilate Scratch
Davinci Resolve
Filmlight Daylight
Pomfort Silverstack

Rogue-Fixed1.png

Basic DIT kit

www.pixelhouse.ae

Grading for vevo - Gara Eh for Ahmed Hassan - EGYPT

Color grading S-log in Sony A7s series cameras

The Sony A7s was definitely one of the hottest cameras from 2014, and as it's been in use for several years now, As a colourist, I have had plenty of opportunity to discover how to obtain the best possible image from it.

When shooting in HD internally, there is a growing consensus among A7s users that it's best practice to expose to the right +2 S (ETTR) (that is, exposure should be compensated brighter without clipping highlights).

Here, the video illustrates the effectiveness of exposing to the right two stops and overexposing a shot and making some quick adjustments in a color grading and achieving the best results.

Before/After color grading

Ahmed Hassan - Gara Eh (Official Video)DOP: Mo Ismael
Editor: Emshad Al Haq
Colourist: Sudip Shrestha
Post Production: Pixel House UAE
Universal Music MENA

Pixelhouse Production

Pixel House is based in Dubai and started operations in 2013 with a main focus on producing TV shows and video production projects.

For more information please visit : pixelhouse.ae

Download Baselight 5.0 student version

Avid vs. FCP vs. Premiere for editing likewise Davinci resolve vs Baselight vs assimilate scratch for color grading. Its your choice. Filmlight recently updated Baselight and sent 90 days trial license to use student version of Baselight.

Train to be a professional Baselight colourist with support from FilmLight


Baselight STUDENT is a comprehensive version of FilmLight’s Baselight colour grading software—with GPU rendering—that runs on any supported Mac platform.

The principle limitation is that the application is restricted to render out only h.264* movies or JPEG images. With no watermarking, this means that Baselight STUDENT can be used to create academic-year projects within the limitation of the delivery formats. Along with conform capability, colour space handling, format editing and the ability to render both image sequences and movie files, this also makes the application the ideal tool to learn how to start your career as a professional colourist assistant.

As Baselight STUDENT is specifically intended to help people learn how to work with Baselight professionally, the licence is limited to a 90-day training period; however this can be reviewed if necessary when your licence expires.

Key features

The student application is built from exactly the same software source as the full Baselight system. That means that it will always be up-to-date with the latest release. 
For a full list of Baselight functionality, please see the datasheets in the Document Library on our web site. Some of the highlights of Baselight STUDENT include:

  • Support for control surfaces including Slate (but not Blackboard).

  • Optional AJA SDI monitoring.

  • 4:2:0 Y’CbCr cache allowing playback on lower-end machines.

  • Rendering capability for h.264* movies or JPEG image sequences.

    Join Baselight student program.