


Music video colorist in dubai
The King of Arab Pop
CAEL Winner - Best Arabic Pop-Latin Artist - Aziz Abdo
color graded by SUDIP SHRESTHA a.k.a in Instagram

color graded by SUDIP SHRESTHA a.k.a in Instagram
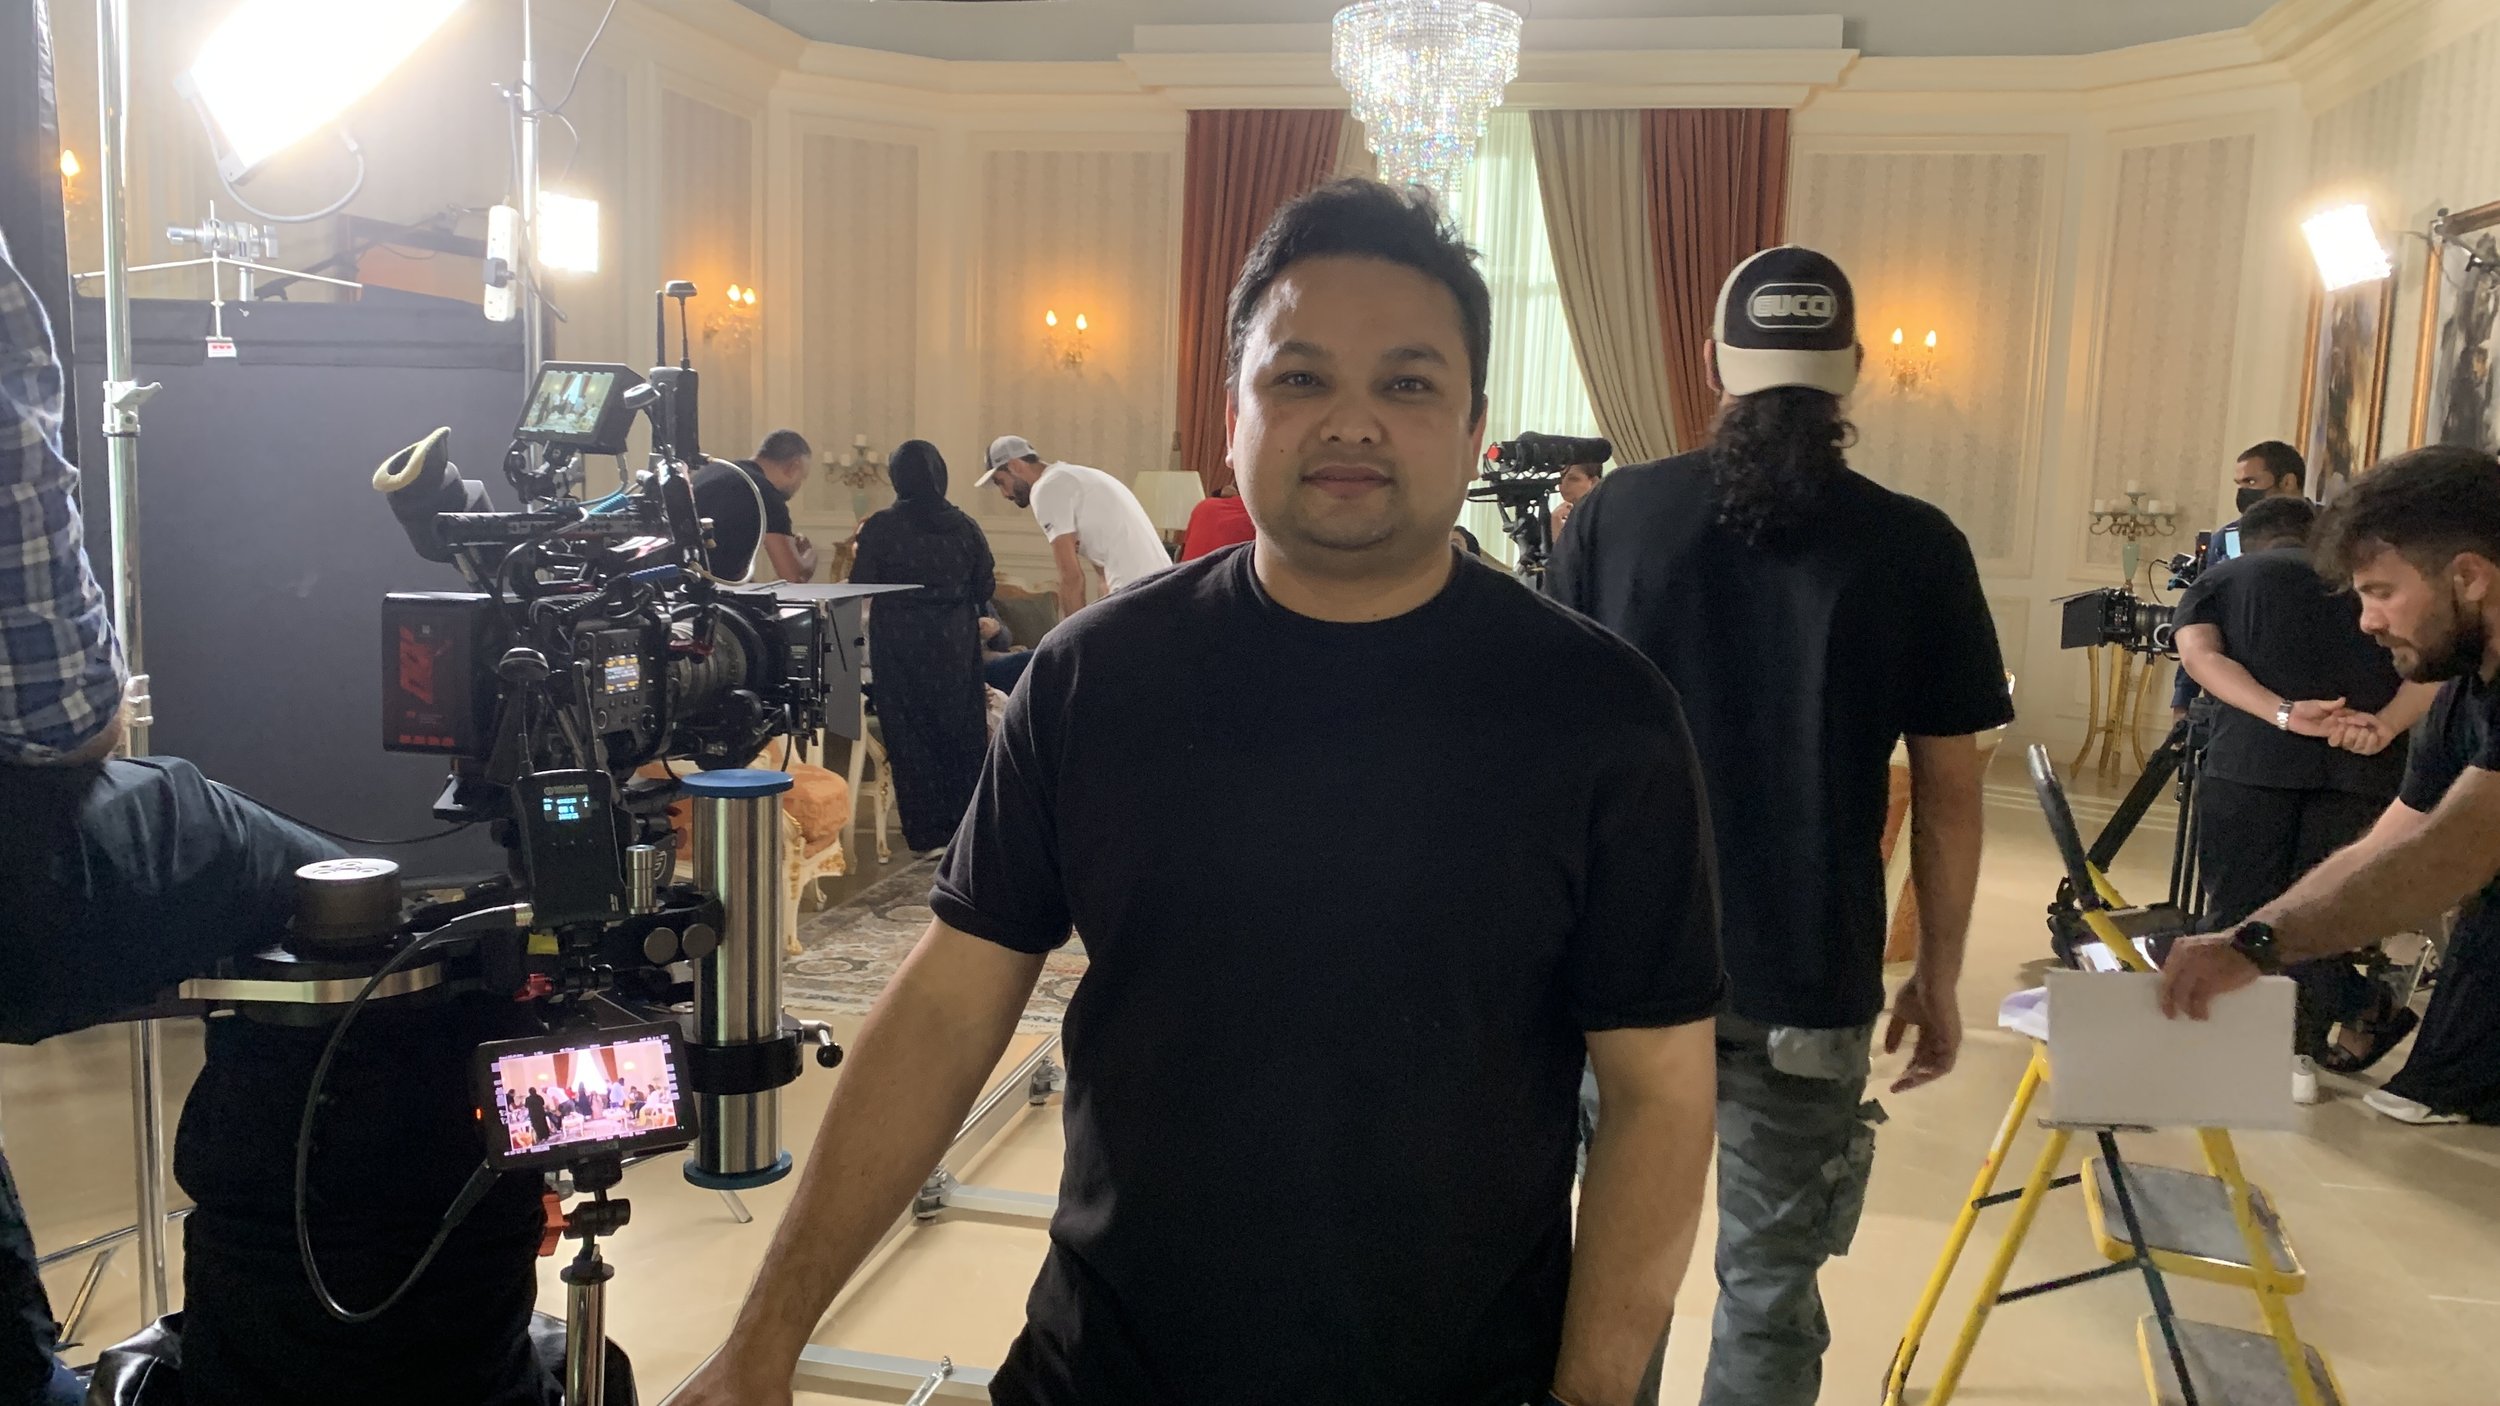
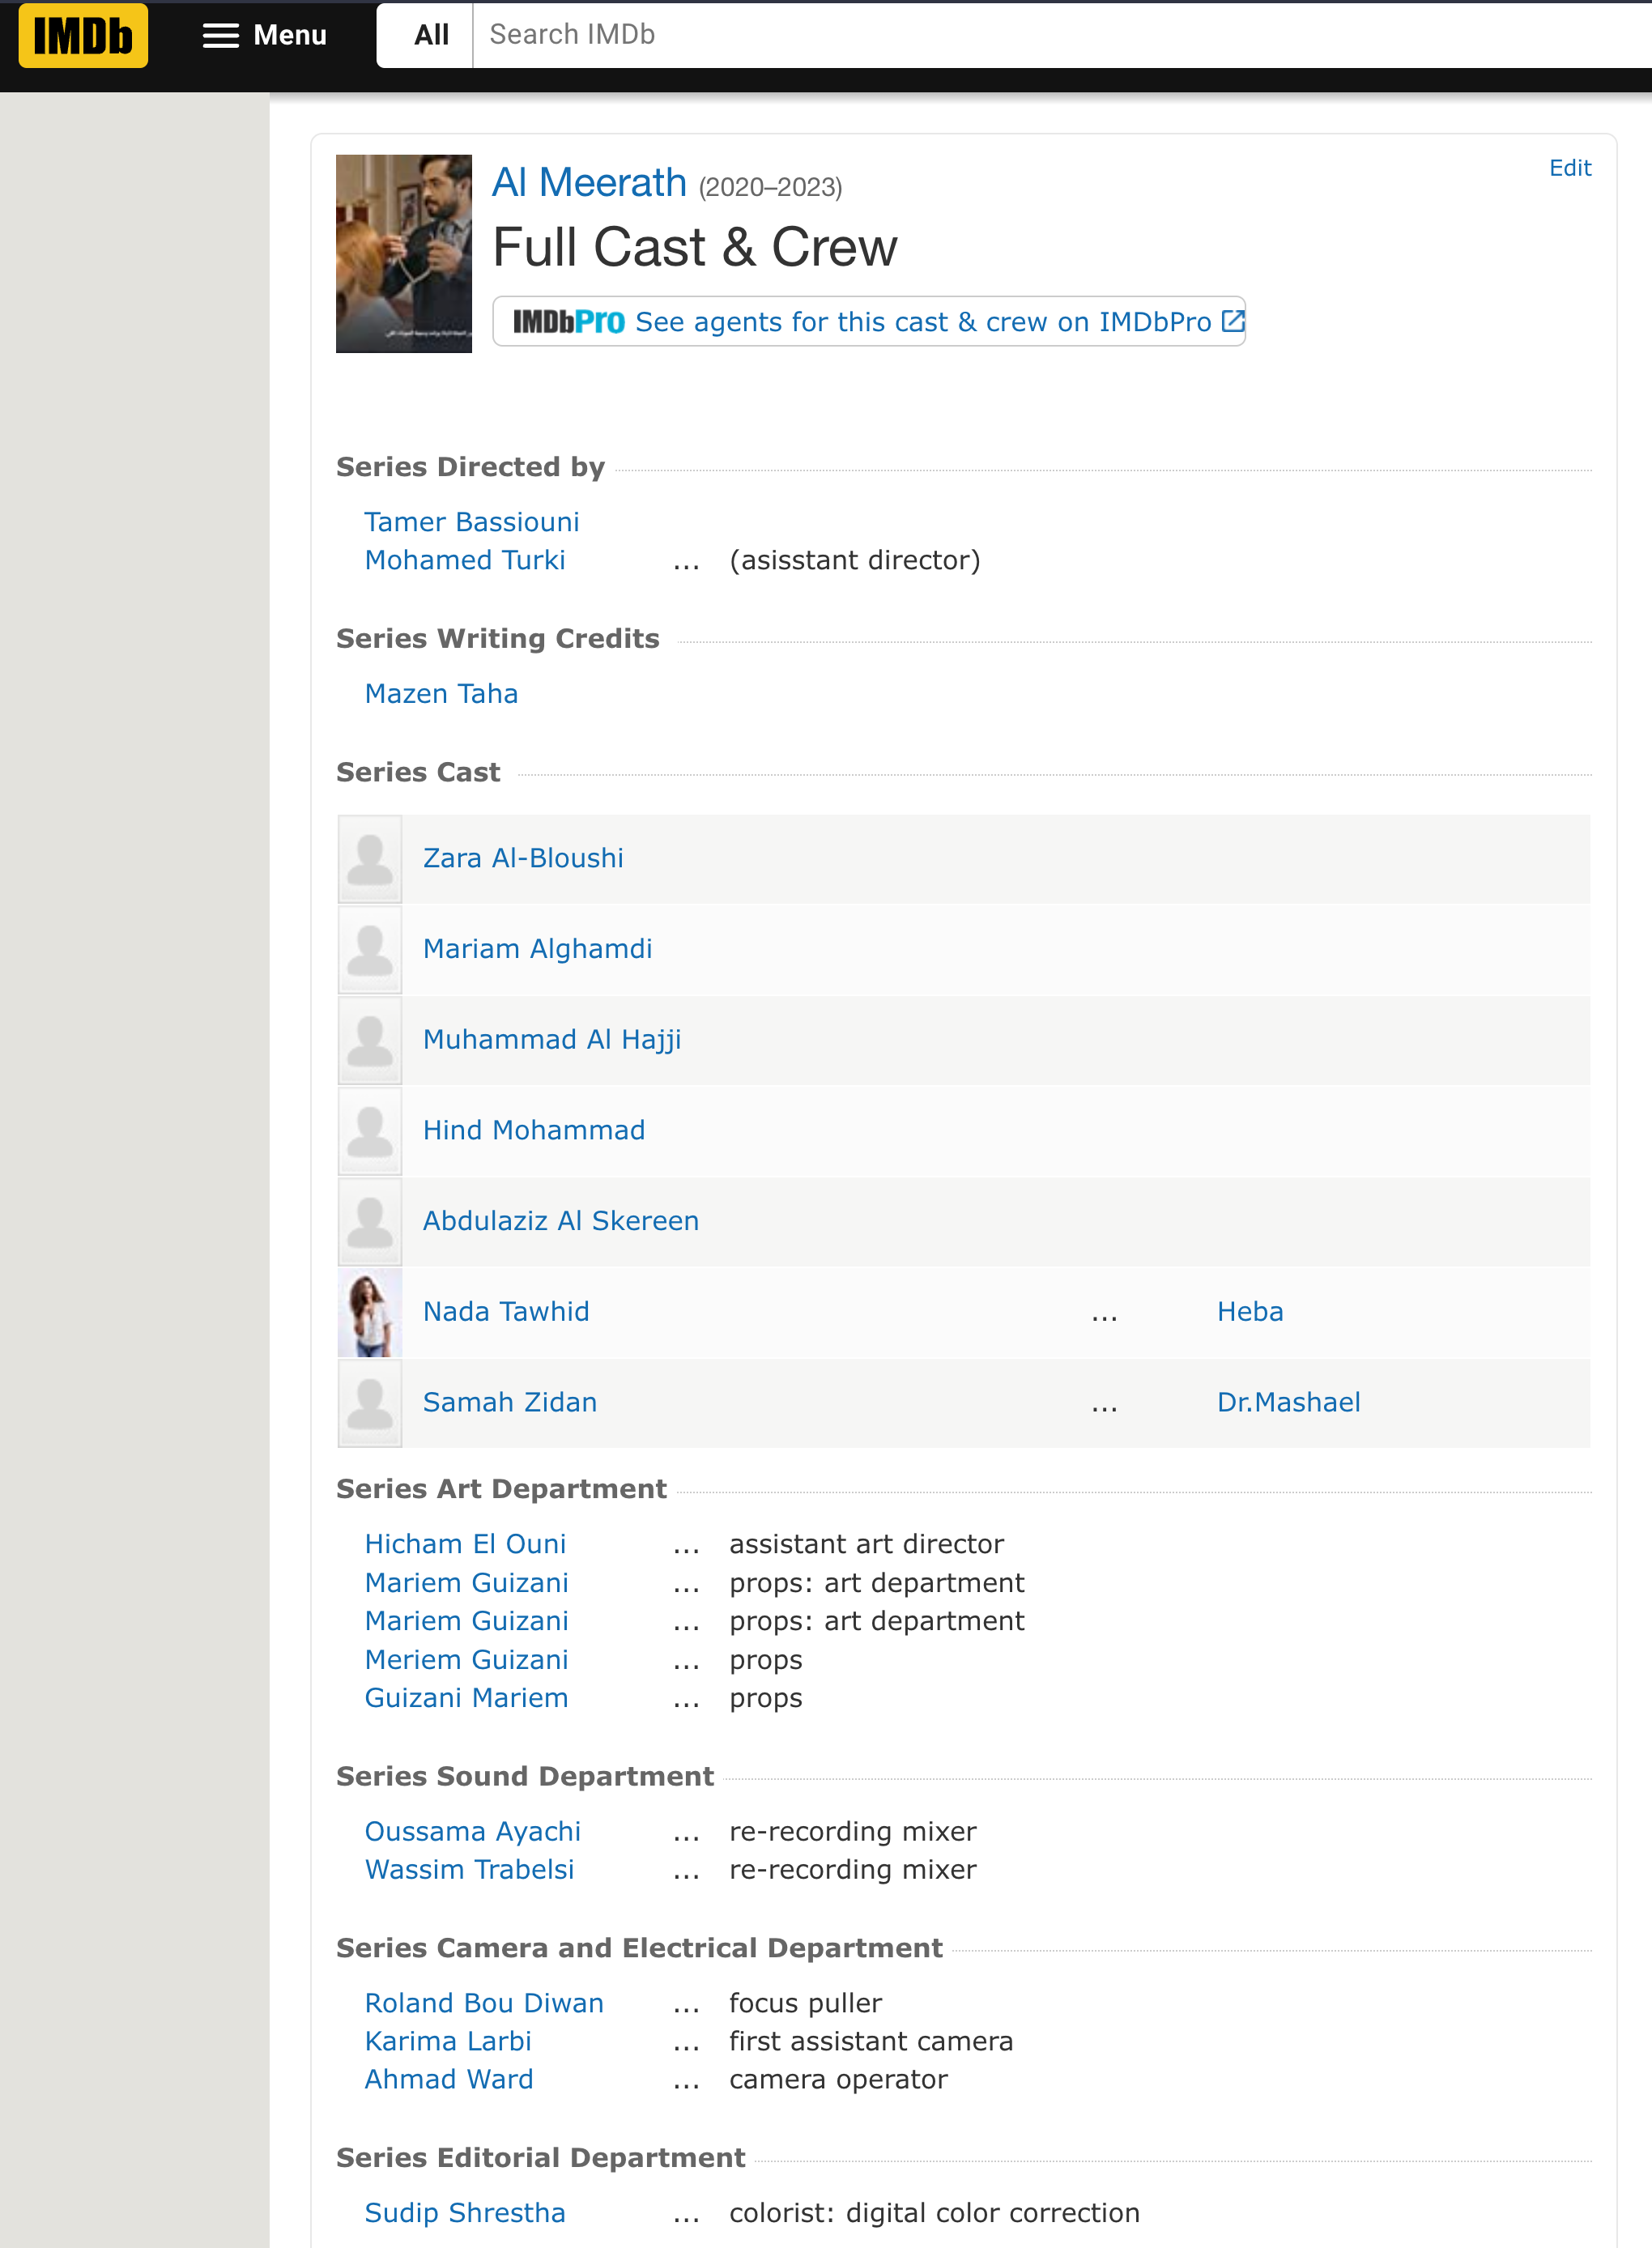
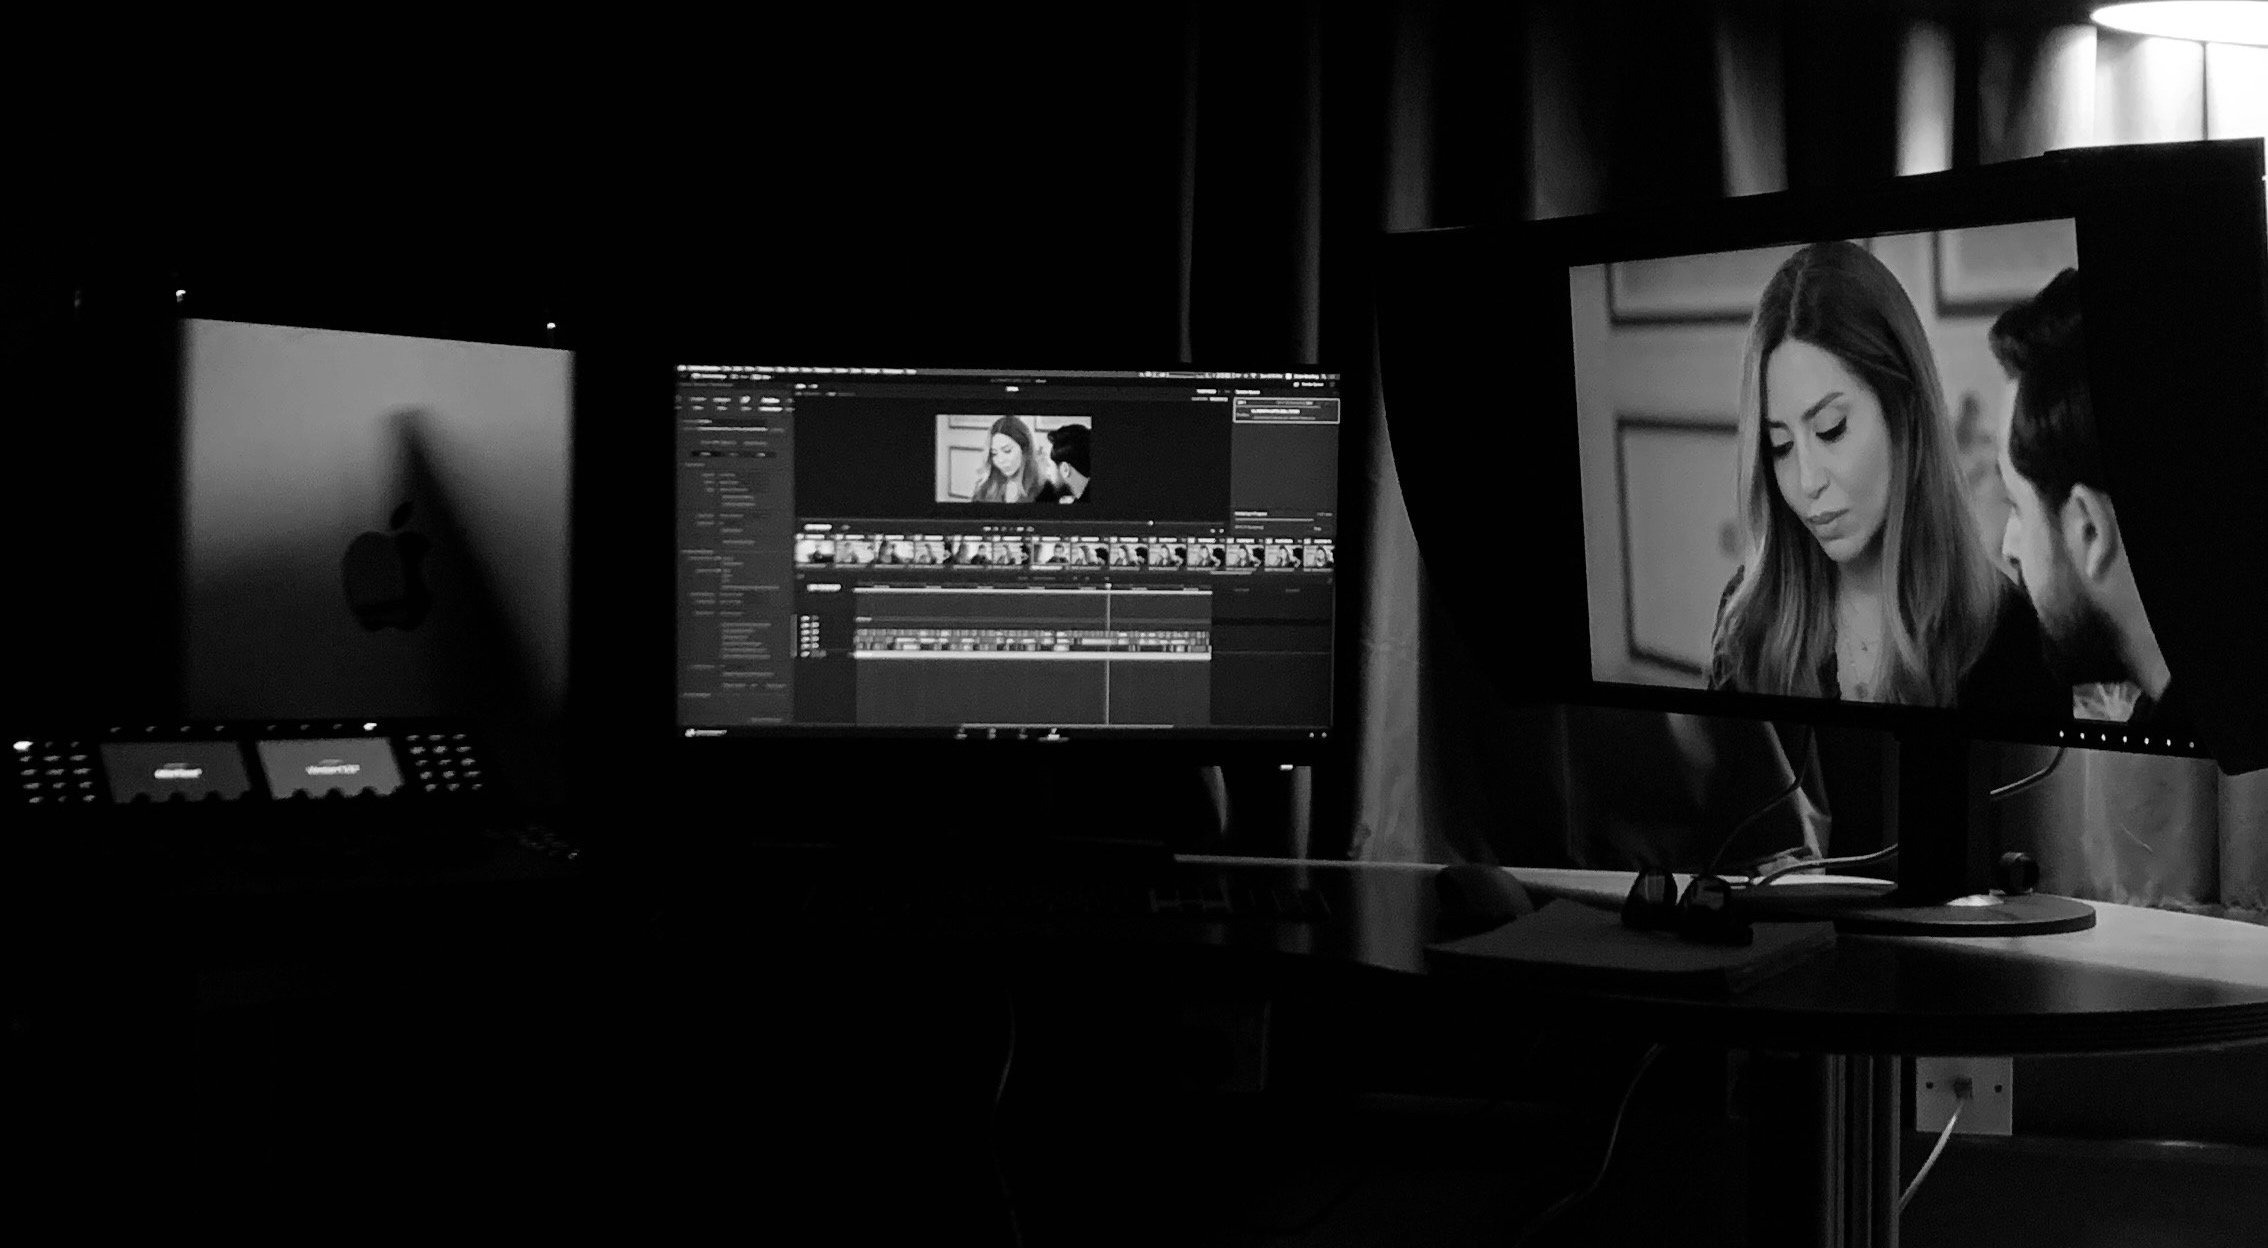
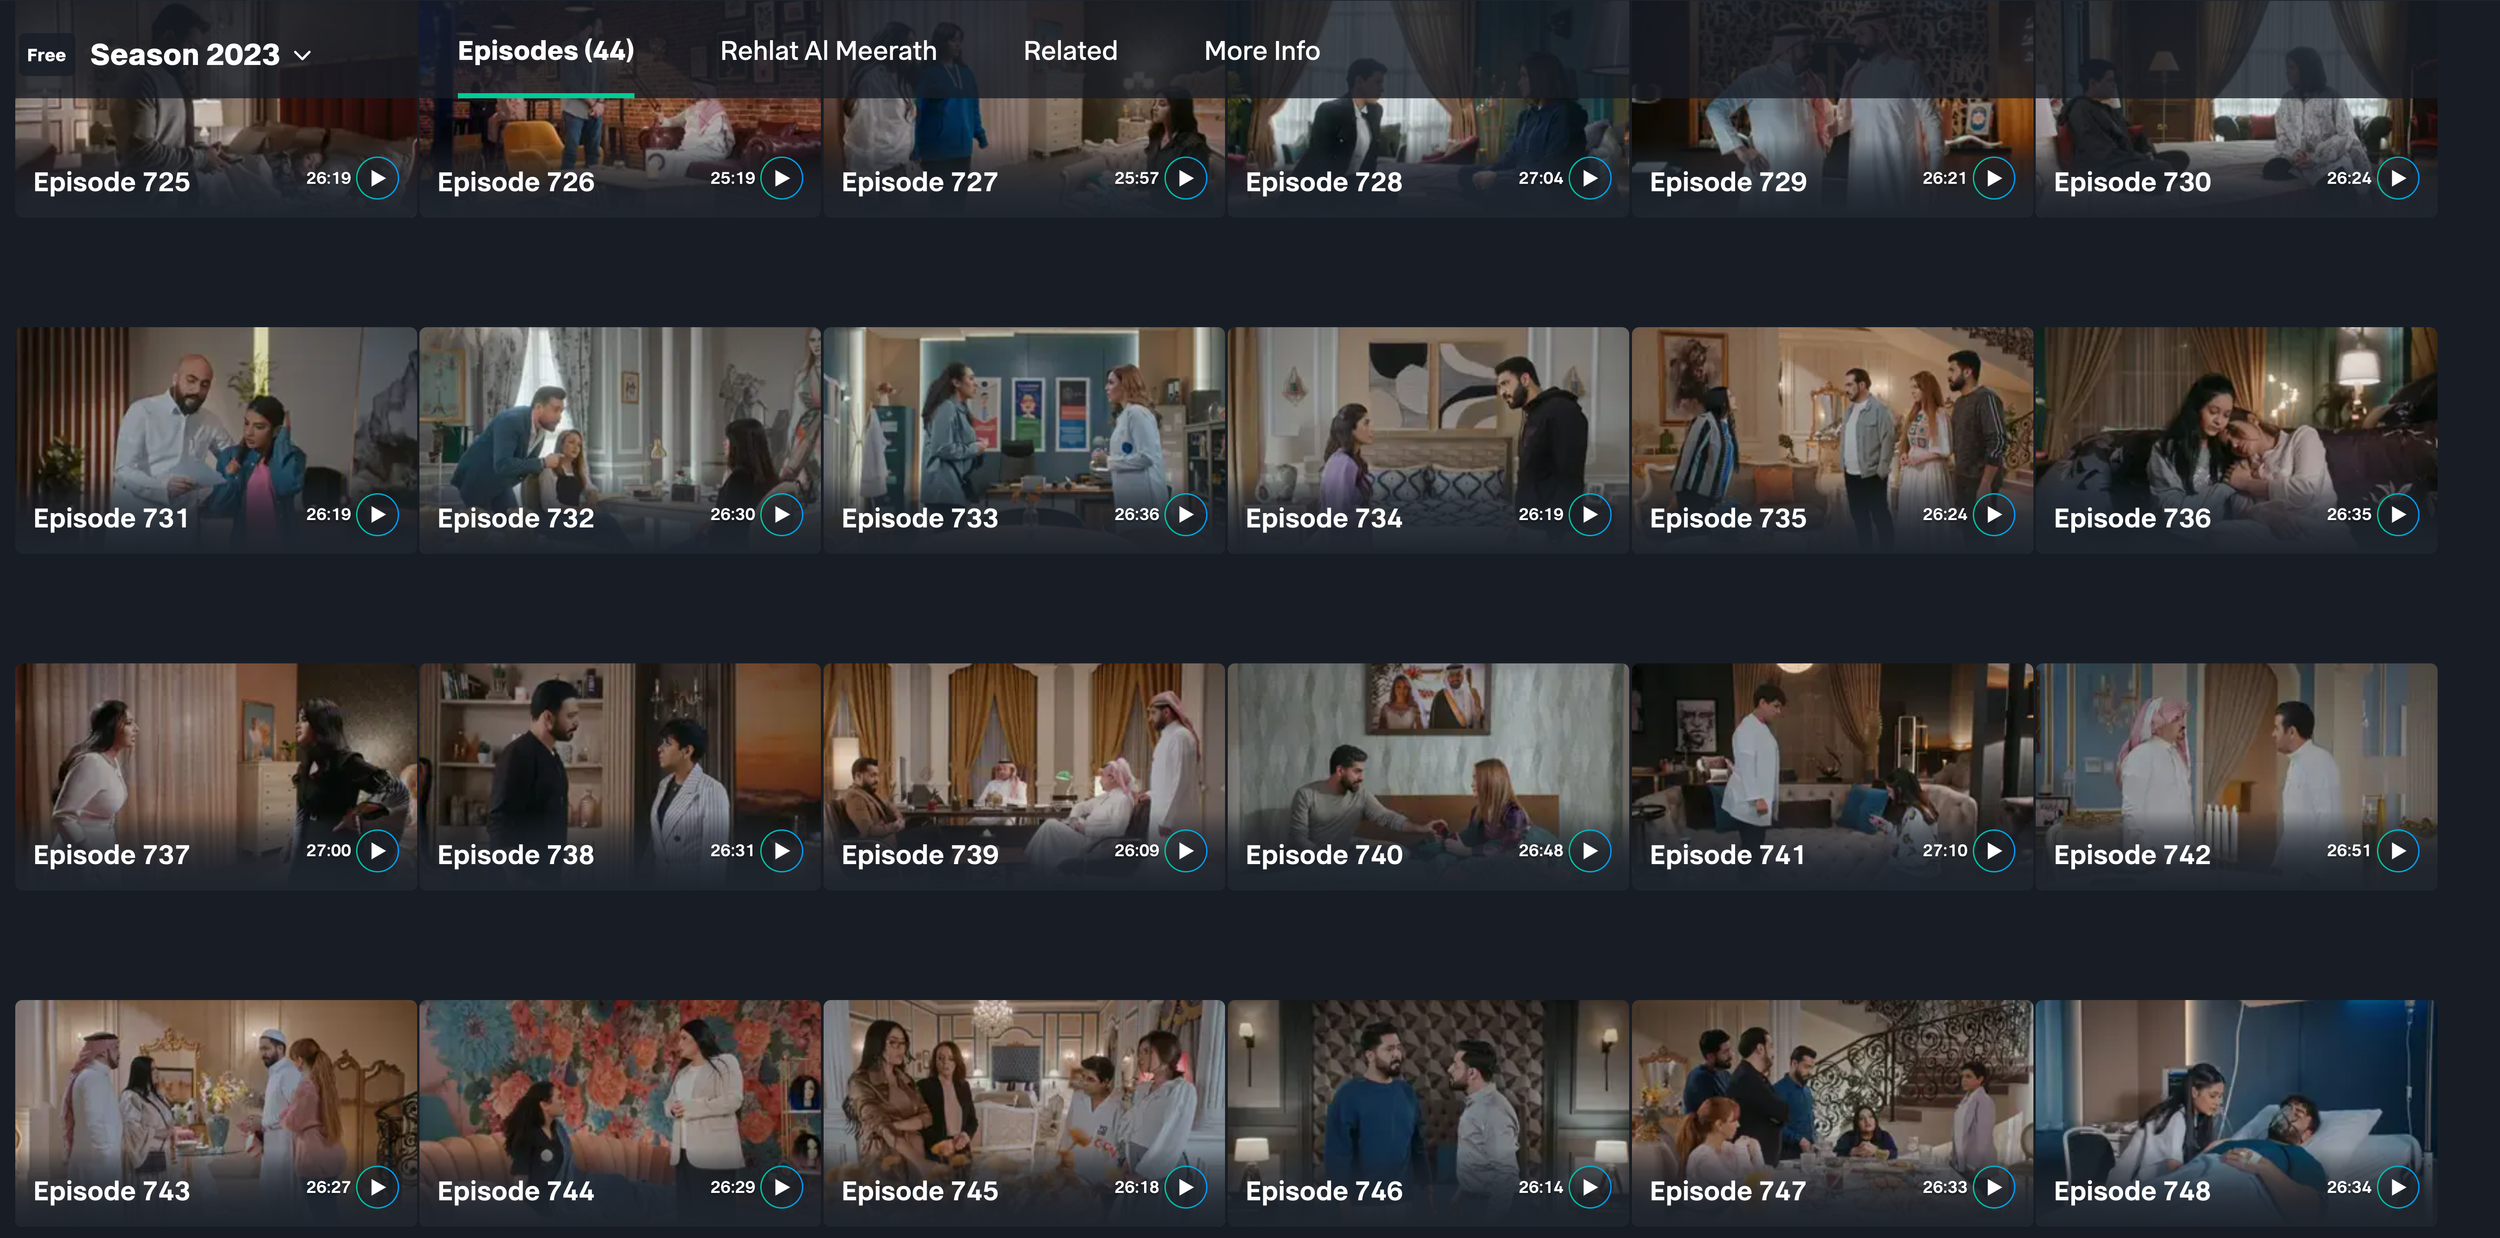
Al Meerath, a Saudi Arabian soap opera, has captured the hearts of millions of viewers with its engaging storyline and rich cultural representation. With a whopping 750 episodes, in 3 years. It stands as the epitome of Saudi Arabian television production. (2019-2022)
The magnitude of this project demanded exceptional craftsmanship, and Sudip Shrestha, the Nepalese colorist, played a pivotal role in the visual brilliance of Al Meerath. - Ayman Tonsi -editor

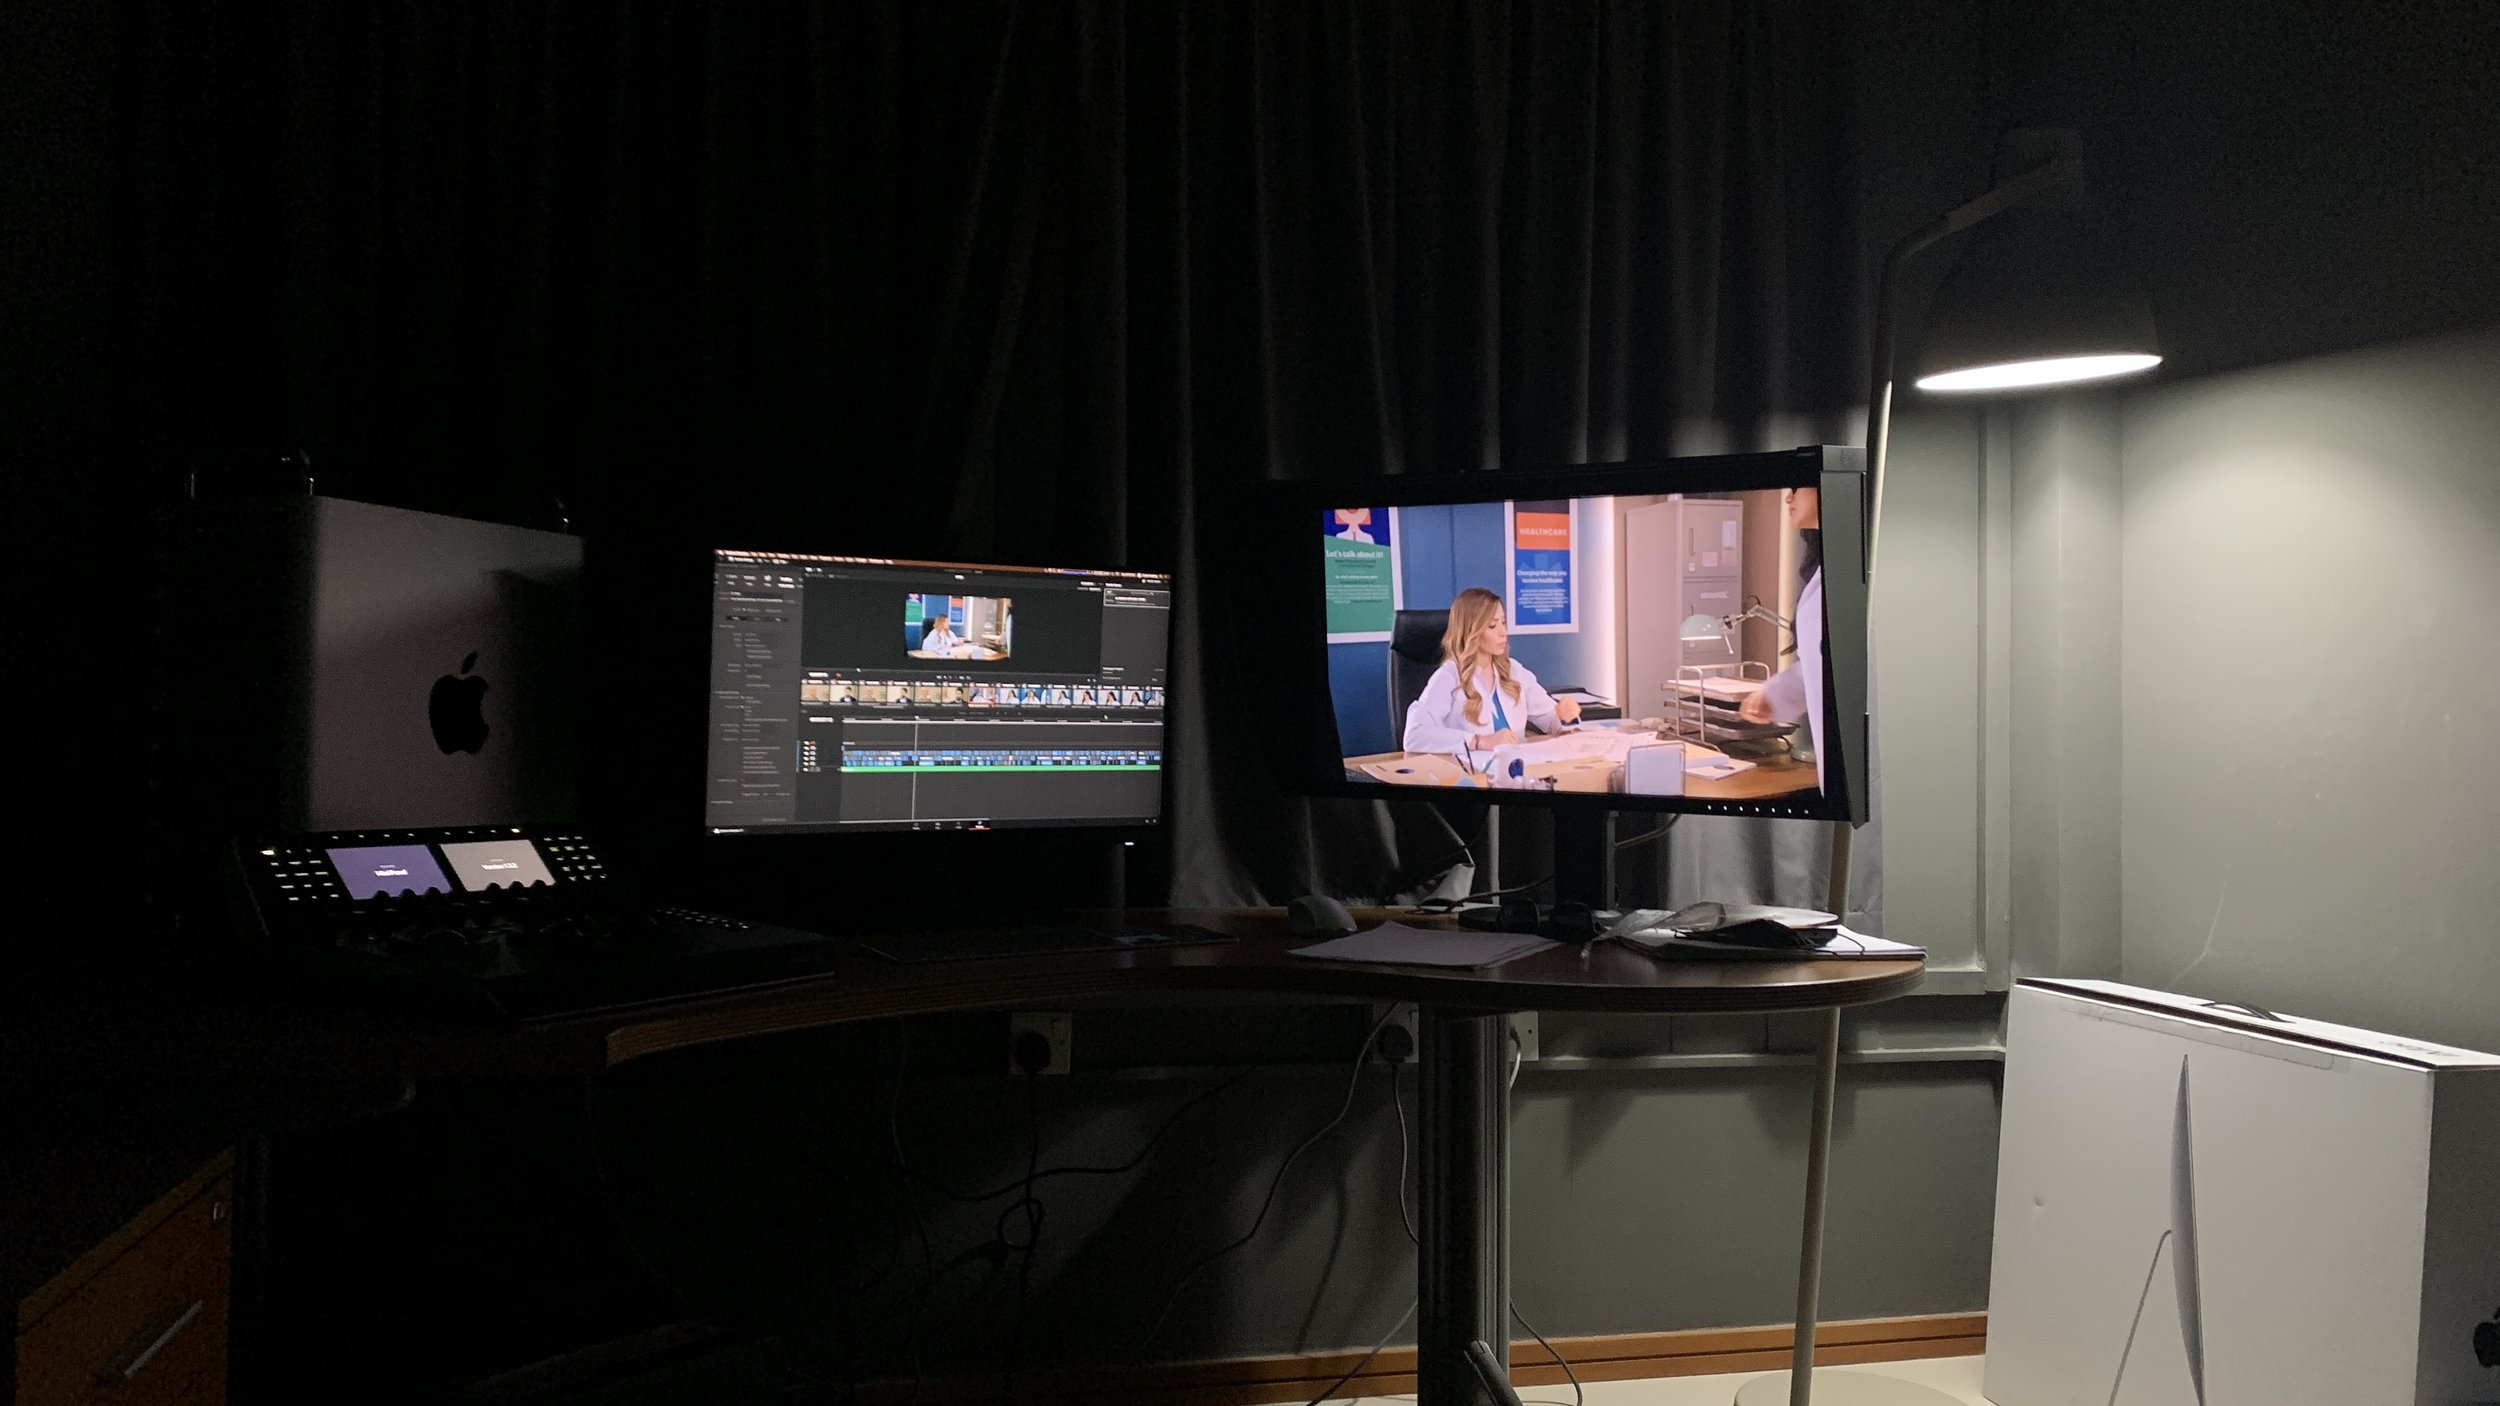


Sony Venice 3 set
Edit Share
Davinci Resolve
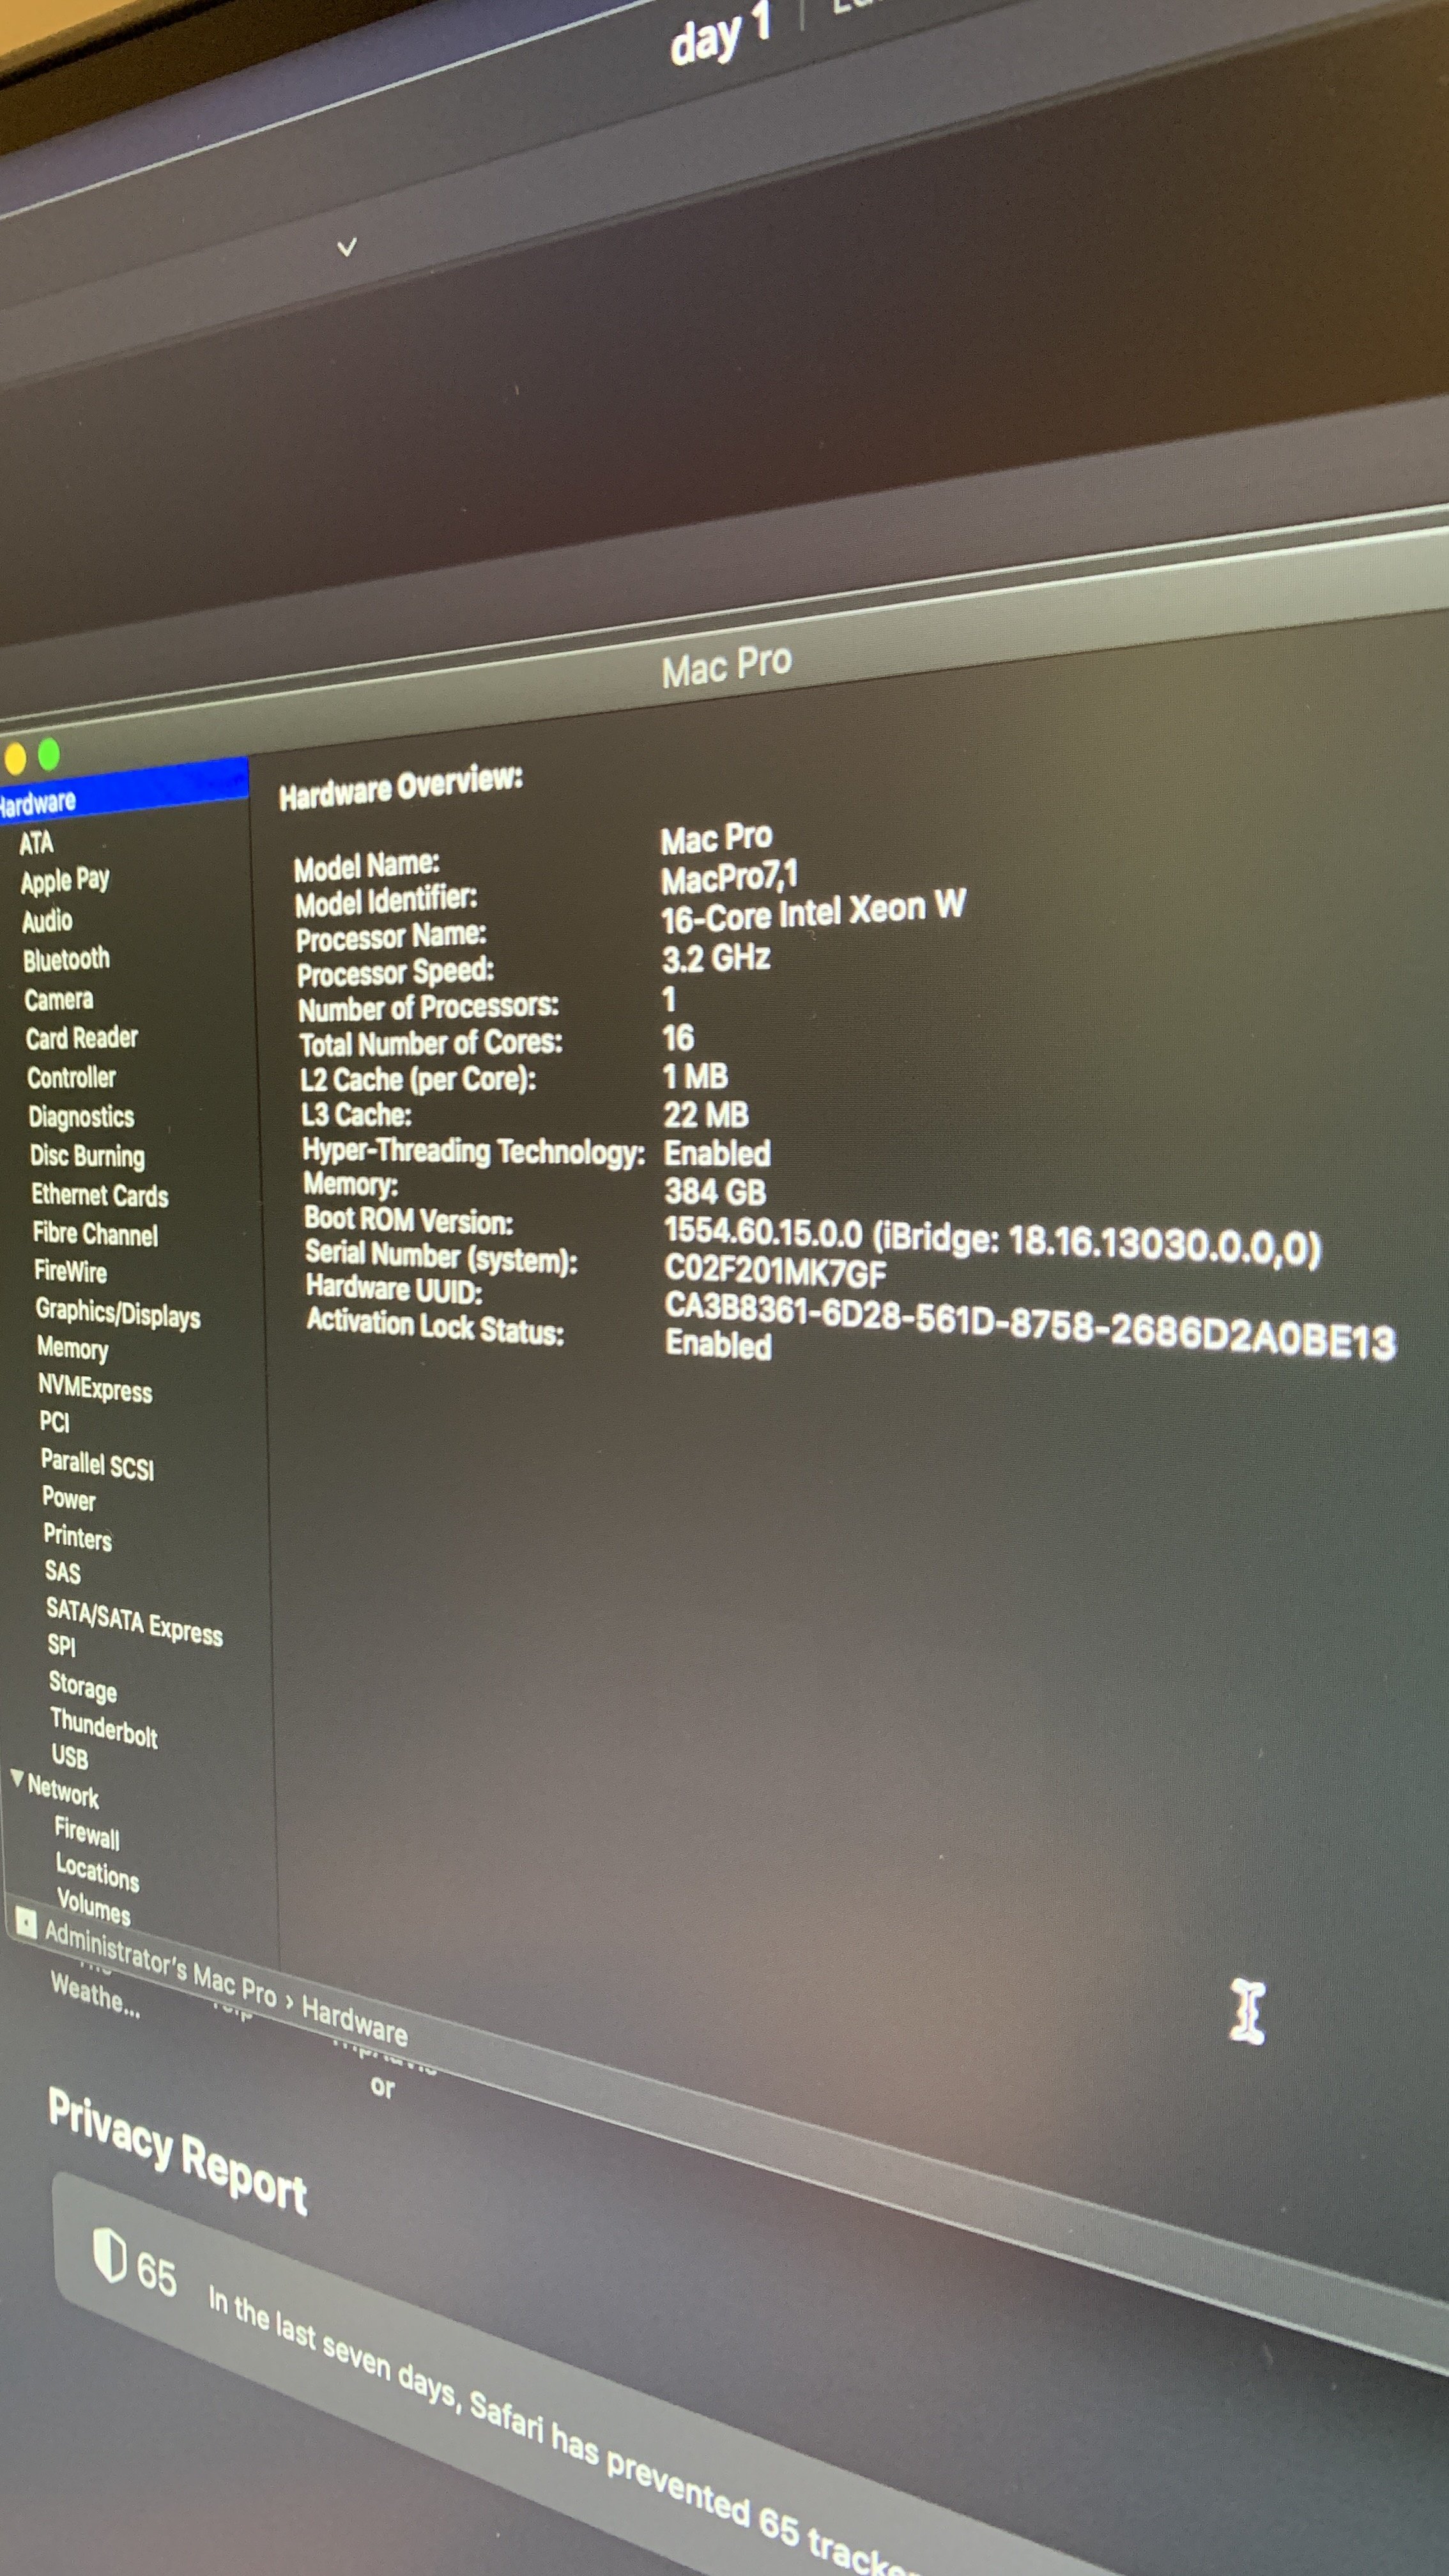
Apple Macpro
Eizo monitor
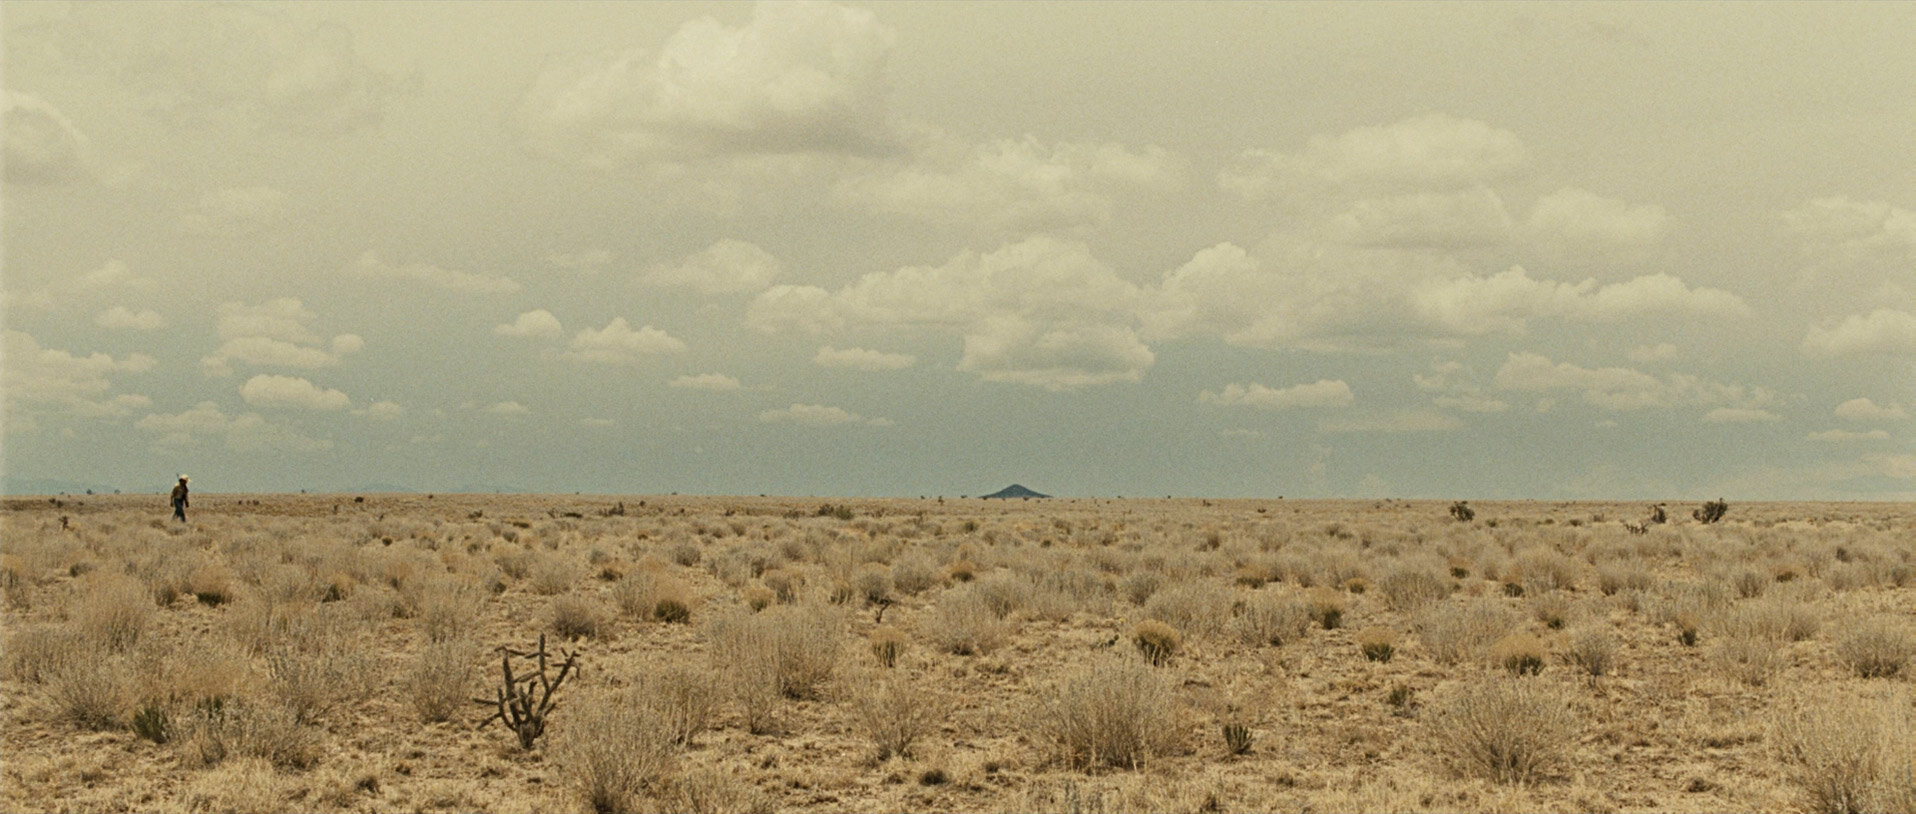
Creating a visually appealing music video involves a combination of planning, creativity, and attention to detail. Here are some tips to help you make your music video look better:
Develop a concept: Start by brainstorming ideas that align with the mood, lyrics, and overall feel of your song. Think about the story or visual elements you want to incorporate. A well-defined concept will guide your creative decisions throughout the process.
Plan your shots: Storyboarding and shot lists can help you visualize how each shot will contribute to the overall video. Consider the composition, framing, and camera movements to create dynamic and visually engaging shots.
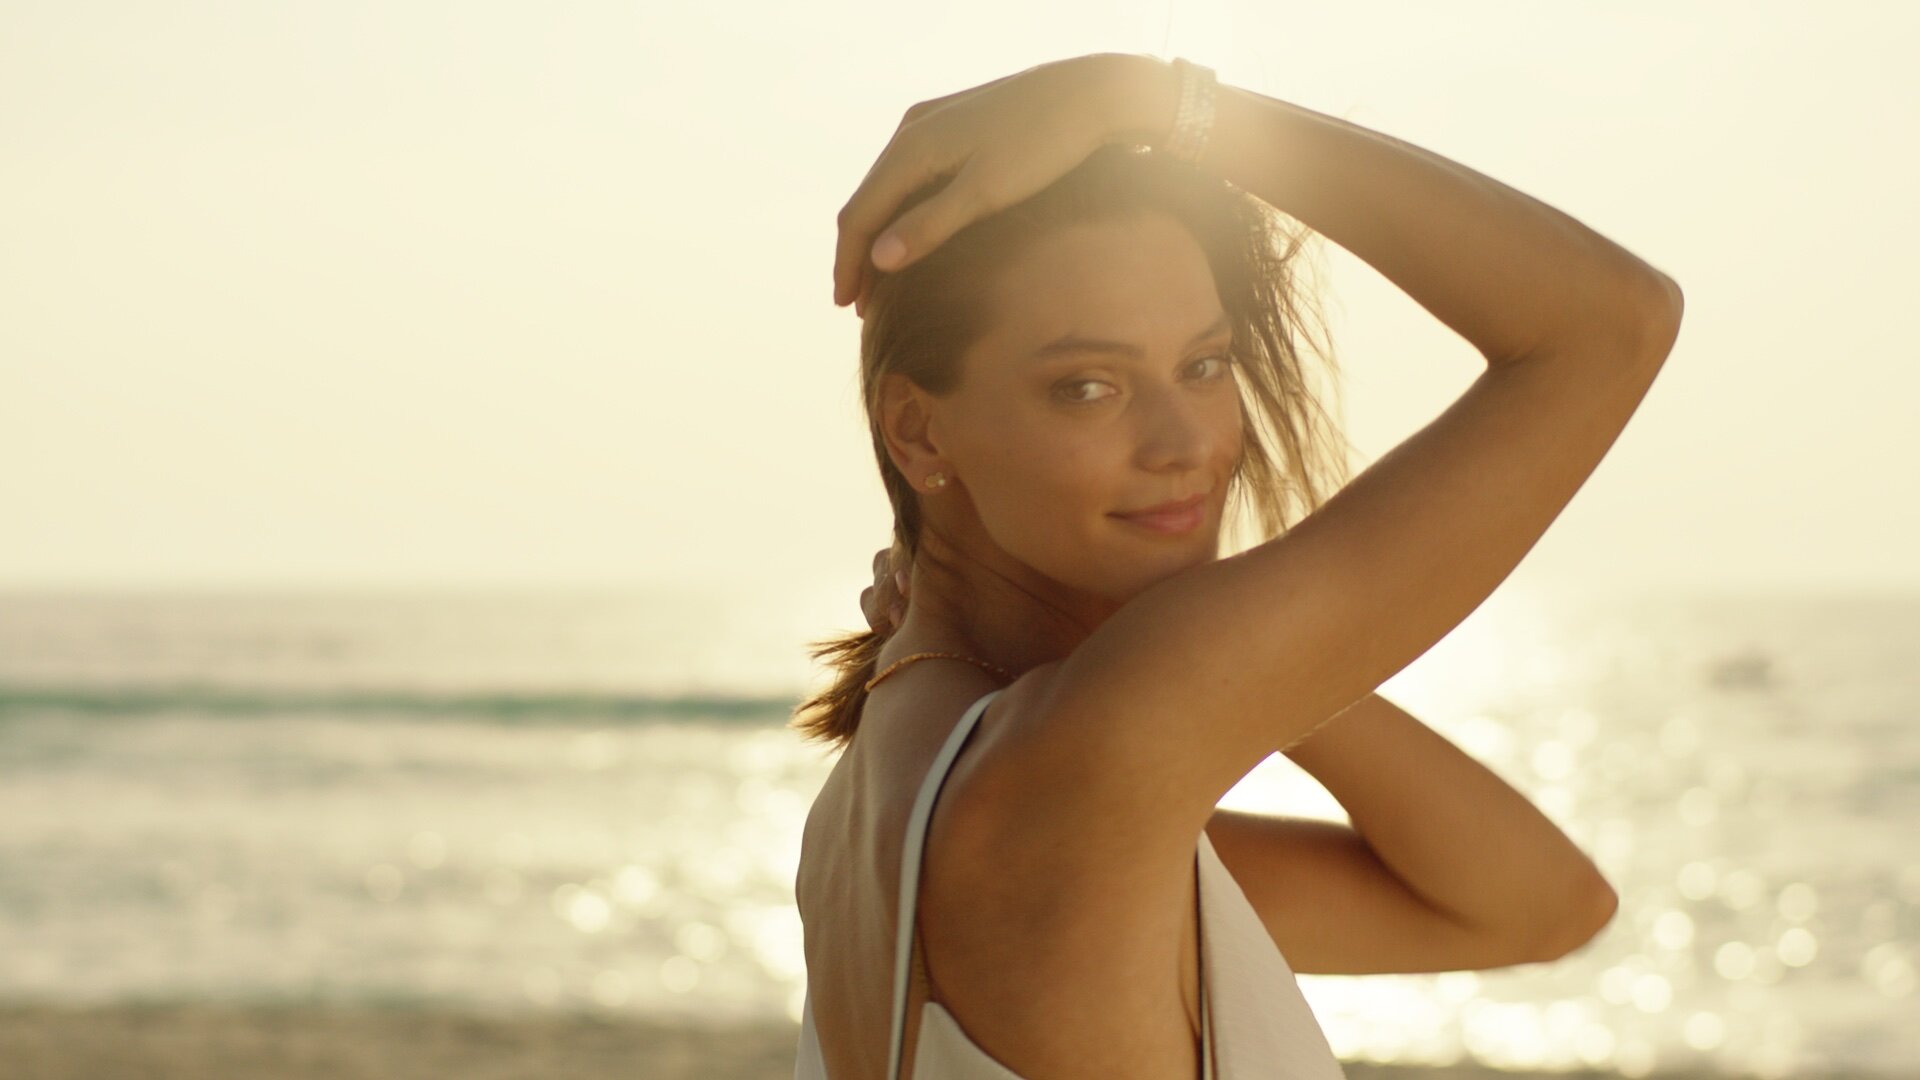
Lighting: Lighting plays a crucial role in creating atmosphere and setting the tone of your music video. Experiment with different lighting setups to achieve the desired mood. Pay attention to natural lighting, artificial lighting, shadows, and color temperature.
Location and set design: Choose locations and sets that complement your concept and enhance the visual appeal. Whether it's an urban street, a picturesque landscape, or an elaborately designed set, make sure the environment aligns with your vision.
Costume and styling: The attire and styling of the artists can significantly impact the visual aesthetics of your music video. Select outfits and accessories that complement the concept and the mood of the song. Consider the color palette, textures, and overall visual cohesion.
Cinematography: Experiment with camera angles, movements, and techniques to add depth and visual interest to your shots. Incorporate different techniques like panning, tracking, and aerial shots to create variety and captivate the audience.
Editing and post-production: Skillful editing can enhance the visual appeal of your music video. Experiment with cuts, transitions, effects, and color grading to achieve the desired look and feel. Pay attention to the pacing and synchronization with the music.
Visual effects: If your concept calls for it, consider adding visual effects to your music video. This can range from simple effects like color grading and overlays to more complex visual effects. Use effects sparingly and purposefully to avoid overwhelming the viewer.
Choreography and performance: If your music video includes dance or performance elements, ensure that the movements are well choreographed and rehearsed. Strong performances can captivate the audience and make the video more visually engaging.
Attention to detail: Small details can make a big difference in the overall visual quality of your music video. Pay attention to props, set dressing, makeup, and overall production design. Take the time to refine each aspect of your video to achieve a polished result.
Director of Photography - by Sudip Shrestha
Remember that experimentation and creativity are key to making your music video stand out. Don't be afraid to try new ideas, and always strive to align your visual choices with the mood and message of the song.
How to Color Grade?
Color grading is the process of adjusting the colors and tones of a video to achieve a specific look or mood. Here is a general overview of the steps involved in color grading a video:
Correct any technical issues: Before color grading your video, it's important to ensure that the video is technically sound. This can involve adjusting the exposure, white balance, and contrast to ensure that the footage is well-exposed and has accurate colors.
Choose a color grading software: There are many color grading software options available, including DaVinci Resolve, Adobe Premiere Pro, Final Cut Pro, and others. Choose a software that suits your needs and preferences.
Create a reference image or video: Before color grading your video, it can be helpful to create a reference image or video that represents the desired look. This can involve taking inspiration from other films, photographs, or art.
Apply a LUT or preset: Some color grading software may include built-in LUTs (Look-Up Tables) or presets that can be applied to your footage to achieve a specific look. Applying a LUT or preset can be a good starting point for your color grading.
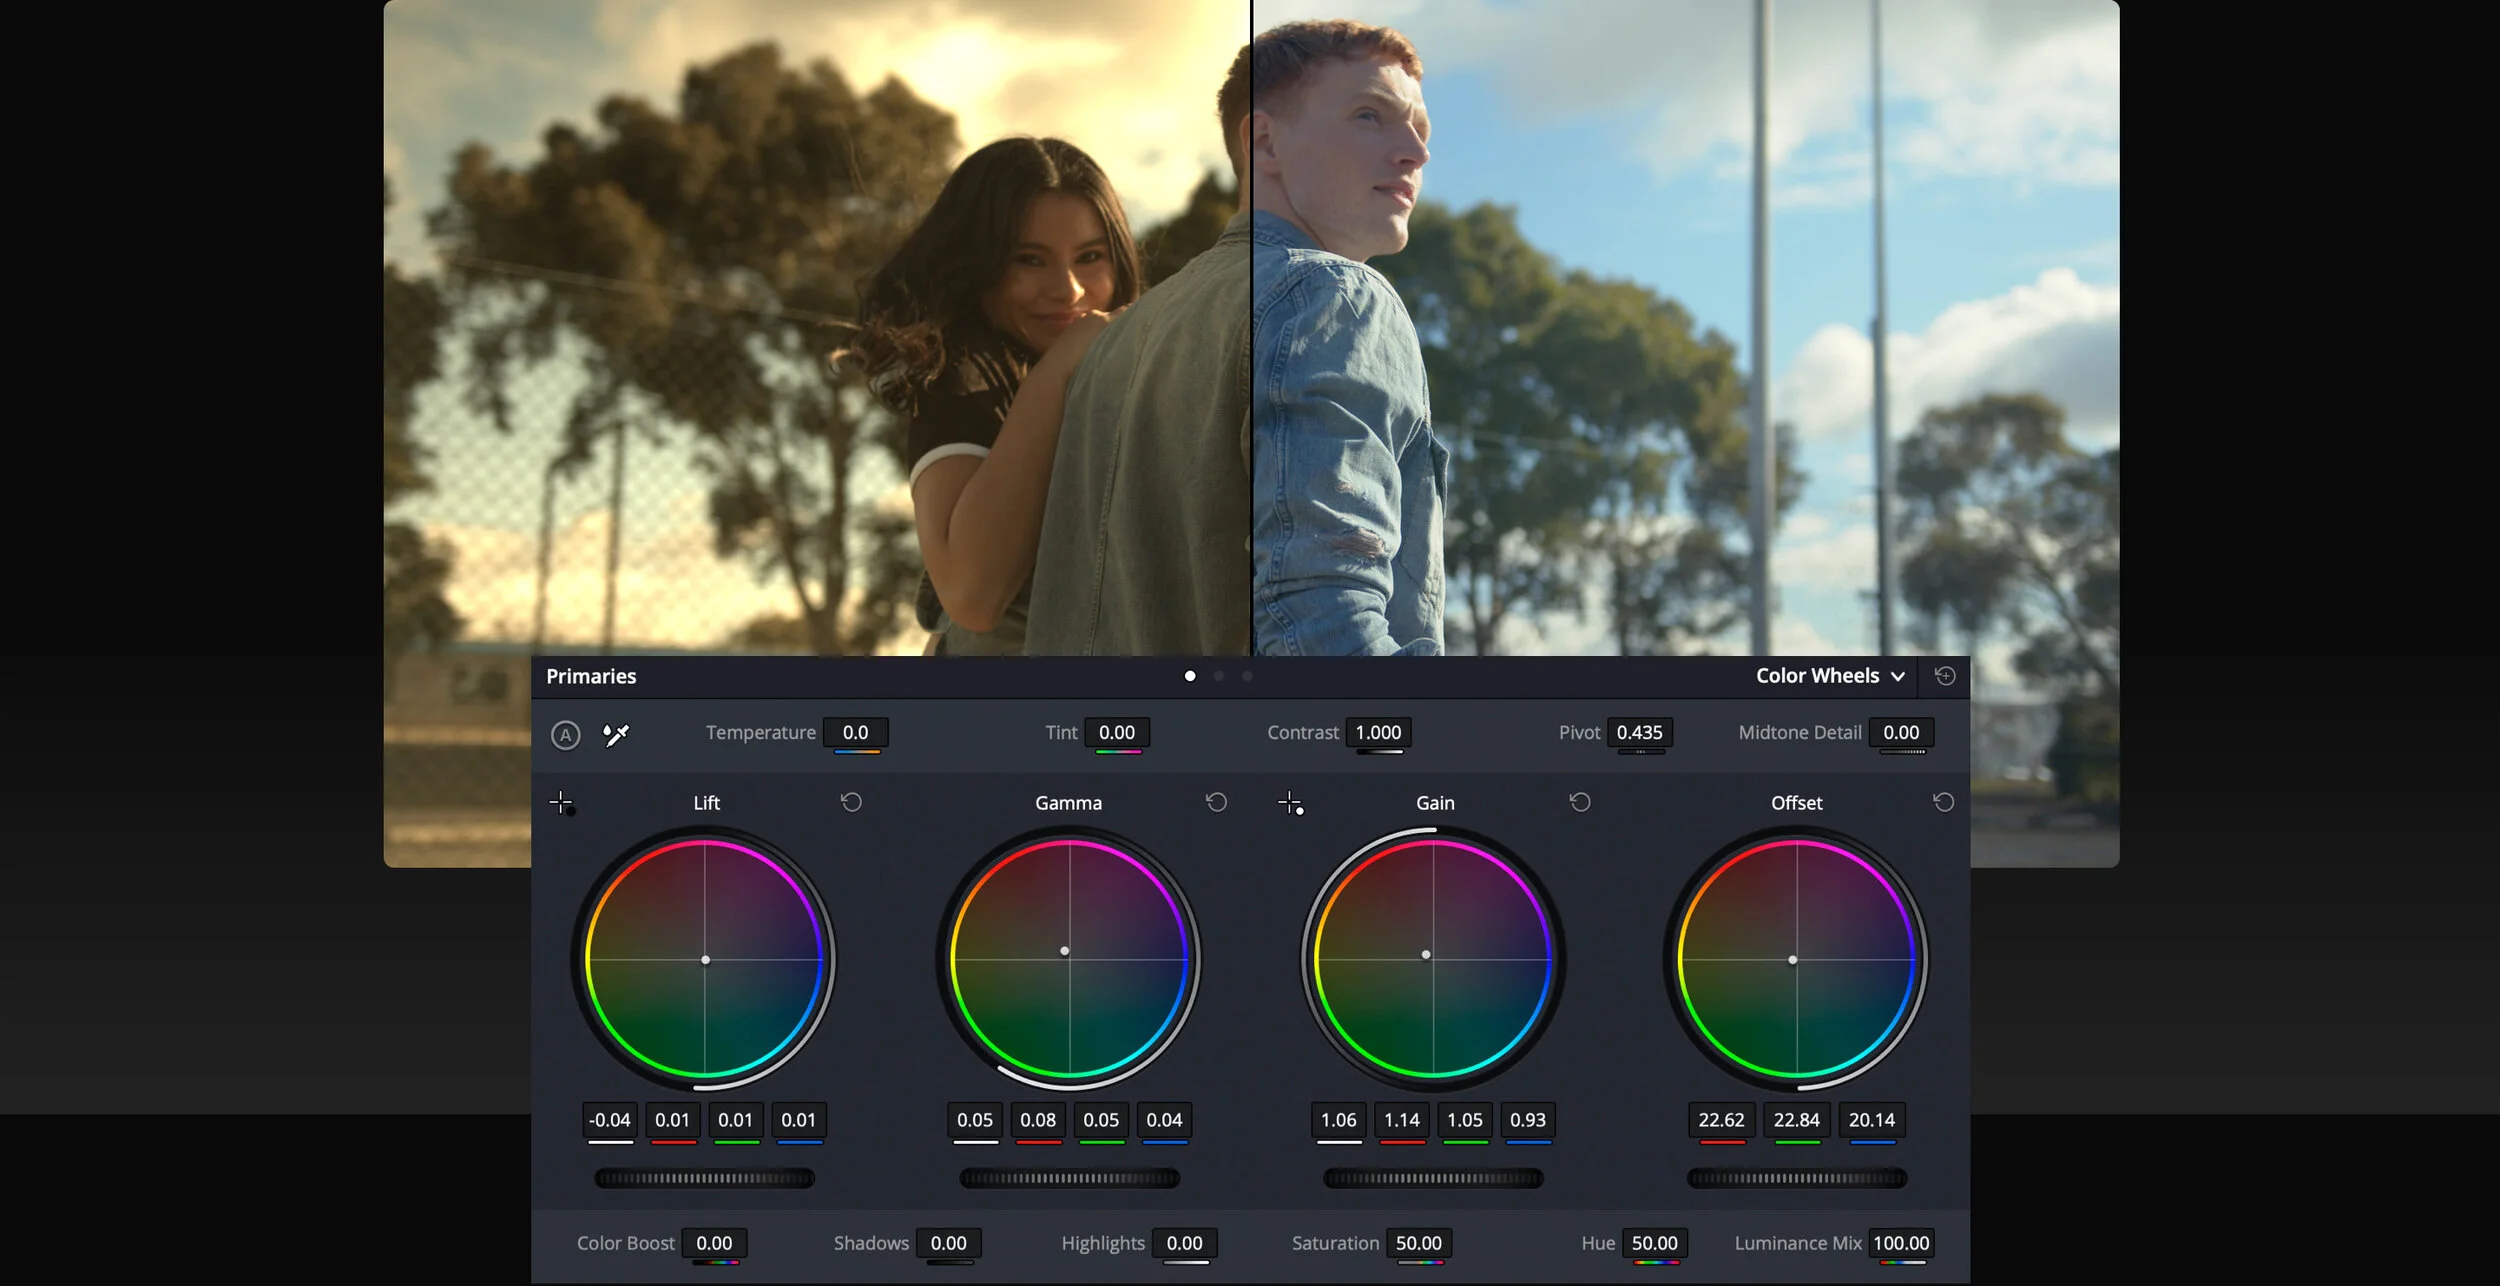
Adjust the color wheels and curves: Use the color wheels and curves in your software to adjust the hue, saturation, and brightness of your footage. This can involve adjusting the shadows, midtones, and highlights to achieve a balanced and pleasing color palette.
Adjust the exposure and contrast: Use the exposure and contrast tools to adjust the overall brightness and contrast of your footage. This can involve boosting or reducing the brightness and contrast to achieve a specific look.
Refine the color grading: Once you have adjusted the color wheels, curves, exposure, and contrast, refine your color grading by adjusting the colors and tones of specific elements in your footage, such as skin tones, backgrounds, and objects.
Apply the color grading to the entire video: Once you are happy with your color grading, apply the adjustments to the entire video. This can involve copying and pasting the adjustments to other clips or using adjustment layers to apply the color grading to multiple clips at once.
Review your color grading: Finally, review your color grading to ensure that it meets your creative vision and technical standards. Watch your video on different monitors and devices to ensure that the color grading looks consistent across different platforms.
Color grading can be a complex and time-consuming process, and it's important to have a good understanding of color theory and video editing principles before attempting to color grade your footage. With practice and experience, however, you can achieve stunning and creative results through color grading.

COLOUR STUDIO - UAE
Our team of expert colorists has years of experience in the film industry, and we're passionate about bringing your cinematic vision to life. With state-of-the-art technology and the latest color grading software, we'll work with you to create the perfect look for your movie, TV show, or commercial.
At our Colour Studio, we offer a range of color grading services that will take your project to the next level. Whether you're looking for a classic Hollywood look or something more modern and edgy, our team has the skills and expertise to bring your vision to life. We use a range of techniques, from subtle color tweaks to full-scale color grading, to create the perfect look for your project.
We pride ourselves on our fast and efficient service, and we're committed to meeting your deadlines and exceeding your expectations. We understand that time is of the essence when it comes to film production, and we'll work tirelessly to ensure that your project is delivered on time and to the highest possible standard.
key studio features-
SDR/HDR Dolby Certified Monitors
DCP & IMF creation
Highly Skilled team
Work 24/7 to meet your deadline
So what are you waiting for? Come visit us at Colour Studio today and experience the world of color like never before!

Color grading is a crucial part of the post-production process in TV commercials. It's the process of enhancing and manipulating the colors in a video to create a specific mood or atmosphere. Color grading can help make a TV commercial look more polished and professional, and it can also be used to create a cohesive look across a series of ads. In this blog, we'll take a closer look at the color grading process for TV commercials and why it's so important.
Color grading is essential in TV commercials for a few reasons. Firstly, it can help set the mood for the commercial. The right color palette can create a sense of excitement, calmness, or even urgency, depending on what the advertiser wants to convey. Secondly, color grading can help create consistency across multiple commercials in a campaign. By using the same color grading techniques across all the ads, they can feel like a unified set, and viewers will be more likely to remember the brand.
The color grading process can vary depending on the commercial, but generally, it involves the following steps:
Color correction: The first step is to correct any color imbalances in the footage. This involves adjusting the brightness, contrast, and saturation of the video to create a neutral starting point.
Establishing the look: Once the color is balanced, the colorist will work with the director or creative team to establish the look for the commercial. This could involve creating a specific color palette or mood board to guide the color grading process.
Primary grading: This is where the colorist adjusts the overall color of the footage. They might adjust the temperature of the footage, tweak the shadows and highlights, or apply a color filter to create the desired look.
Secondary grading: In this step, the colorist focuses on specific elements within the footage. For example, they might adjust the color of a particular object or person to make them stand out more.
Finishing touches: The final step is to add any finishing touches to the color grading. This could involve adding vignettes, adjusting the overall brightness, or adding any necessary color effects.
Choosing the right color grading techniques is essential to create the desired look for a TV commercial. Some common techniques include:
Color filters: Applying a color filter to the footage can create a specific mood or atmosphere. For example, a blue filter can make a scene feel cold and clinical, while a warm filter can create a sense of coziness.
Saturation: Adjusting the saturation of the footage can make the colors more vibrant or muted. This can be used to create a specific tone or to highlight certain elements within the scene.
Contrast: Adjusting the contrast can create a more dramatic look or a softer, more romantic feel. It can also be used to bring out details in the footage.
Color grading presets: Many color grading programs come with presets that can be used to create specific looks quickly. These presets can be a great starting point for a colorist to work from.
Conclusion
Color grading is an essential part of the post-production process for TV commercials. It can help set the mood for the commercial and create consistency across a series of ads. By choosing the right color grading techniques and working closely with the director or creative team, a colorist can create a stunning and memorable TV commercial.
Contact us - Colourstudio for world class color grading service in UAE.


What is dolby vision?
For mastering first run movies in Dolby Vision, the original camera files or original film scans are ideal as modern digital camera systems as well as negative film stock can capture 13+ stops of dynamic range.
The exposure and lighting decisions made on set will determine the level of dynamic range and usable color gamut for a Dolby Vision HDR master. While it is possible to stretch the dynamic range of the content in post-production the best results are really defined by the HDR image that is captured in the acquisition phase.
For any digital acquisition we recommend using either RAW recording (no de-mosaicing / de-bayering performed in camera), or if not available or applicable using a compressed source format in its lowest available compression and highest quantization (bit depth) using a “log style” OETF (Opto Electrical Transfer Function). Intra-frame codecs should be preferred over Long-GOP codecs.
Assuming a correct exposure, the following original sources can be considered as minimum requirements for Dolby Vision mastering.
RAW - ArriRaw, RedCode, Sony X-OCN etc.
Compressed - XAVC-I, ProRes or other I-Frame only formats
16bit linear
10 bit log
LogC, S-Log,3 Log3G10, etc.
Camera native color space - S-Gamut3, REDWideGamutRGB, Panasonic V-Gamut, etc.
No looks, color corrections or other transforms should be baked into the original camera files. Some cameras’ default color space is set to Rec.709 or sRGB. This color space should not be used for recording. Record in the camera’s native color space, instead.
Depending on the budget, story, or when a small, flexible camera is required, creators might want to incorporate content captured by a mobile phone, like the iPhone 12 as well. Using phones to capture real-life situations also often has the advantage that those being filmed are more likely to act naturally than if a larger camera and recording equipment are being used. However, if you are in any doubt about whether a phone should be used as part of your production, as with any other camera selection, this should be checked with those who are commissioning the content you are producing.
The Dolby Vision iPhone recording specifications (Profile 8.4)
HEVC Main10 video in Apple Quicktime container (.mov)
Dolby Vision with HLG base layer (Profile 8.4)
HLG (ITU-R BT.2100-1)
BT.2020
4:2:0
10 bit
ADX OpenEXR
dpx
16bit linear
10 bit log
Source - professionalsupport.dolby.com/

Sudip Shrestha - color graded 250 episodes of Al meerath Season 2 - 2021 and working on next seasons.
Shot is - 3 set Sony Venice 4k cinema camera
Graded - Blackmagic Davinci Resolve
DOP - Fouad Sleiman
Colorist - Sudip Shrestha
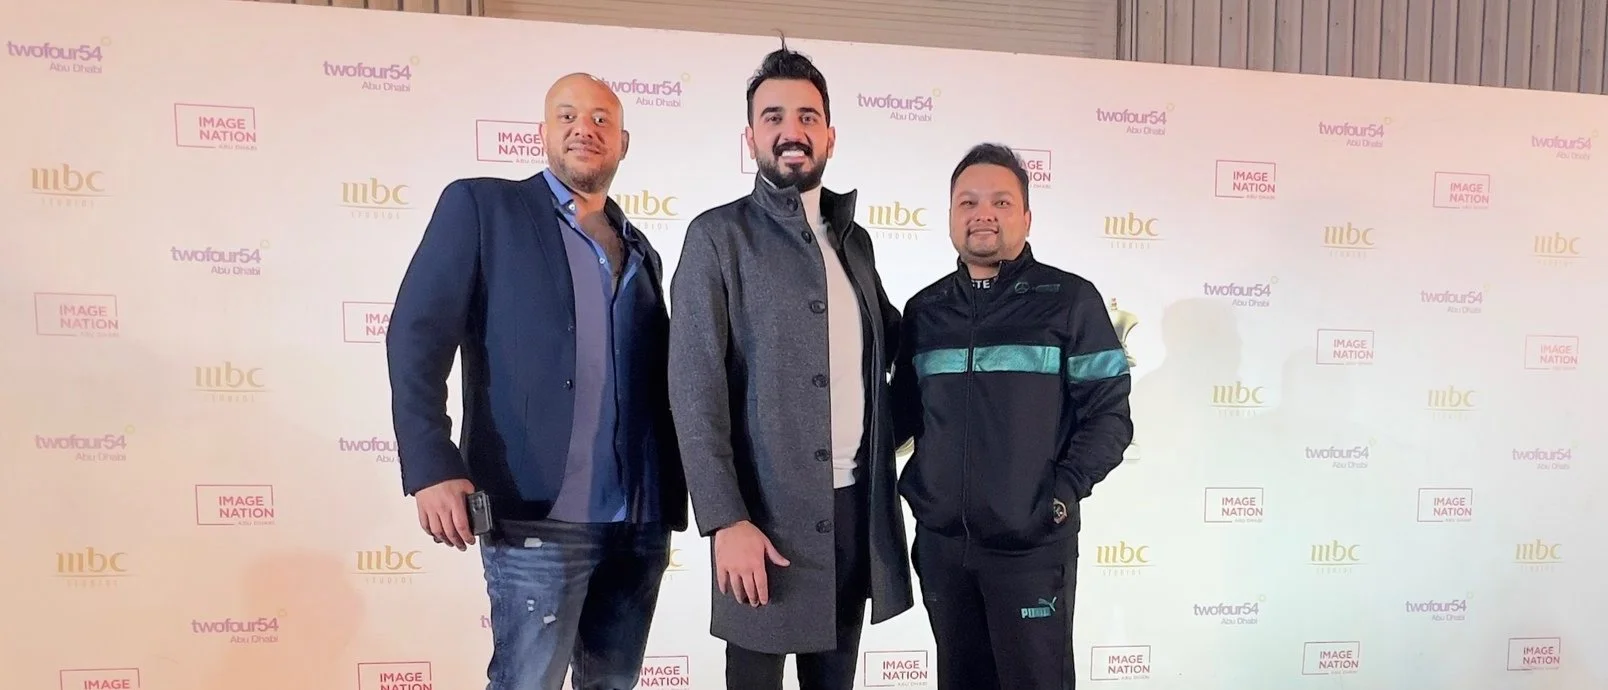
MBC STUDIOS
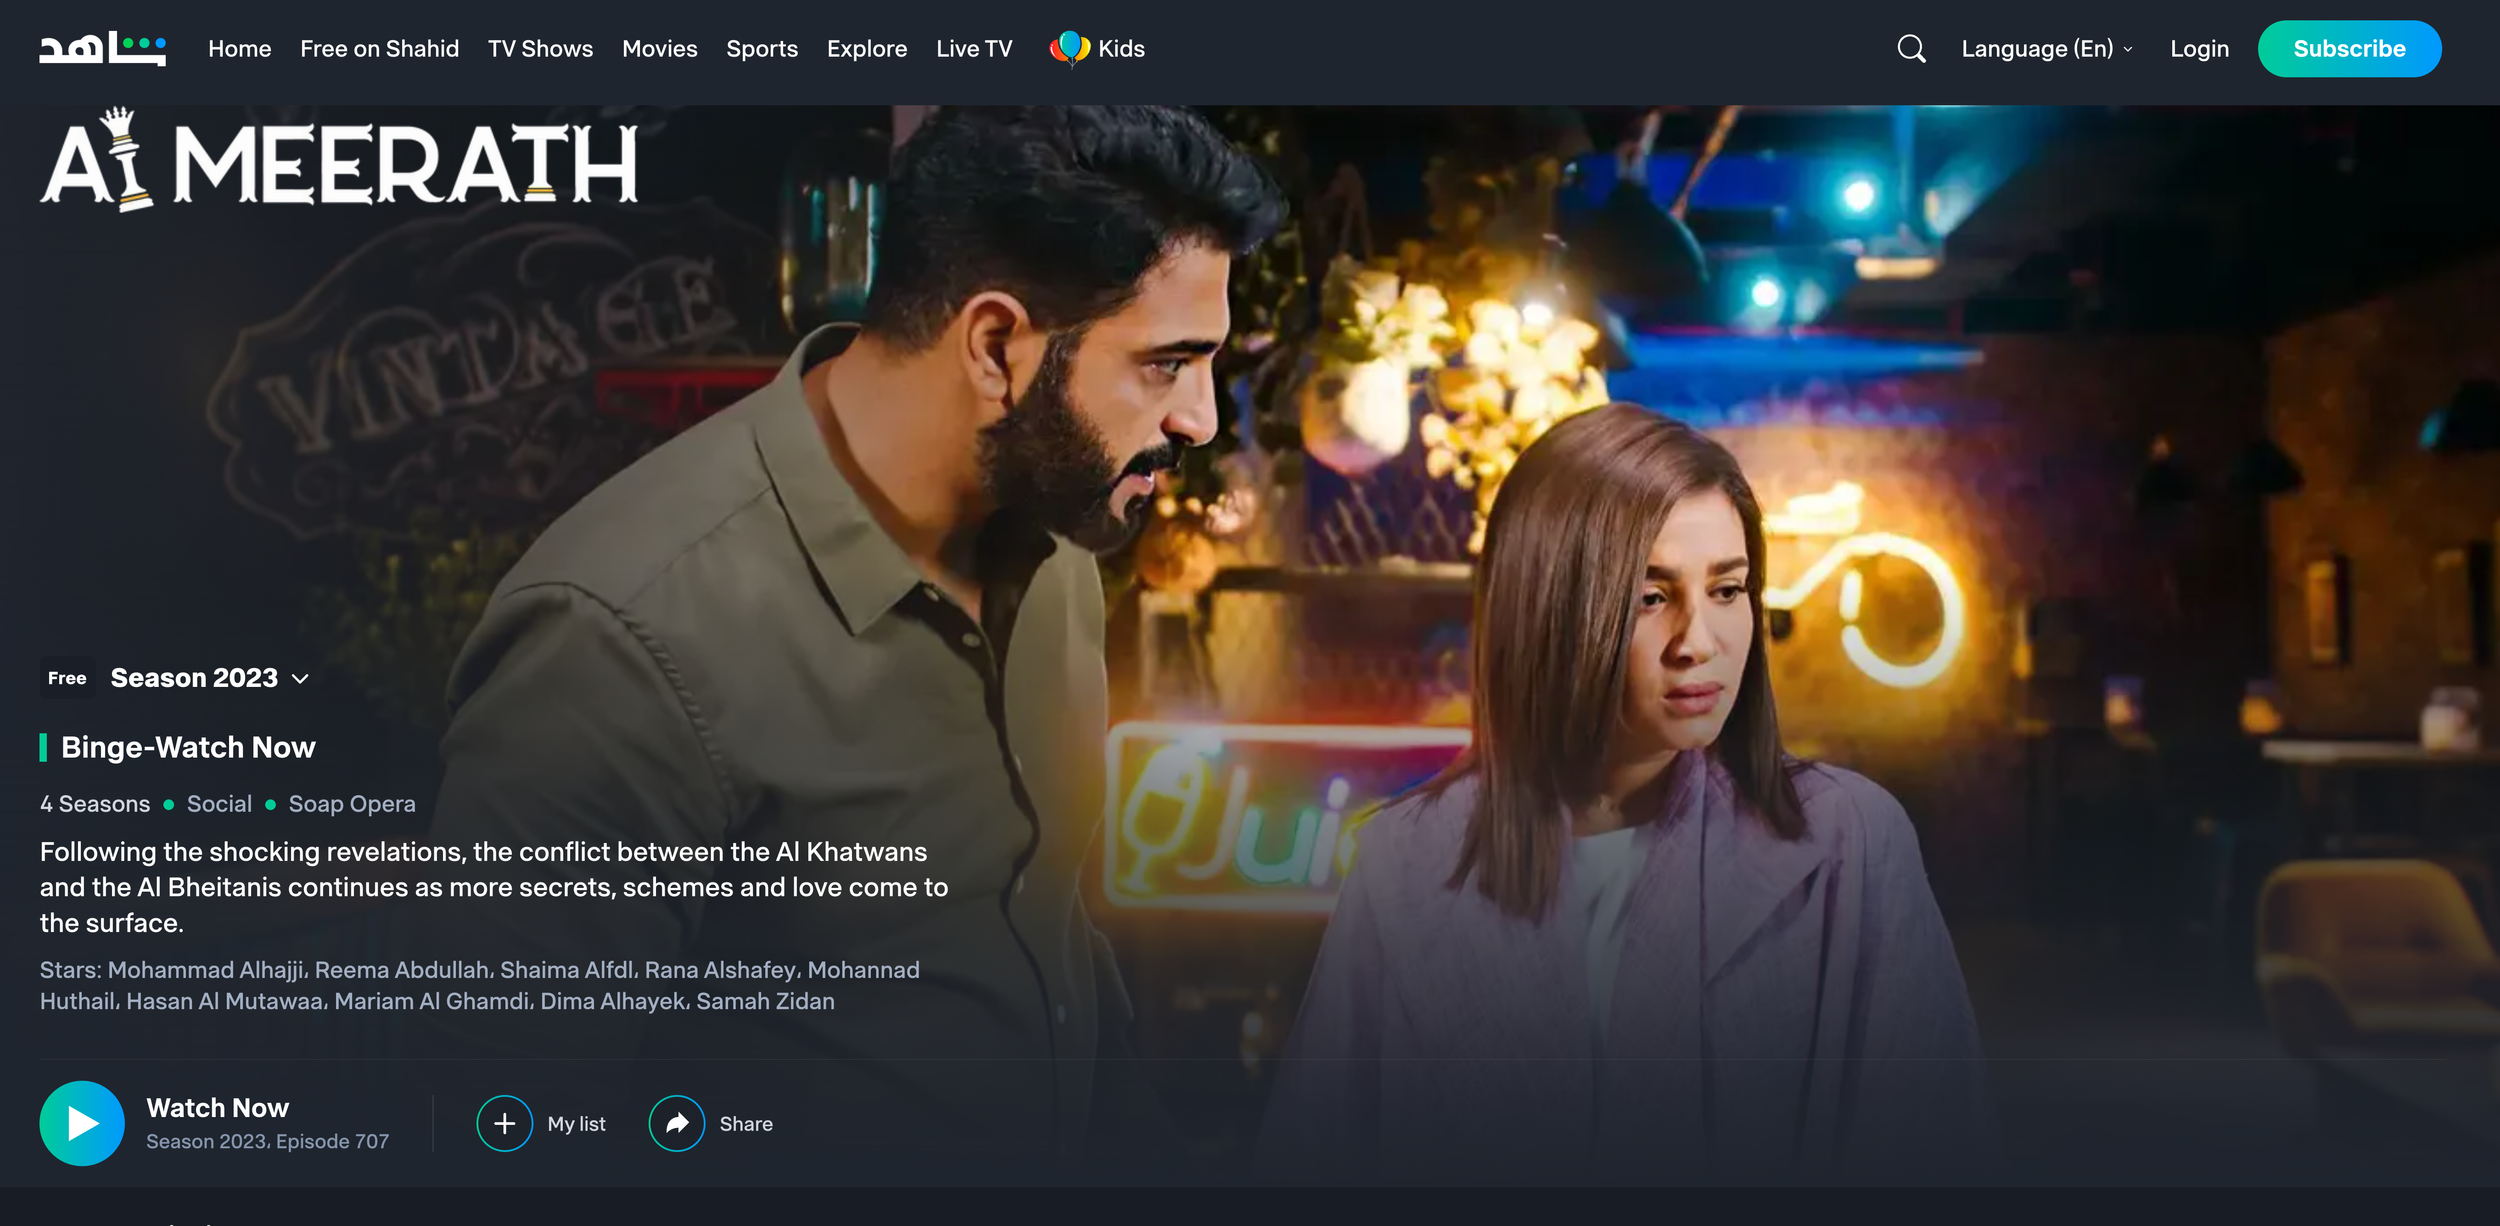
The story of two Saudi families embroiled in a battle over inheritance has laid the foundations for the world's first Arabic soap opera.
Al-Meerath (Inheritance) will screen on MBC 1 from Sunday, March 1 2020 & Shahid VIP (Watch VIP) .
Al Meerath came as part of a strategic partnership between MBC Studios, twofour54 and Image Nation Abu Dhabi. A show about life in the Kingdom of Saudi Arabia, the soap is a melodramatic saga that grapples with the country’s social, economic and cultural aspects of Saudi life and their evolution.
Four 23-minute episodes will air every week, from Sunday to Wednesday.
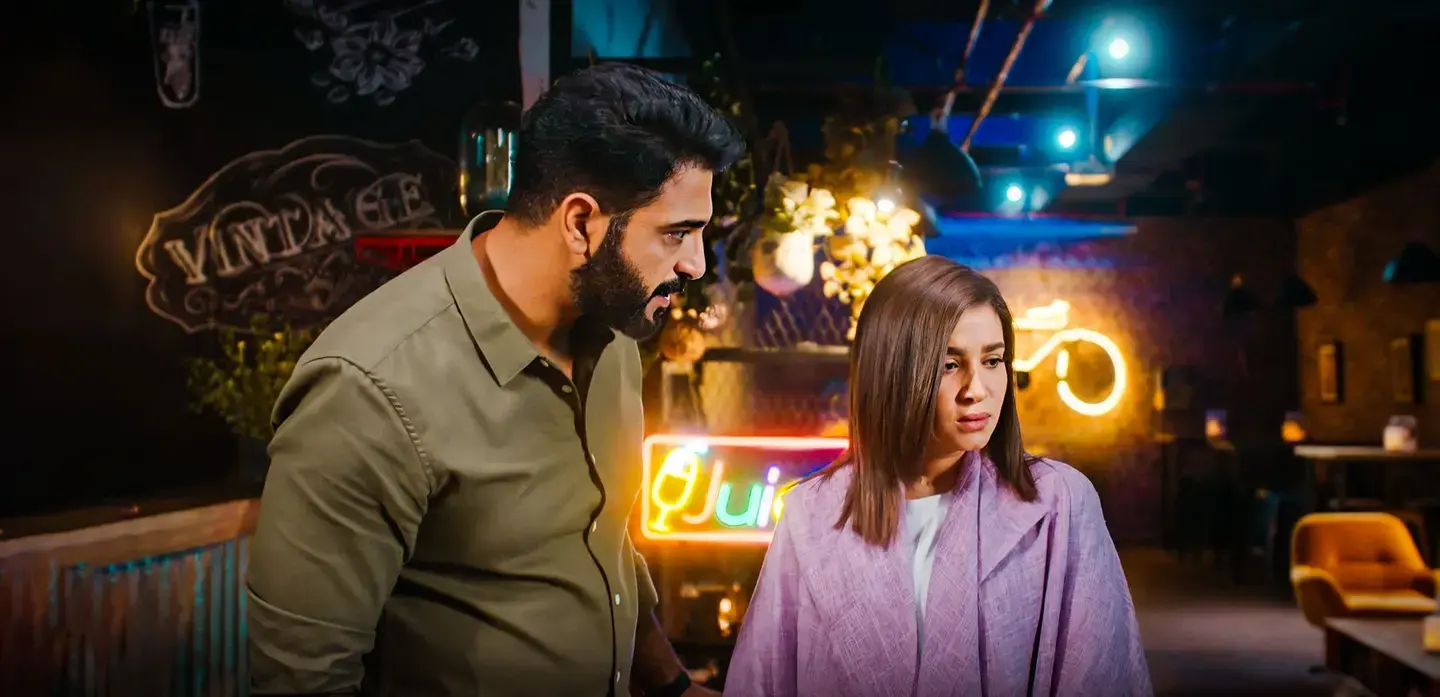
It tells the story of an old and deeply entrenched rivalry between two families (the Bahitanis and the Khawatnis). However, Romance comes into play as a young man and woman from the rival families fall in love. The story develops under many thrilling circumstances.

color graded by Sudip Shrestha
Nigerian blockbuster, “A Soldier’s Story 2- Return from the Dead” has become the first Nollywood film to be distributed by a major American studio (LIONS GATE).
Color graded by Sudip Shrestha from Nepal.
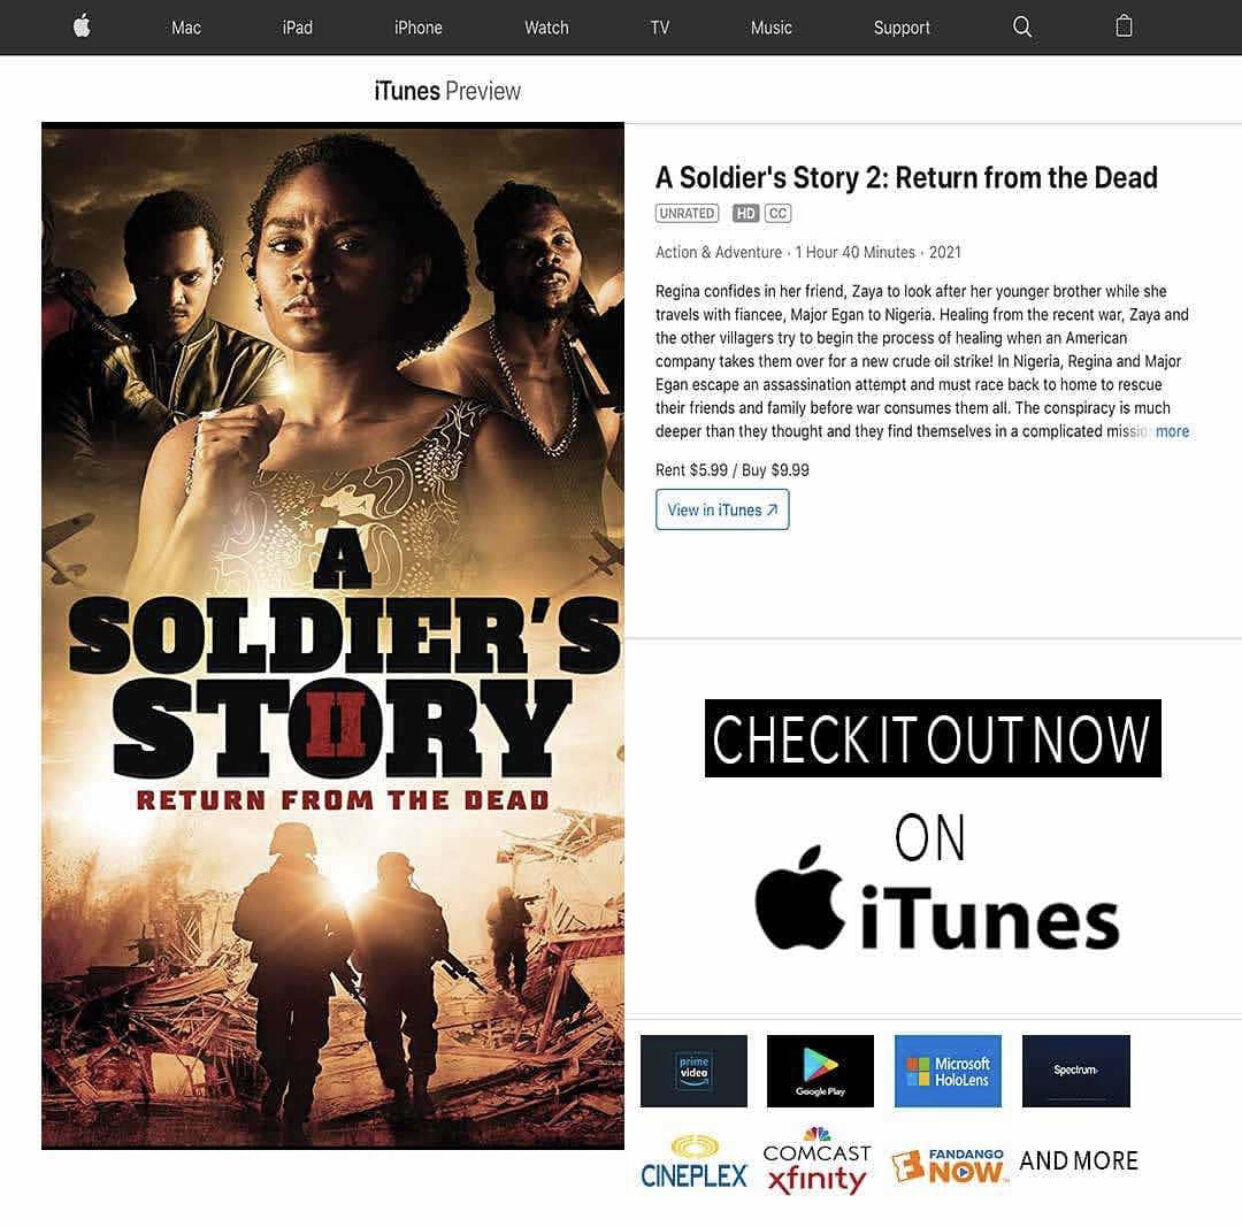
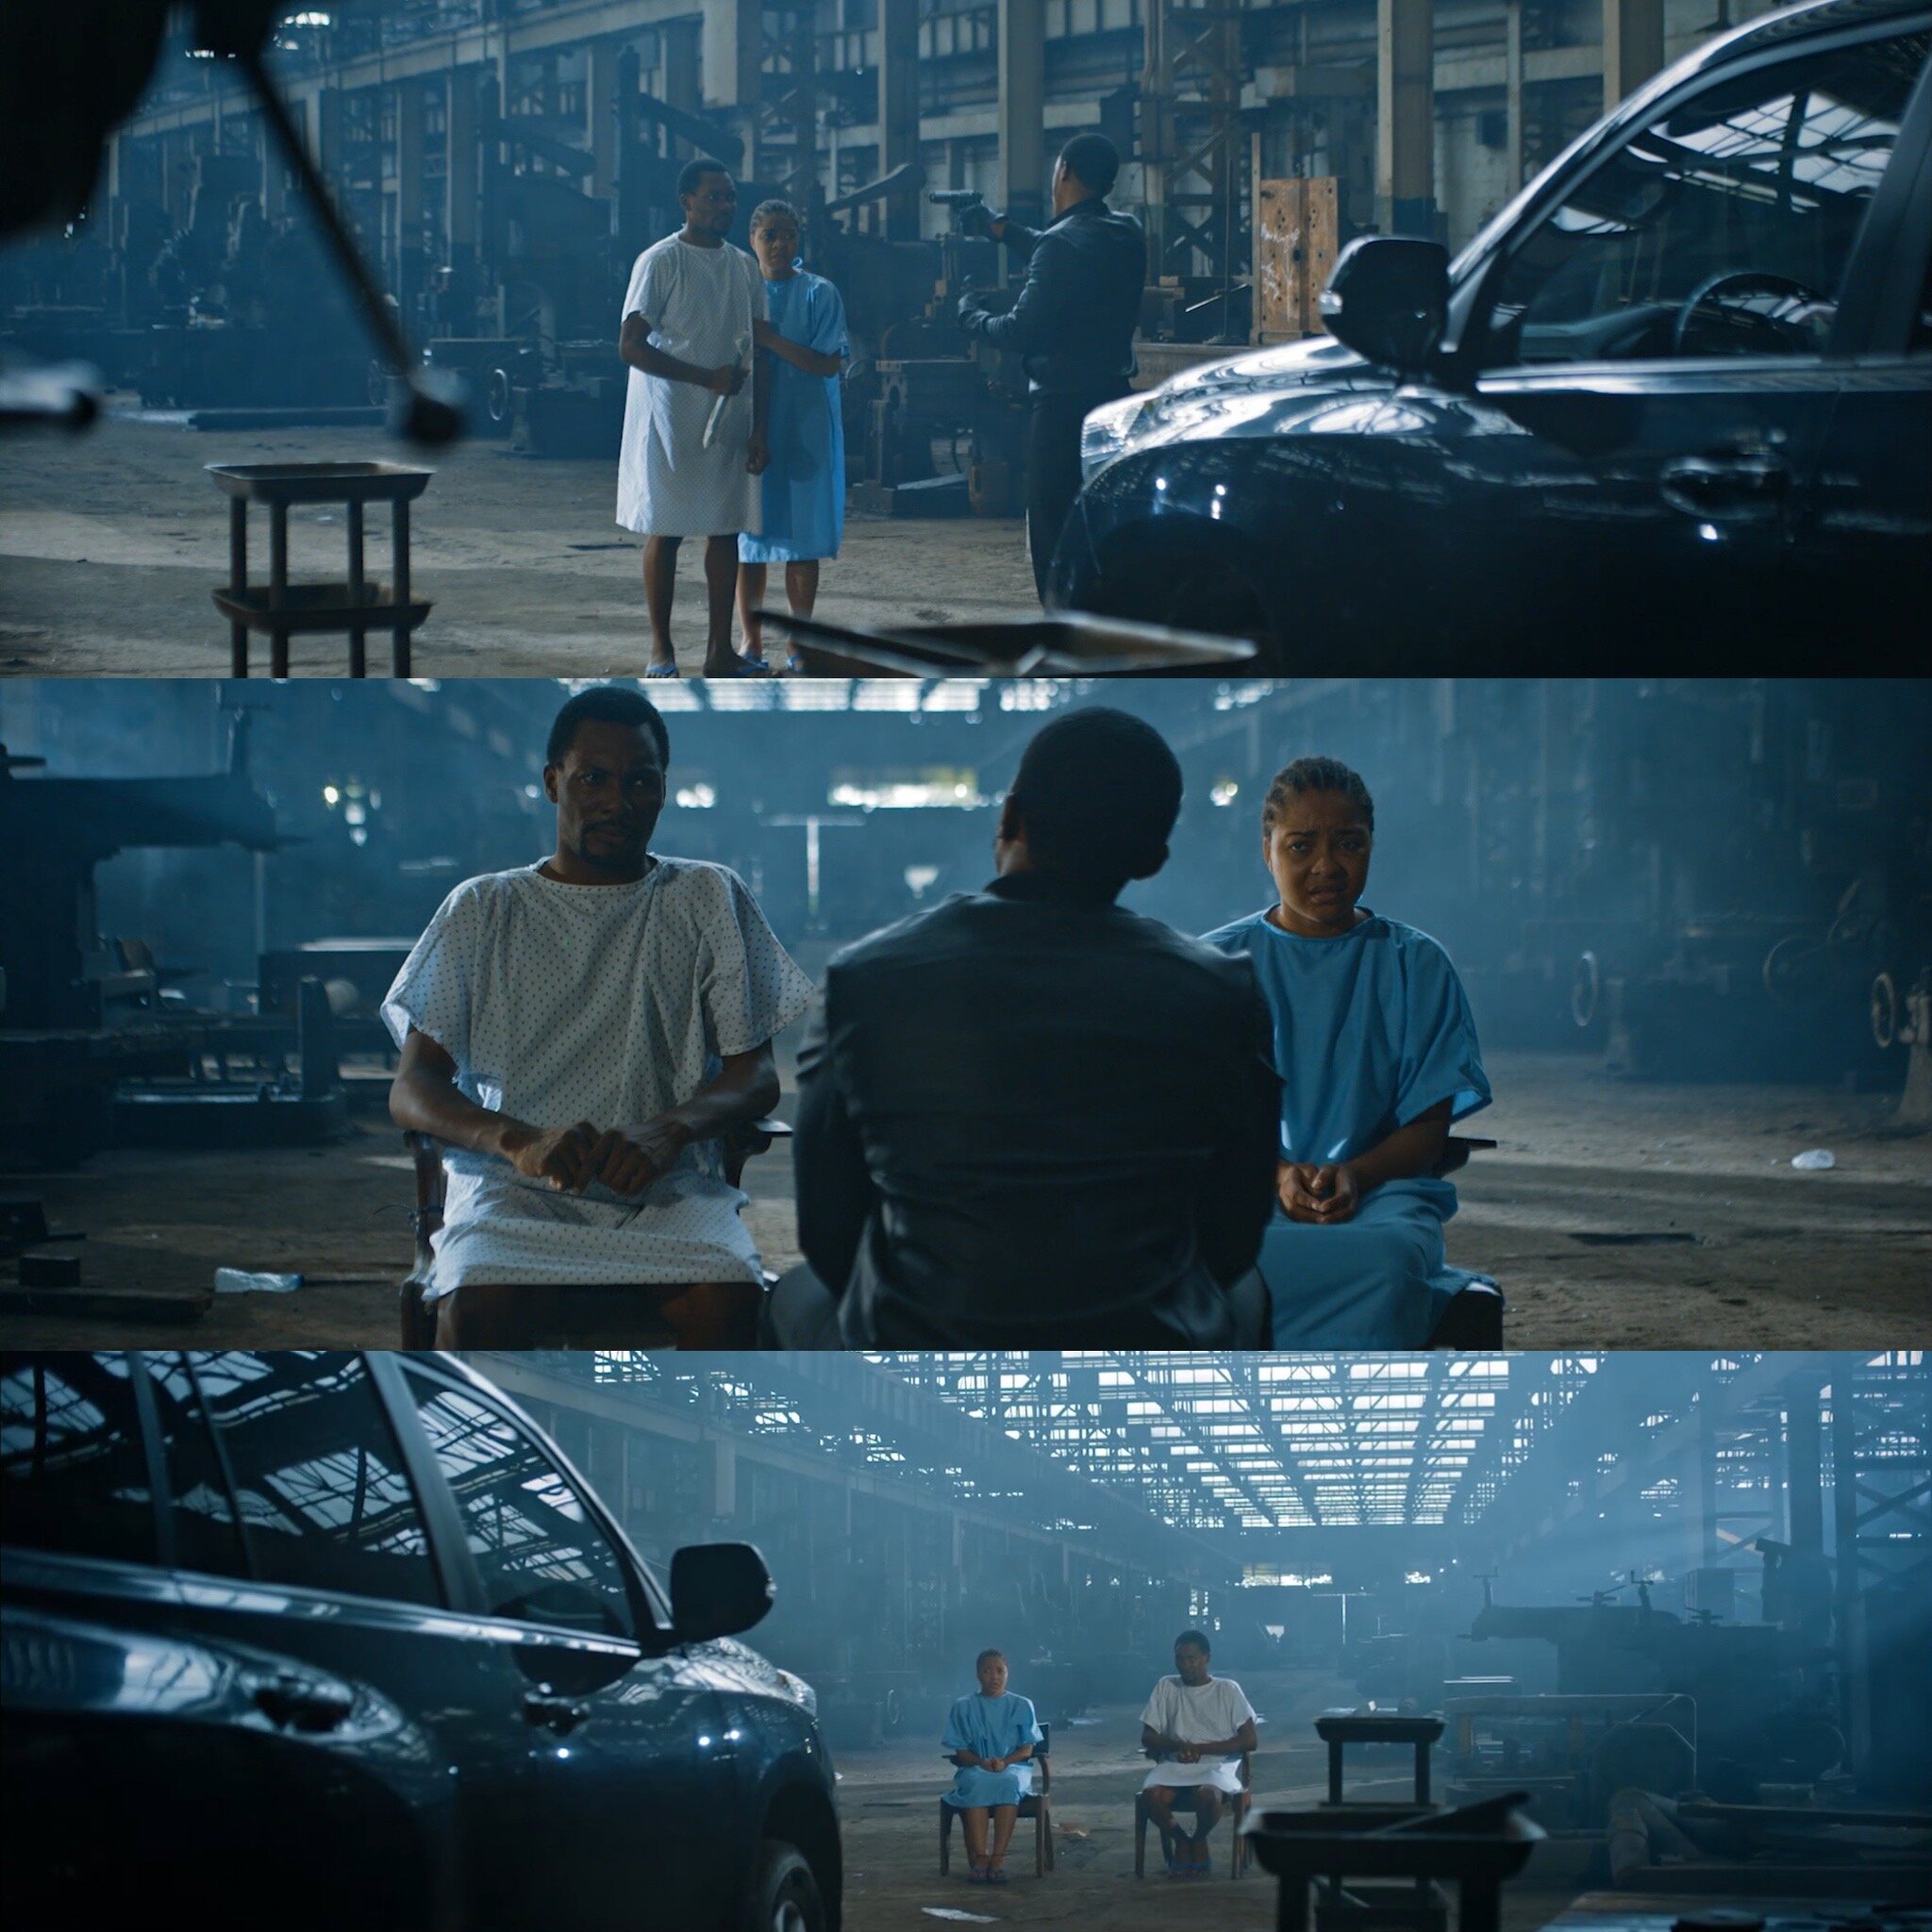
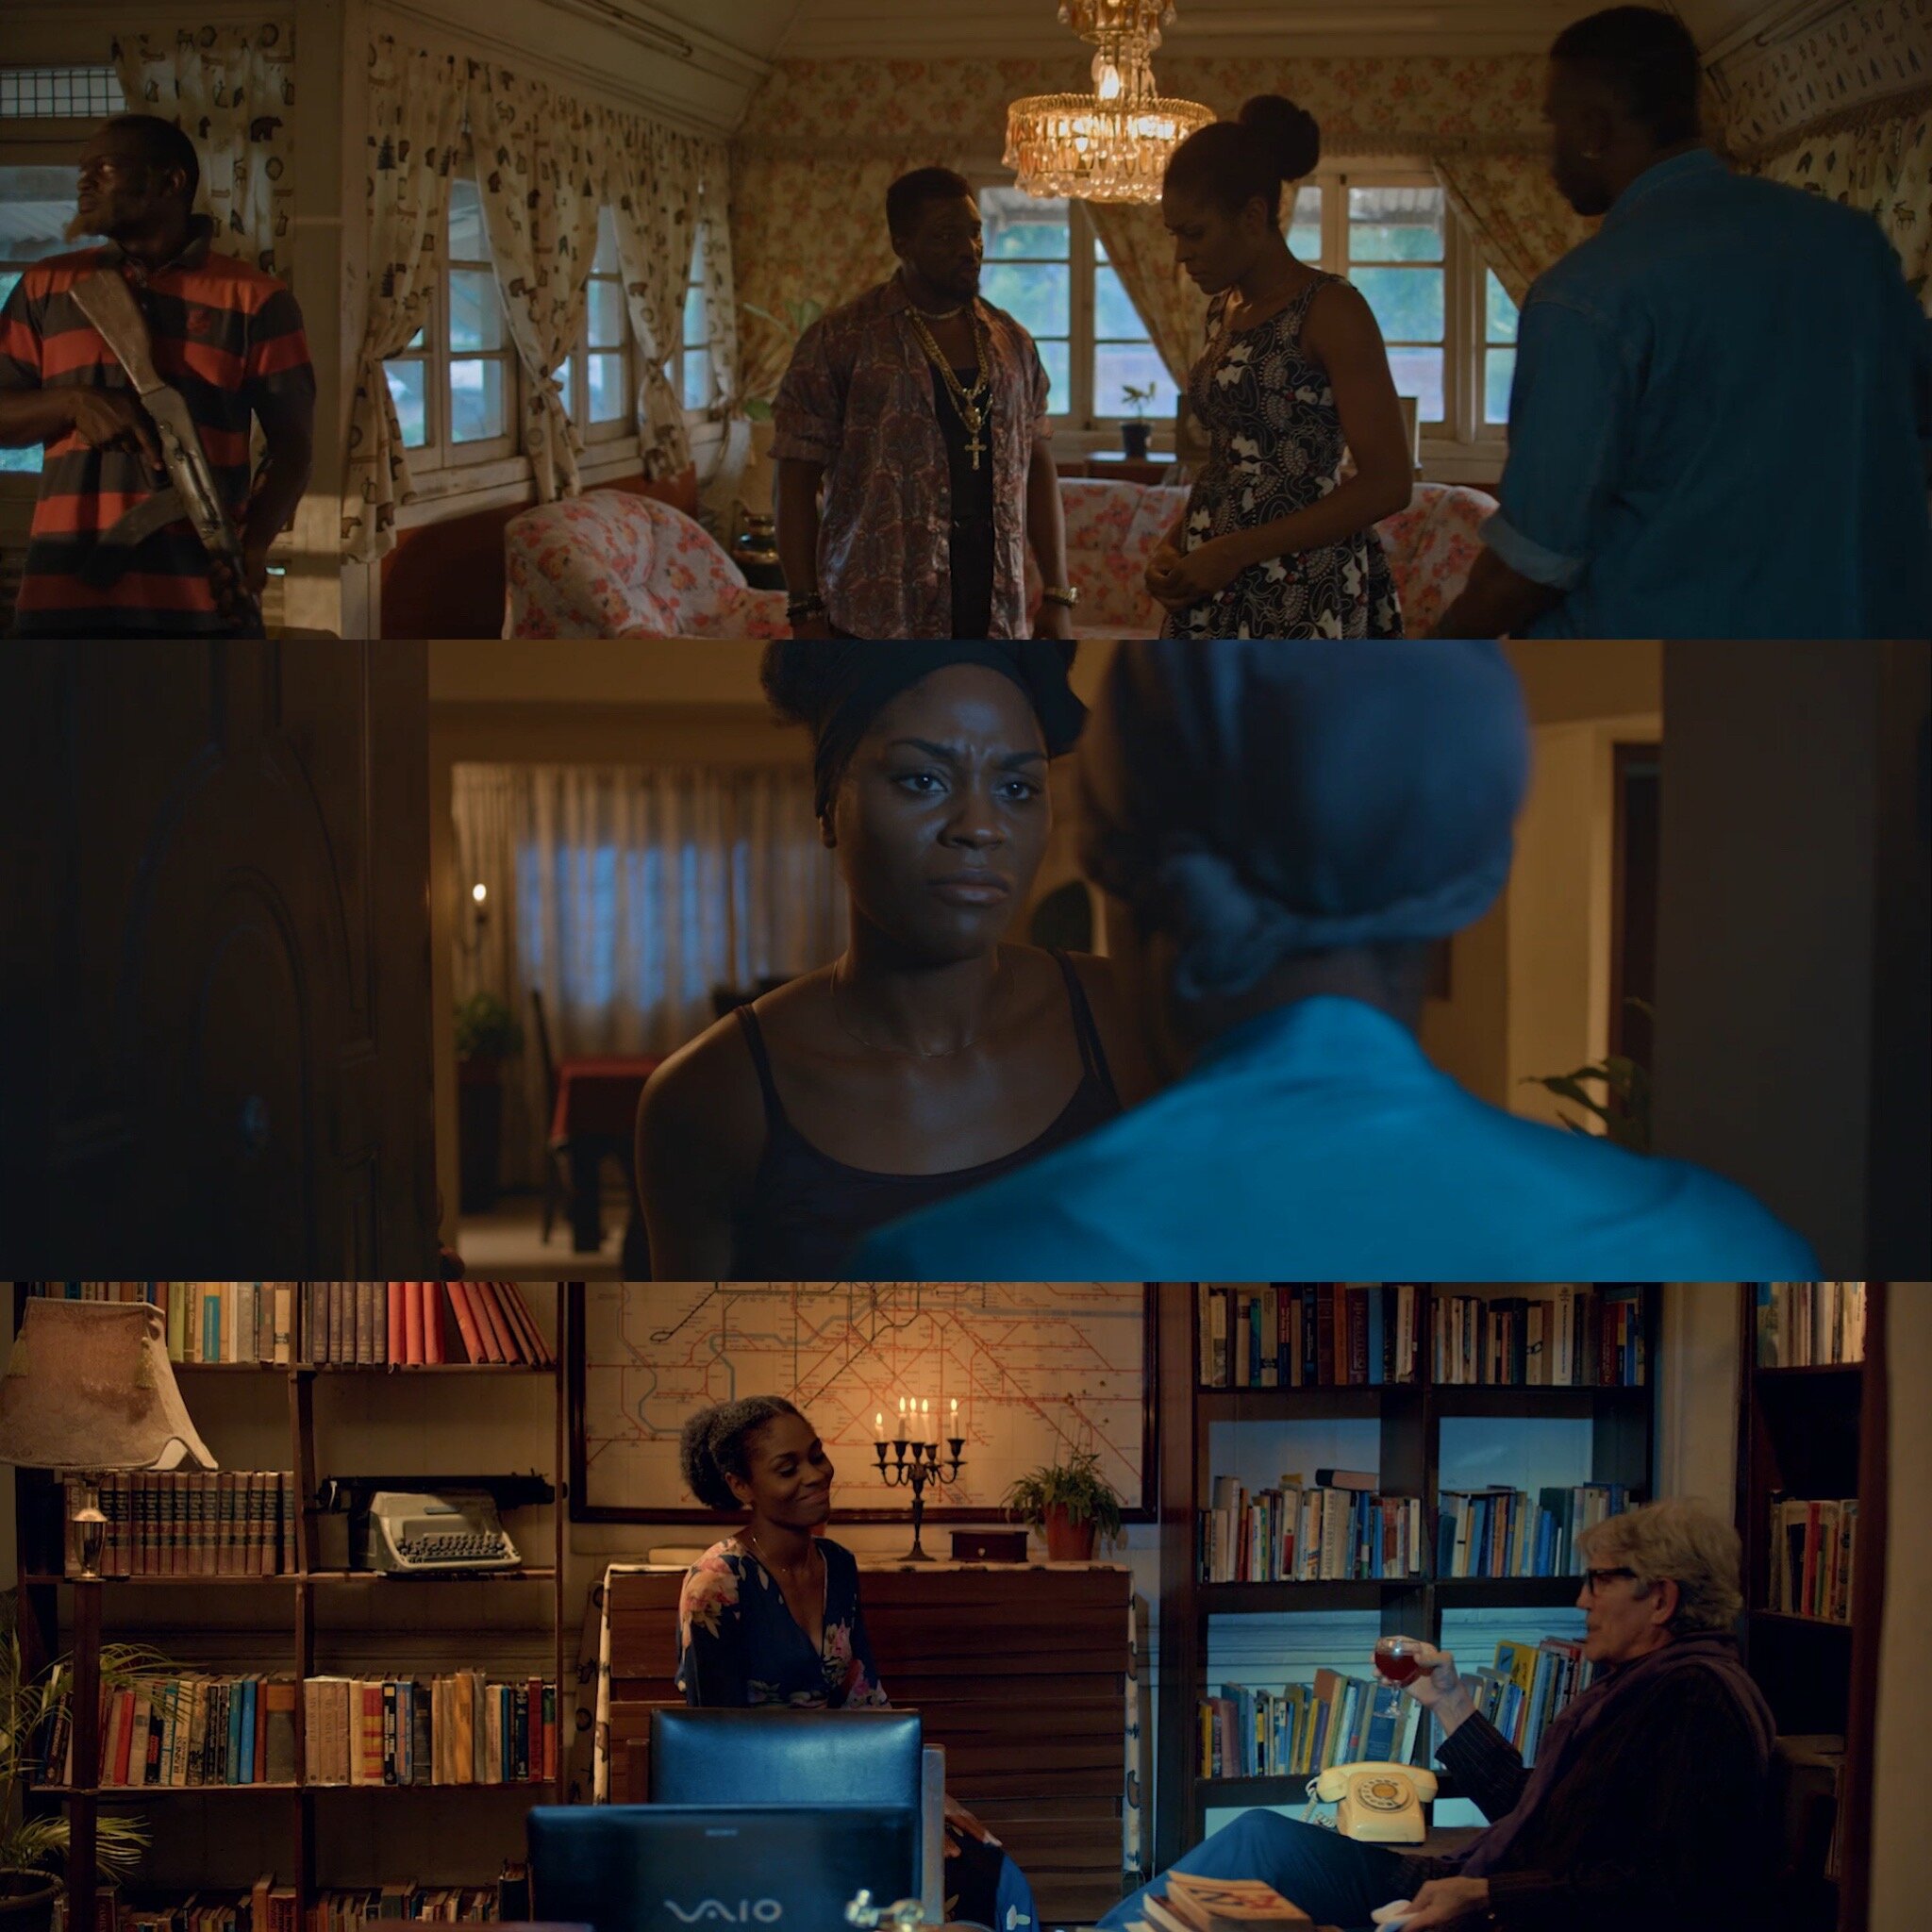
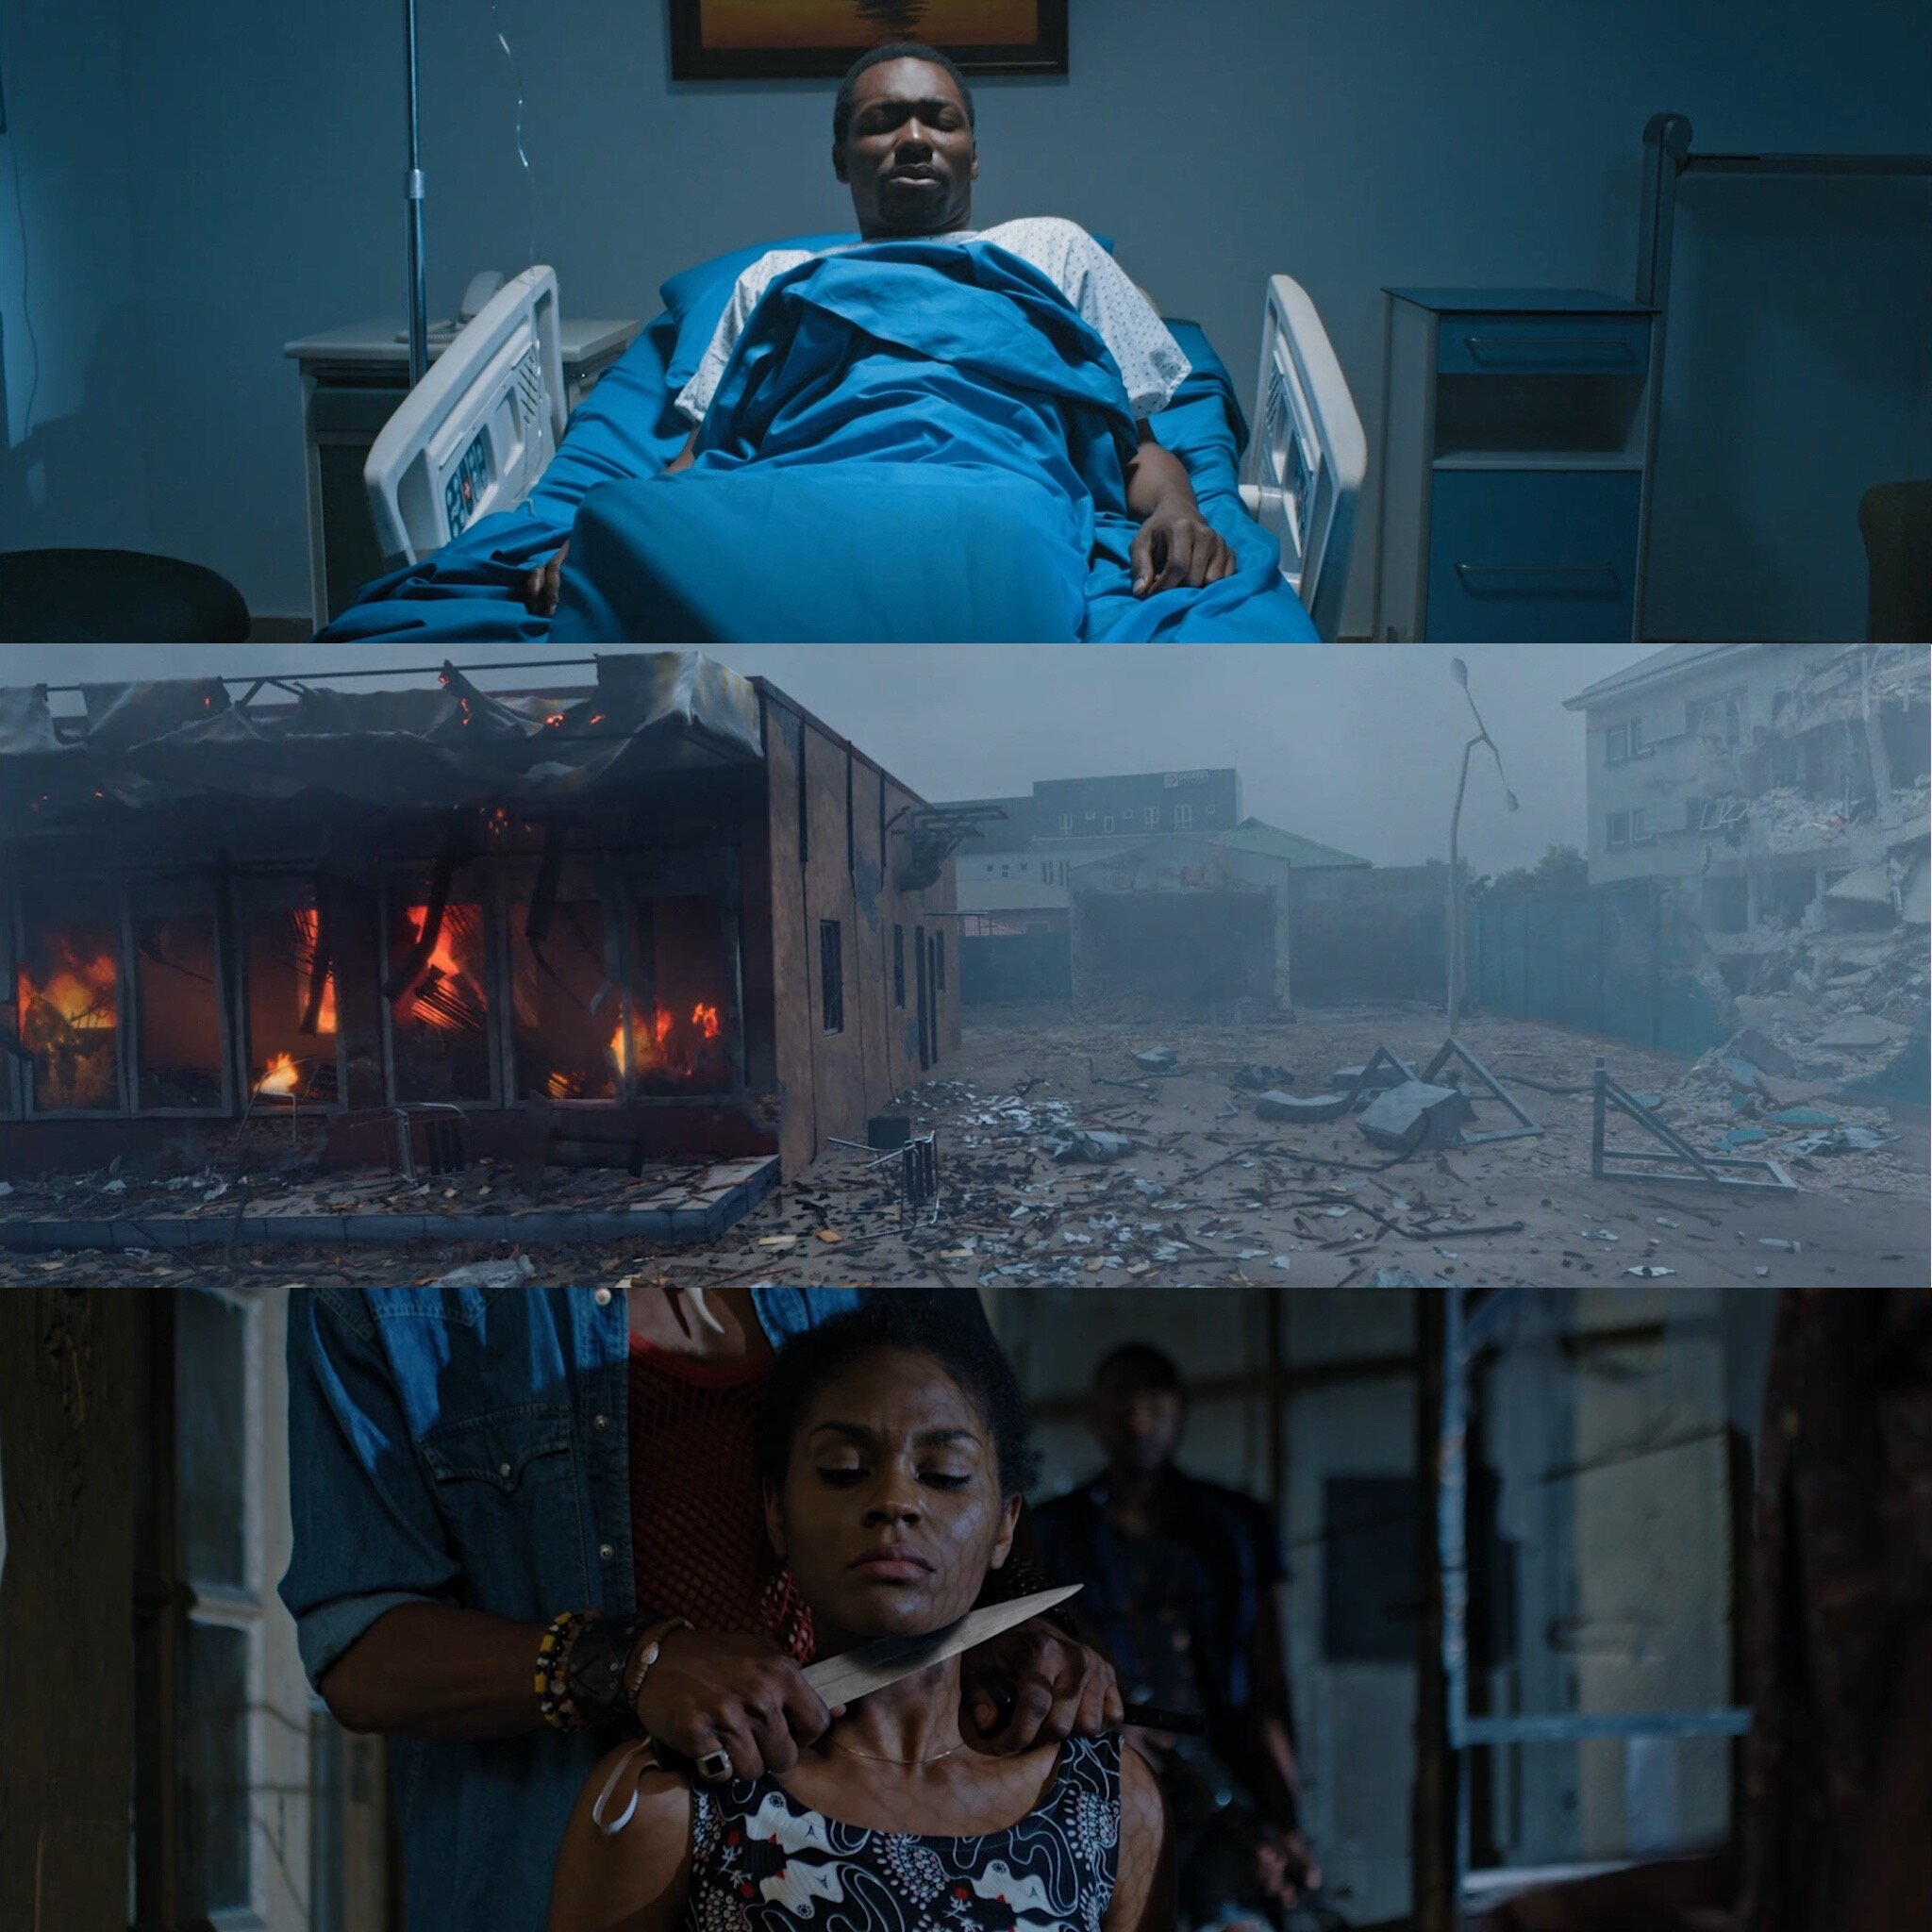

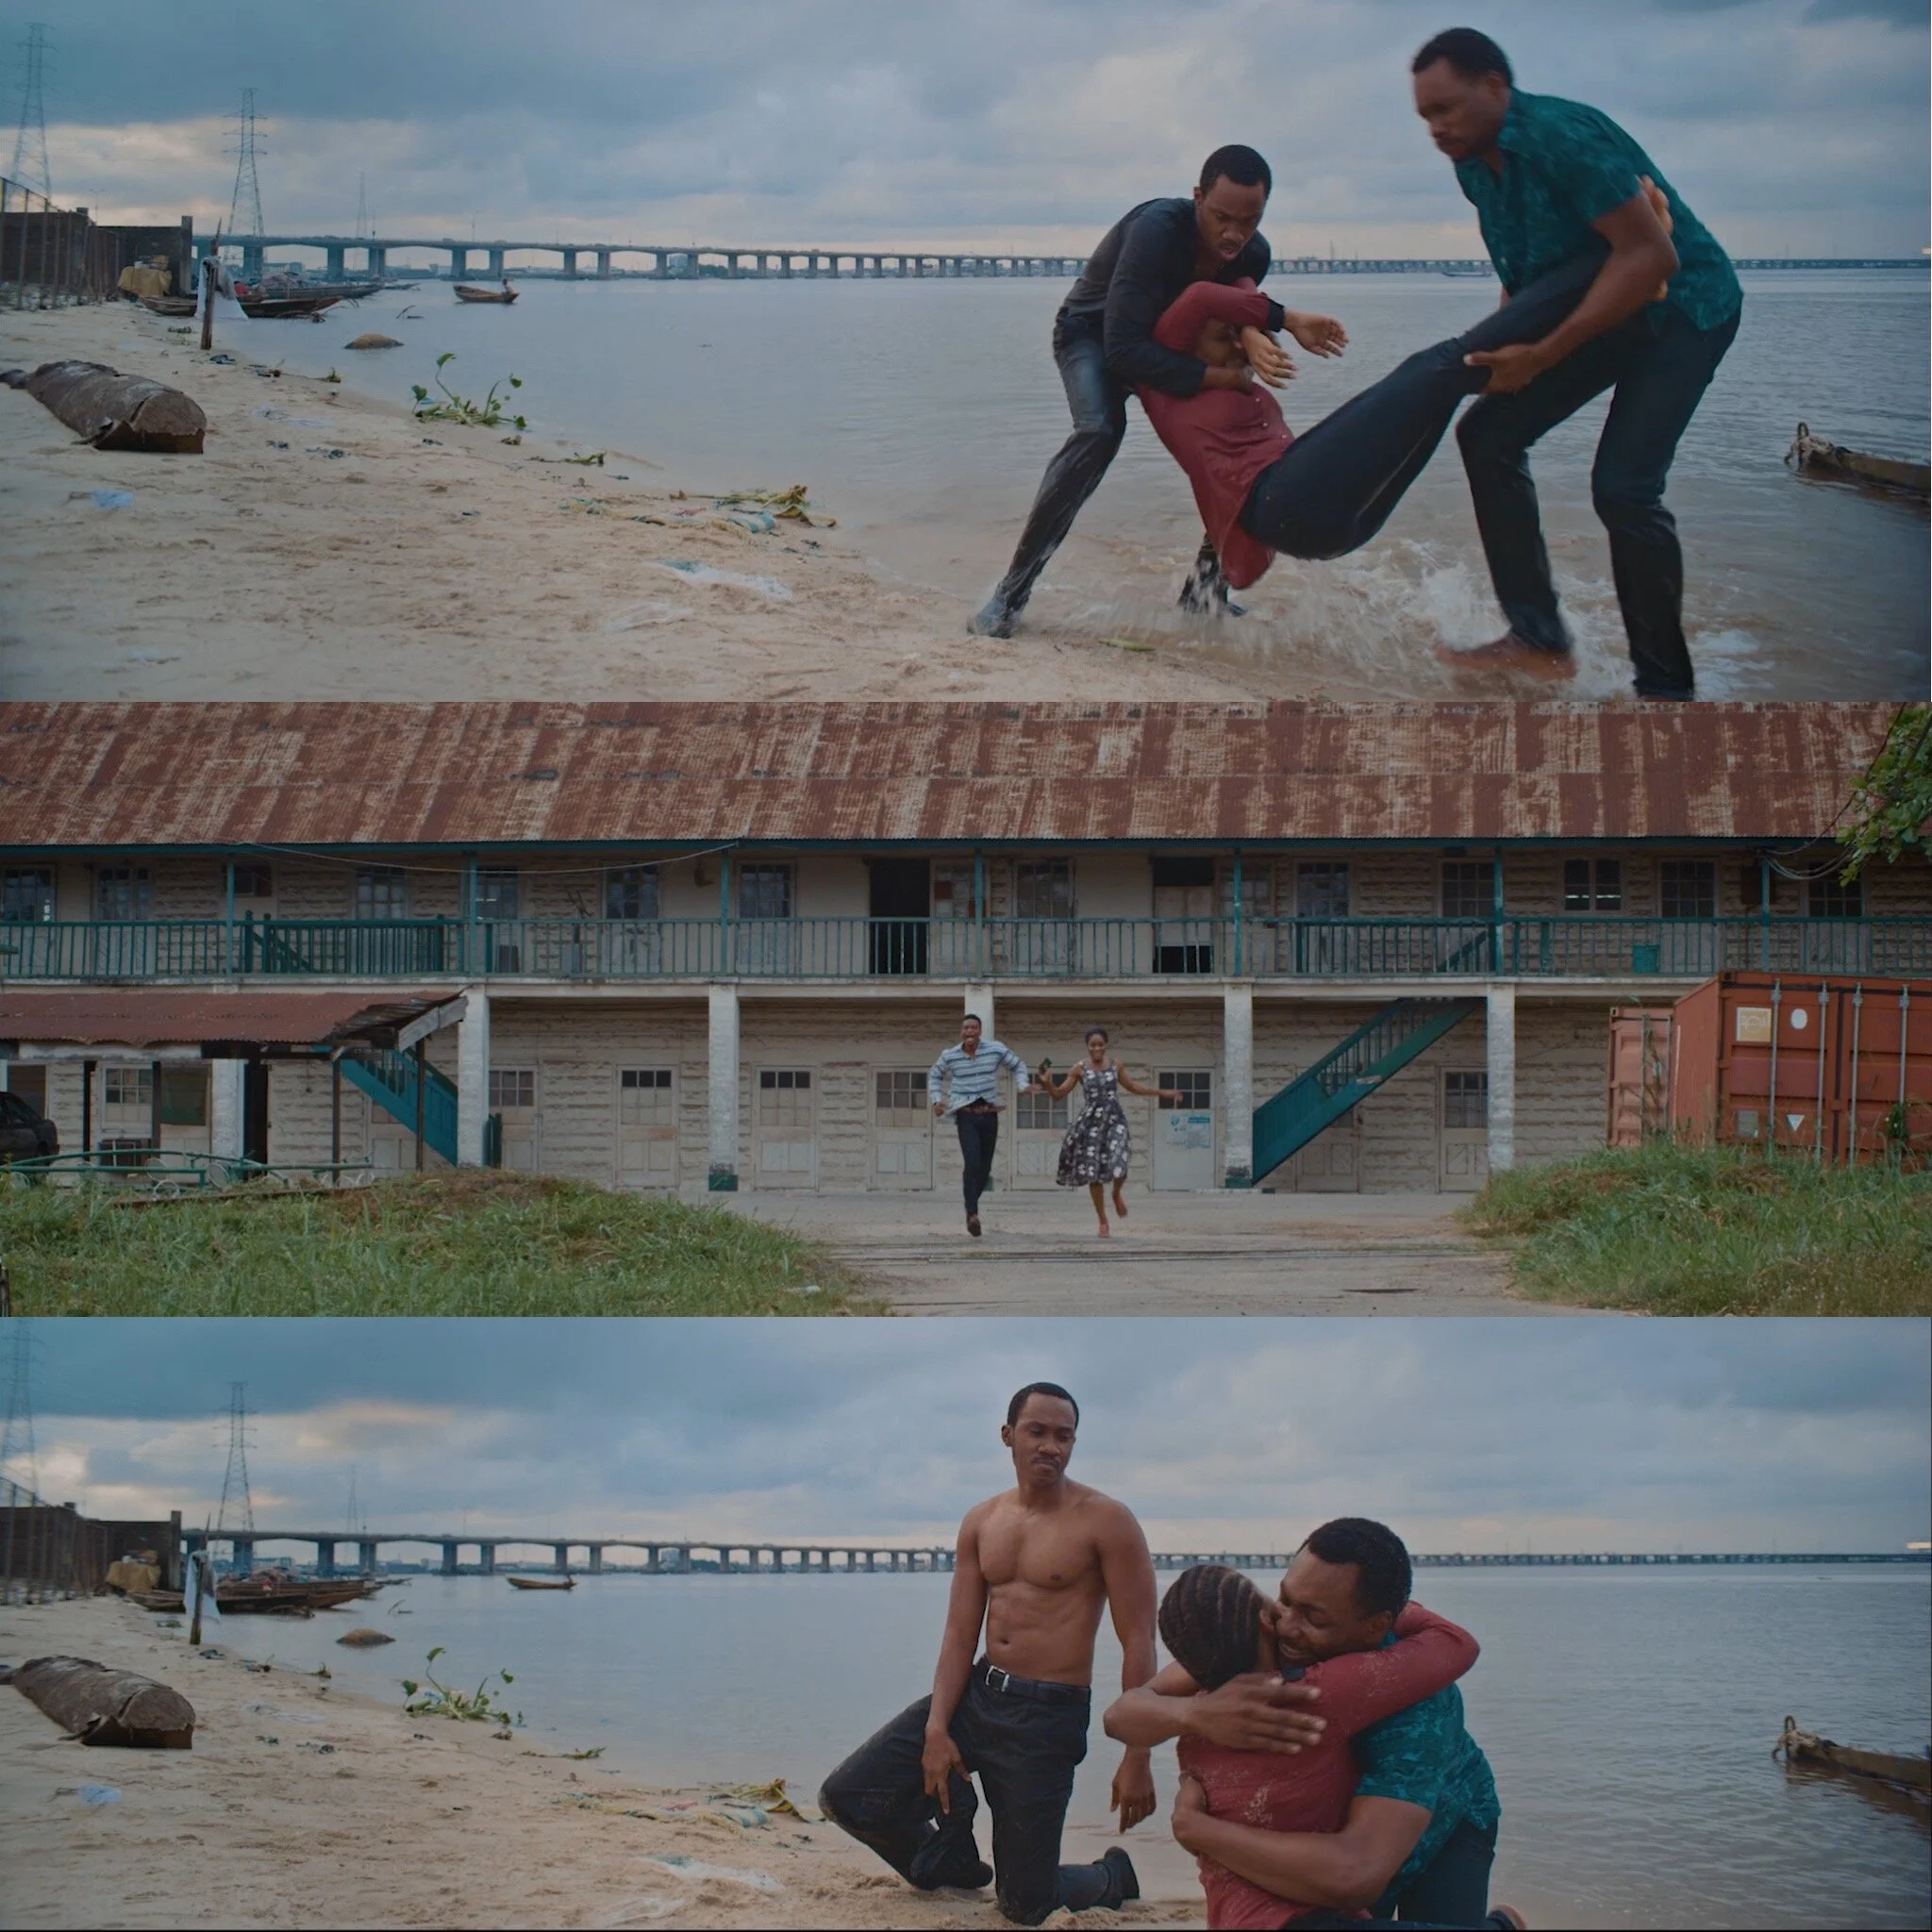
“ A Soldier’s Story 2- Return from the Dead” is a sequel to the award-winning film, “A Soldier’s Story”. Starring
Academy Awards Nominated Hollywood Actor- Eric Roberts, the film which was shot in Nigeria also stares Nigerian Actors Daniel K Daniel, Somekele Idalamah, Linda Ejiofor, Tope Tedela and a host of other household names. It was produced by Martin Gbados and Directed by award-winning director, Frankie Ogar.
Lionsgate through their affiliate, Strawberry Fields Entertainment, believes that Nollywood is a major playing industry in the film space and this deal only goes to confirm it.
Sudip Shrestha (Colourist)- Nollywood filmography
MISS TEACHER (2015) - CHIKA IKE
A Soldier’s Story II - return from the dead (2021)
Grading for vfx heavy projects is different than regular color workflow.
Key steps to follow -
1 ) Conform your edit in timeline and export the LOG to Linear Rec709.
NOTE- Fix the blue/green chroma if required to assist the chroma keying for vfx.
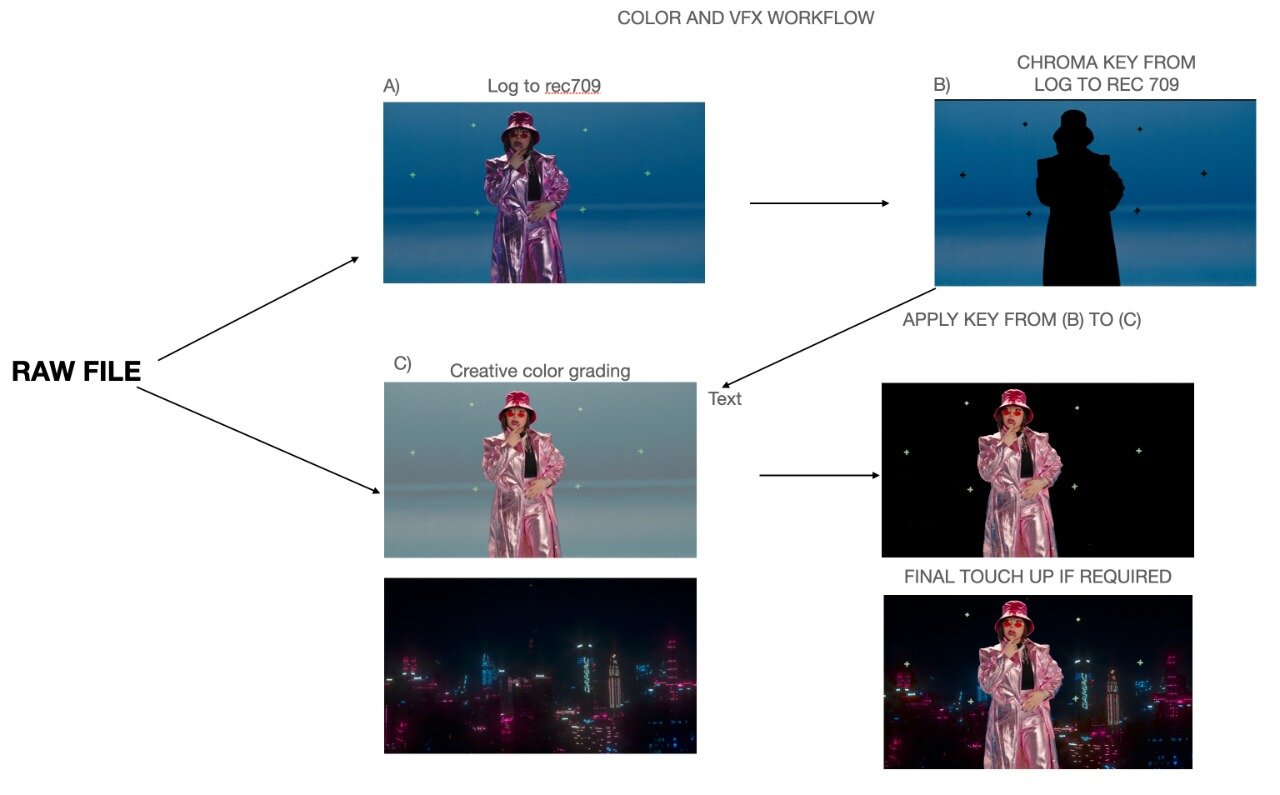
2) Set your look according to the vfx elements working closely with art direction/d.o.p/director for primary and secondary color grading.
3) Get file VFX comp and alpha mattes of all the shots for grading post VFX.
4) Final color grading.
(Choose any formats .exr or apple pro res 4444 for the workflow.)
Machine learning for live-action, scene-depth reclamation. Color correct and apply effects based on camera distance.

Use machine learning to generate 3D surface-orientation bump maps for color adjustment, relighting, and retouching.

GPU-accelerated rack defocus effect. Extract alpha mattes using machine learning with a new human face region Semantic keyer.

Isolate skies with a single click to remove clouds, add treatments to sky backgrounds, and more.

To know more about these features try - Autodesk Flame now.
Apple M1 chip with 8‑core CPU, 8‑core GPU, and 16‑core Neural Engine
16GB unified memory
1TB SSD storage
Gigabit Ethernet
In-Plane Switching (IPS) Technology
HDMI + DisplayPort + USB Type-C Inputs
2560 x 1440 WQHD Resolution
1500:1 Static Contrast Ratio
27" In-Plane Switching (IPS) Panel
DisplayPort | HDMI | DVI-D | USB Type-C
2560 x 1440 Native Resolution
1000:1 Typical Contrast Ratio
UltraStudio 4K Mini is a portable Thunderbolt 3 capture and playback solution packed with the latest broadcast technology! You get broadcast quality 8 and 10‑bit high dynamic range capture in all formats up to 4K DCI at 60p, and 12‑bit high dynamic range capture in all formats up to 4K DCI at 30p. Plus, the built in SD card reader lets you mount camera media directly on your computer so you can start editing immediately!
Multi Software support
3 x High-Resolution Optical Trackballs
9 x Programmable Knobs with Push Reset
9 x Programmable Function Buttons
Large Ice-White OLED Display Area
This is very basic requirement for cheapest 4k color grading solution. Price may vary according to the region.
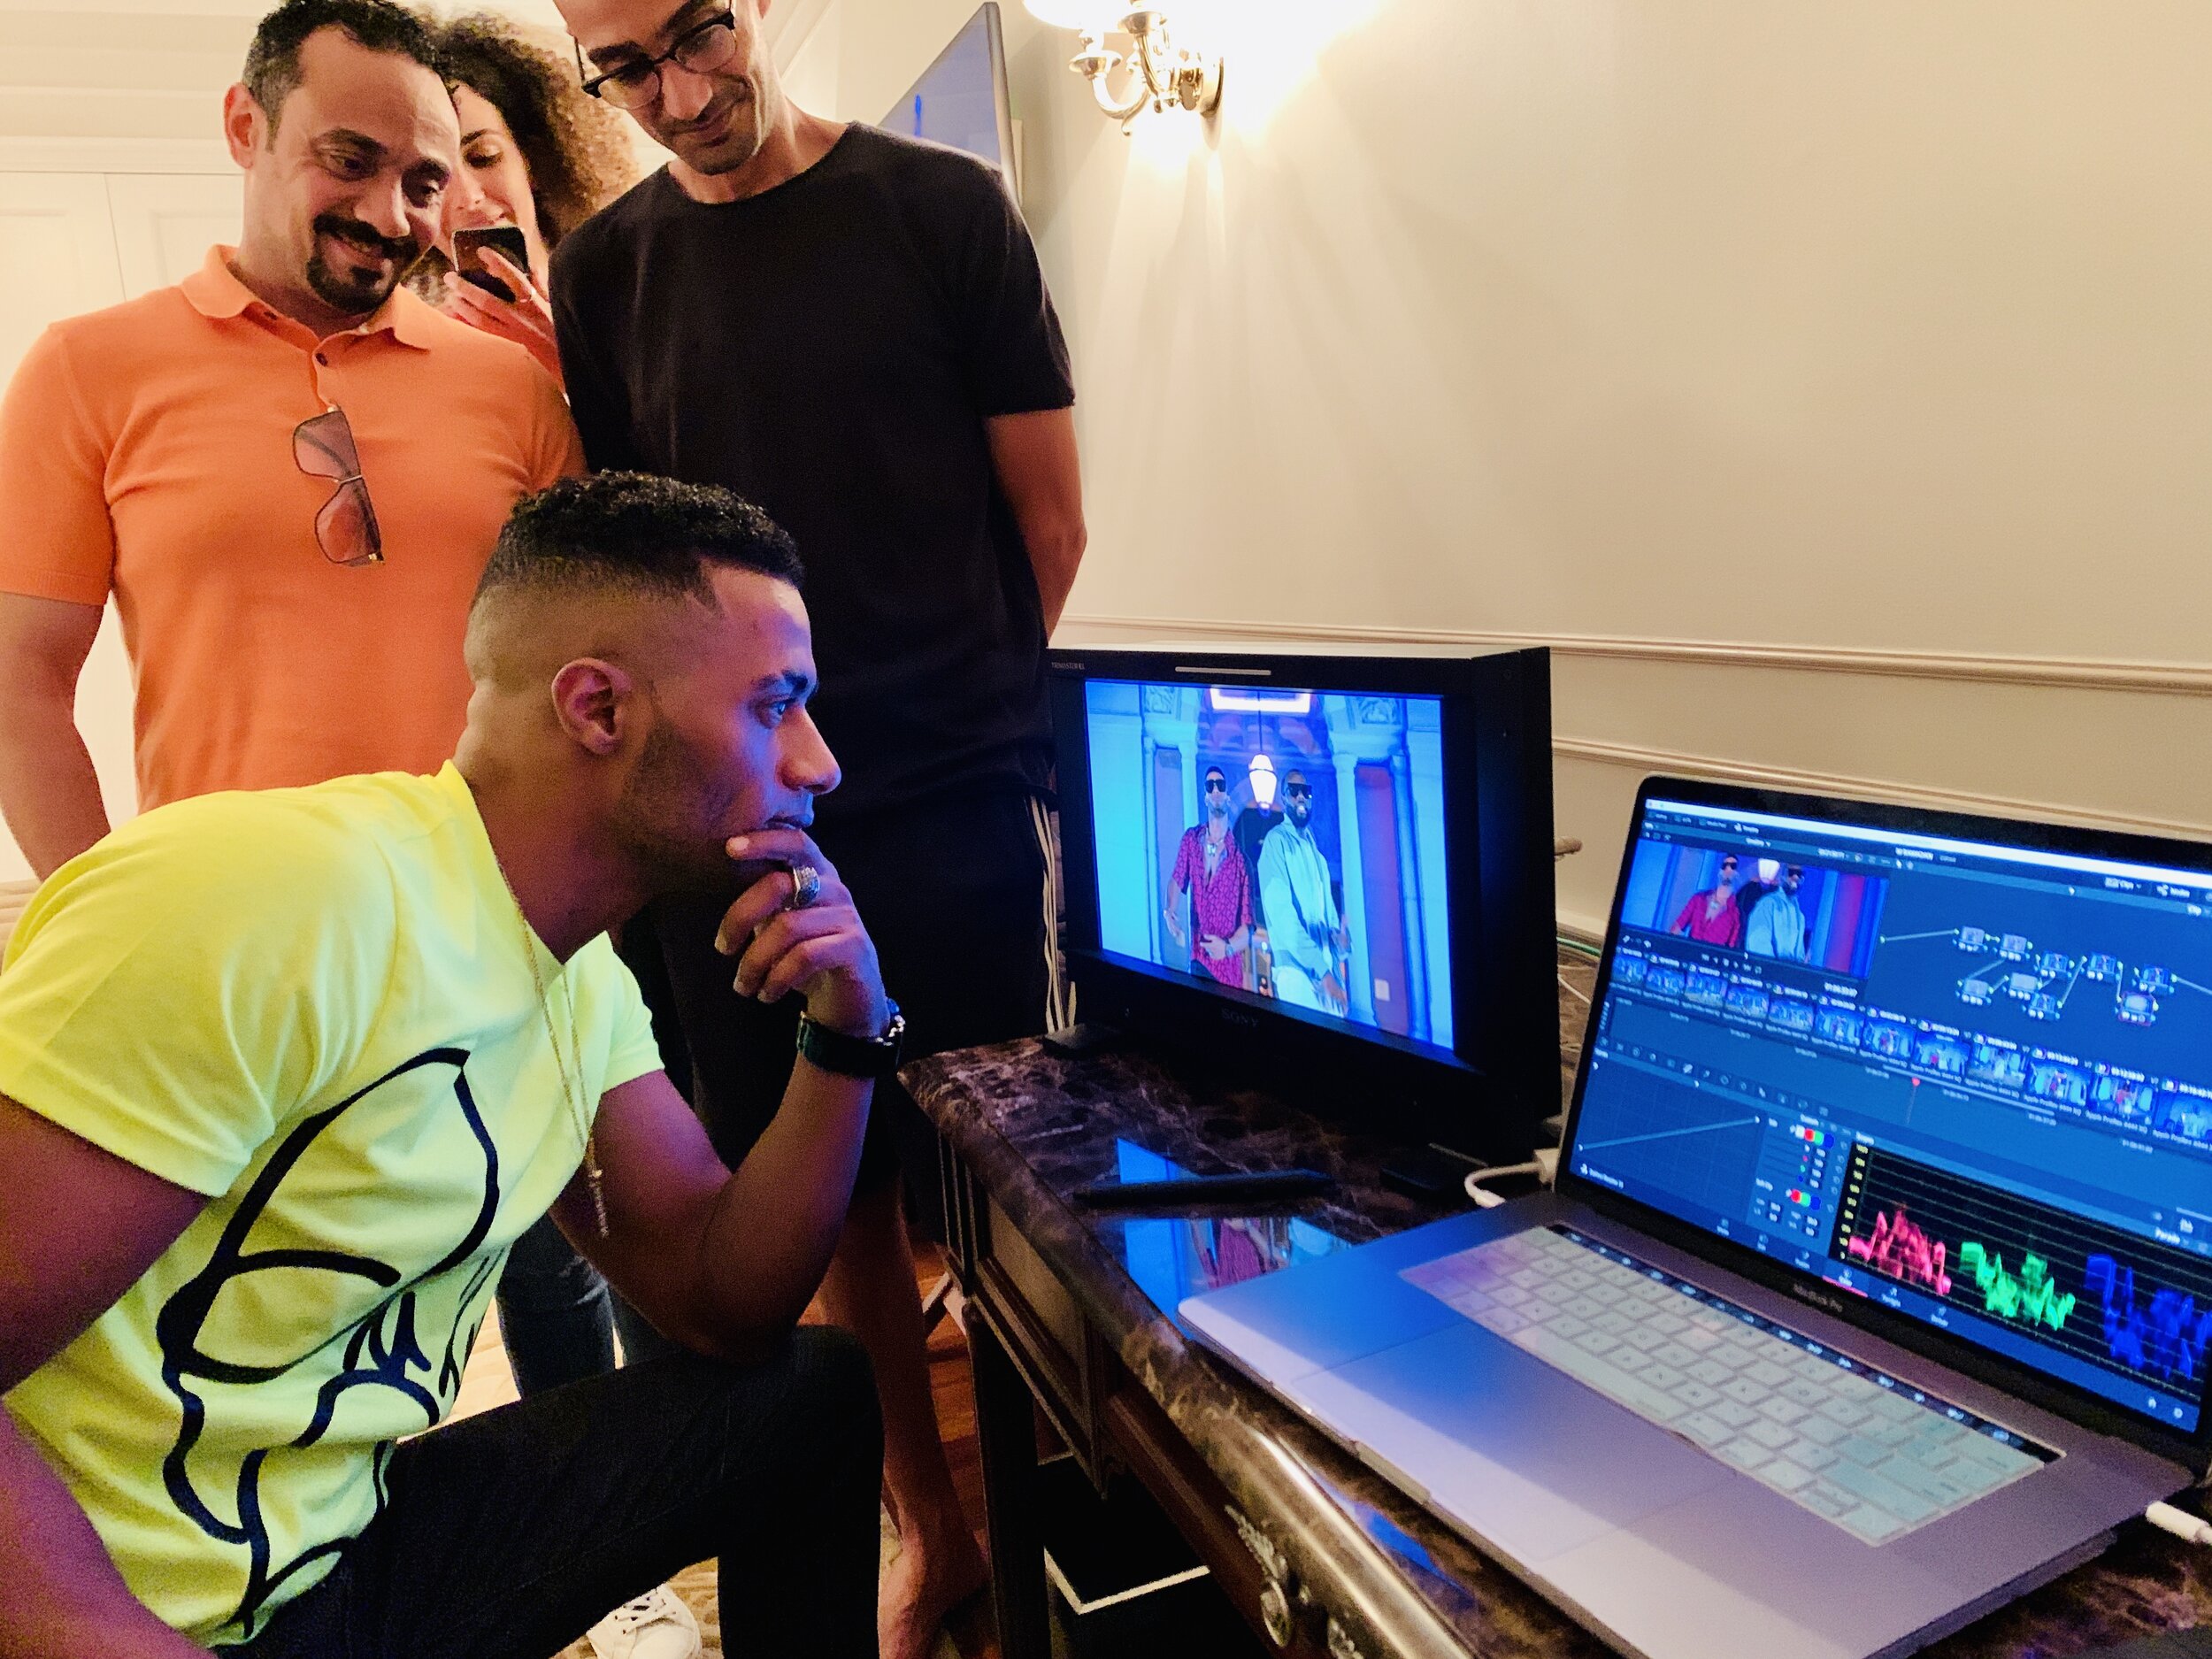
Color graded the most watched youtube song of the year 2020 in Middle east.
Mega Hit of year 2020 by Mohamed Ramadan (MR1), the Egyptian actor and singer and carried by a euphoric French pop chorus sung by Congolese rapper Maitre Gims.
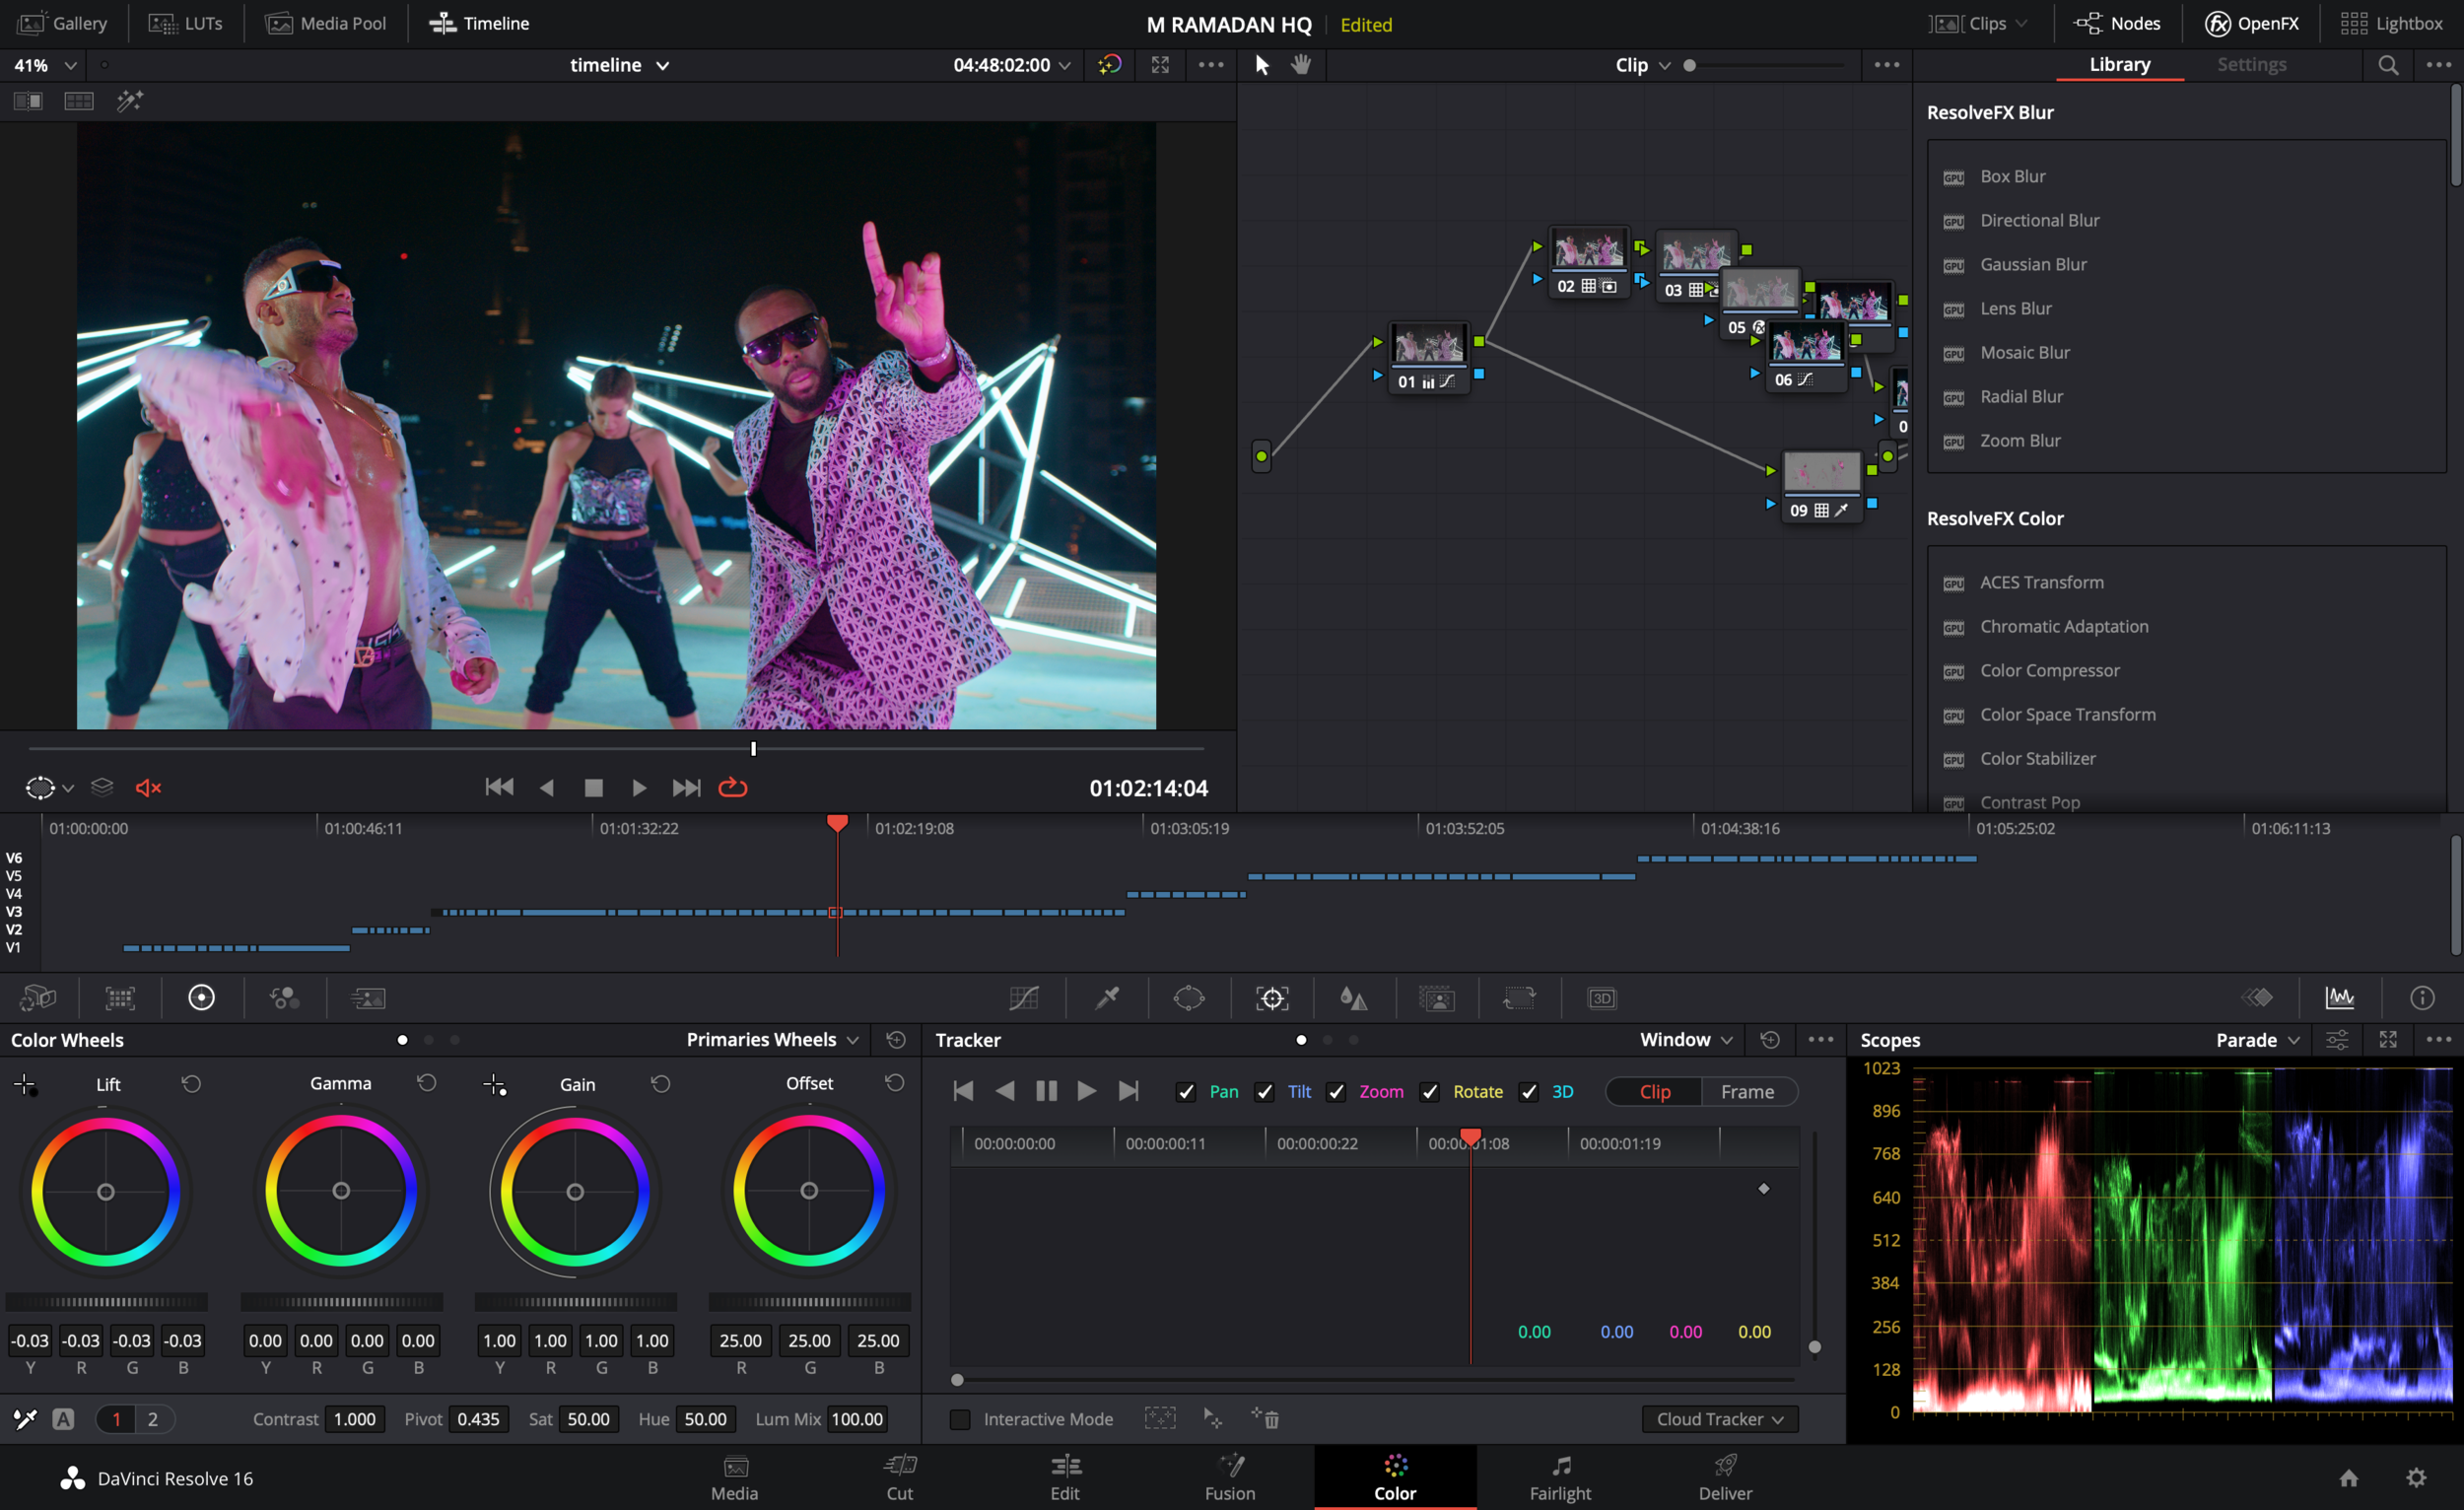


Directed by - Hossam L Hossainy
Creative director - Islam “ISMO” Mohamed
D.O.P - Bobby Dhillon
Editor - Islam Hassan
Colorist - Sudip Shrestha

Source- colorlab.ai
Colourlab is an application based on Artificial Intelligence to help match dailies or multi cameras/scenes.
Colourlab Ai flips the grading process on its head by essentially removing the manual part which requires extreme skill and technical expertise, and puts the focus purely on the creative. It has the potential to save filmmakers hours or even days of work, with the ability, in one instance, to process and color match. It can deliver consistent high-quality results across all shots.
My thoughts on Colourlab.ai as a digital cinema colorist -
Its a game changer.
I would like to see it integrated within the color application in Assimilate scratch/Davinci resolve/baselight.
For more info please visit - colourlab.ai
This is one of the many ways in which Davinci Resolve can be configured in order to be able to deliver a Non-graded Archival Master (NAM) to Netflix .
Create a new project, go to the Project Settings > Color Management panel. The first thing you will want to change is the Color Science settings to ACEScct. If you don’t have a specific reason to use ACEScc, it is recommended to use ACEScct.
ACES Version will default to v1.1 which includes updated Output Transforms for HDR output color spaces. Generally, we recommend using the latest ACES version which, as of today, is v1.1.
Set your ACES Output Device Transform to match the calibration and capacities of your video display:
For SDR, this will be Rec. 709, which corresponds to a monitor calibrated to Rec. 709 / BT.1886 with 100 cd/m2 peak luminance.

For HDR, this will be P3-D65 ST.2084 (PQ) with the corresponding nit level your monitor is capable of. Today, most commonly, this will be P3-D65 ST2084 (1000 nits).

Make sure the ACES Mid Gray Luminance setting stays at 15.00 throughout the whole grading and finishing process.
Process Node LUTs will only apply in the event that you are loading LMTs as LUTs to the project. The setting will vary depending of those LMTs were generated.
An important note is that when the ACES Output Device Transform is set to None, Resolve will output ACES images a.k.a. ACES 2065-1 or ACES Linear (AP0).
By default, for RAW clips, Resolve will automatically debayer images into ACES and you should see a normal looking image.
For non-RAW formats (such as DPX, ProRes, XAVC, etc), Resolve may not automatically detect the color space, so you will have to manually select your ACES Input Device Transform (IDT).
You can do this by right-clicking on a shot or group of shots in the Media Pool, as shown in the screenshot below.
Example: you shot XAVC on the Sony F55 using the SLog3-SGamut3.CINE color space, and bring these clips into the Media Pool. Resolve is not able to recognize this based on the metadata, so you must manually select “Sony SLog3 SGamut3CINE” from the ACES Input Device Transform dropdown list.

You may also set your Project to default to a specific ACES Input Device Transform. This may be handy if the majority of your clips will be in a common color space and cannot be auto-detected.
TIP: Sorting your Media Pool by “Format” or “Video Codec” columns can help batch-assign IDTs to groups of clips highlighted at one time. See screenshot below for an example.

When you are ready to render your deliverables, open up the Deliver page.
IMF Master, Video Display Master (VDM) or Quicktime references
When rendering images in display color spaces, such as those required for IMF Master deliverables, a VDM source for IMF creation, or Quicktime references, make sure your ACES Output Transform is enabled and matches the intended display type.
For the Non-Graded Archival Master (NAM), make sure you turn off the ACES Output Transform in order to output ACES AP0/Linear data as shown below.
NOTE: For any interchange of images between facilities or softwares in an ACES pipeline, such as VFX plates, the following method should be used.

NOTE: The setting ‘Force debayer to highest quality’ will automatically select what Resolve considers to be the highest debayering quality for each RAW file on the timeline. This may differ from your own findings. Please feel free to select your preferred debayering algorithm instead, and untick this option if you prefer.
Note: Resolution may vary depending on the project’s framing, but should be at UHD resolution (3840 x 2160) or higher.
1 Since the ACES color space is Linear, the ACEScct and ACEScc spaces were defined as logarithmic (log) working color spaces, so that traditional color correction tools would feel similar to other log color spaces.
2 Rec.2020 is not used for Netflix deliveries at this time.
3 half = 16-bit half-float
4 No Output Tranform will output ACES Linear aka. ACES 2065-1 (AP0).
It’s time for work from home and now clients can attend color session via live streaming. The new feature in Assimilate scratch can change the industry forever and hope the technology evolves.
• Stream the current timeline out to Facebook, Youtube, or a custom streaming server
• Capture other live rtmp streams to comp into your own live stream
• Share projects between multiple systems in a single facility on shared storage
• SCRATCH online project repository to work with multiple artists simultaneously on a single project from places all over the globe.
• SCRATCH remote: connect multiple SCRATCH systems from all around the world for a creative grading session.
• Stream SCRATCH output directly to a media server for others to live view your creative work.
• Publish to SCRATCH Web, Facebook, Vimeo or YouTube to share content online and in a secure manner for review and approval.
• Sync Player: slave one or more SCRATCH players and (remote) control playback from the master system.
For live color grading session - contact me.
Updating oneself is always an on going process. Everyday we face new challenges and updates in every faculty. Online course is a key to unlock and discover new updates. As a colorist, I try my best to study and update my faculty and participate in all sorts of forums.
After 1 year of paid subscription of MZED I have found it very helpful to novice and expert colorist and highly recommend its subscription for every filmmakers.
MZed Pro is a subscription membership that gives you unlimited streaming access to more than 160 hours of MZed's critically acclaimed catalogue of education, including filmmaking courses from Philip Bloom, Shane Hurlbut ASC, Vincent Laforet, Alex Buono and many more.
Outstanding Color Grading – Theatrical Feature
First Man
Natasha Leonnet // EFILM
Roma
Steven J. Scott // Technicolor
Green Book
Walter Volpatto // FotoKem
The Nutcracker and the Four Realms
Tom Poole // Company 3
Us
Michael Hatzer // Technicolor
Spider-Man: Into the Spider-Verse
Natasha Leonnet // EFILM
Outstanding Color Grading – Episodic or Non-theatrical Feature
The Handmaid’s Tale – Liars
Bill Ferwerda // Deluxe Toronto
The Marvelous Mrs. Maisel – Vote for Kennedy, Vote for Kennedy
Steven Bodner // Light Iron
Game of Thrones – Winterfell
Joe Finley // Sim, Los Angeles
I Am the Night – Pilot
Stefan Sonnenfeld // Company 3
Gotham – Legend of the Dark Knight: The Trial of Jim Gordon
Paul Westerbeck // Picture Shop
The Man in the High Castle – Jahr Null
Roy Vasich // Technicolor
Outstanding Color Grading – Commercial
Zara – Woman Campaign Spring Summer 2019
Tim Masick // Company 3
Tiffany & Co. – Believe in Dreams: A Tiffany Holiday
James Tillett // Moving Picture Company
Hennessy X.O. – The Seven Worlds
Stephen Nakamura // Company 3
Palms Casino – Unstatus Quo
Ricky Gausis // Moving Picture Company
Audi – Cashew
Tom Poole // Company 3