Scratch 8 - Colour Grading Studio in Dubai


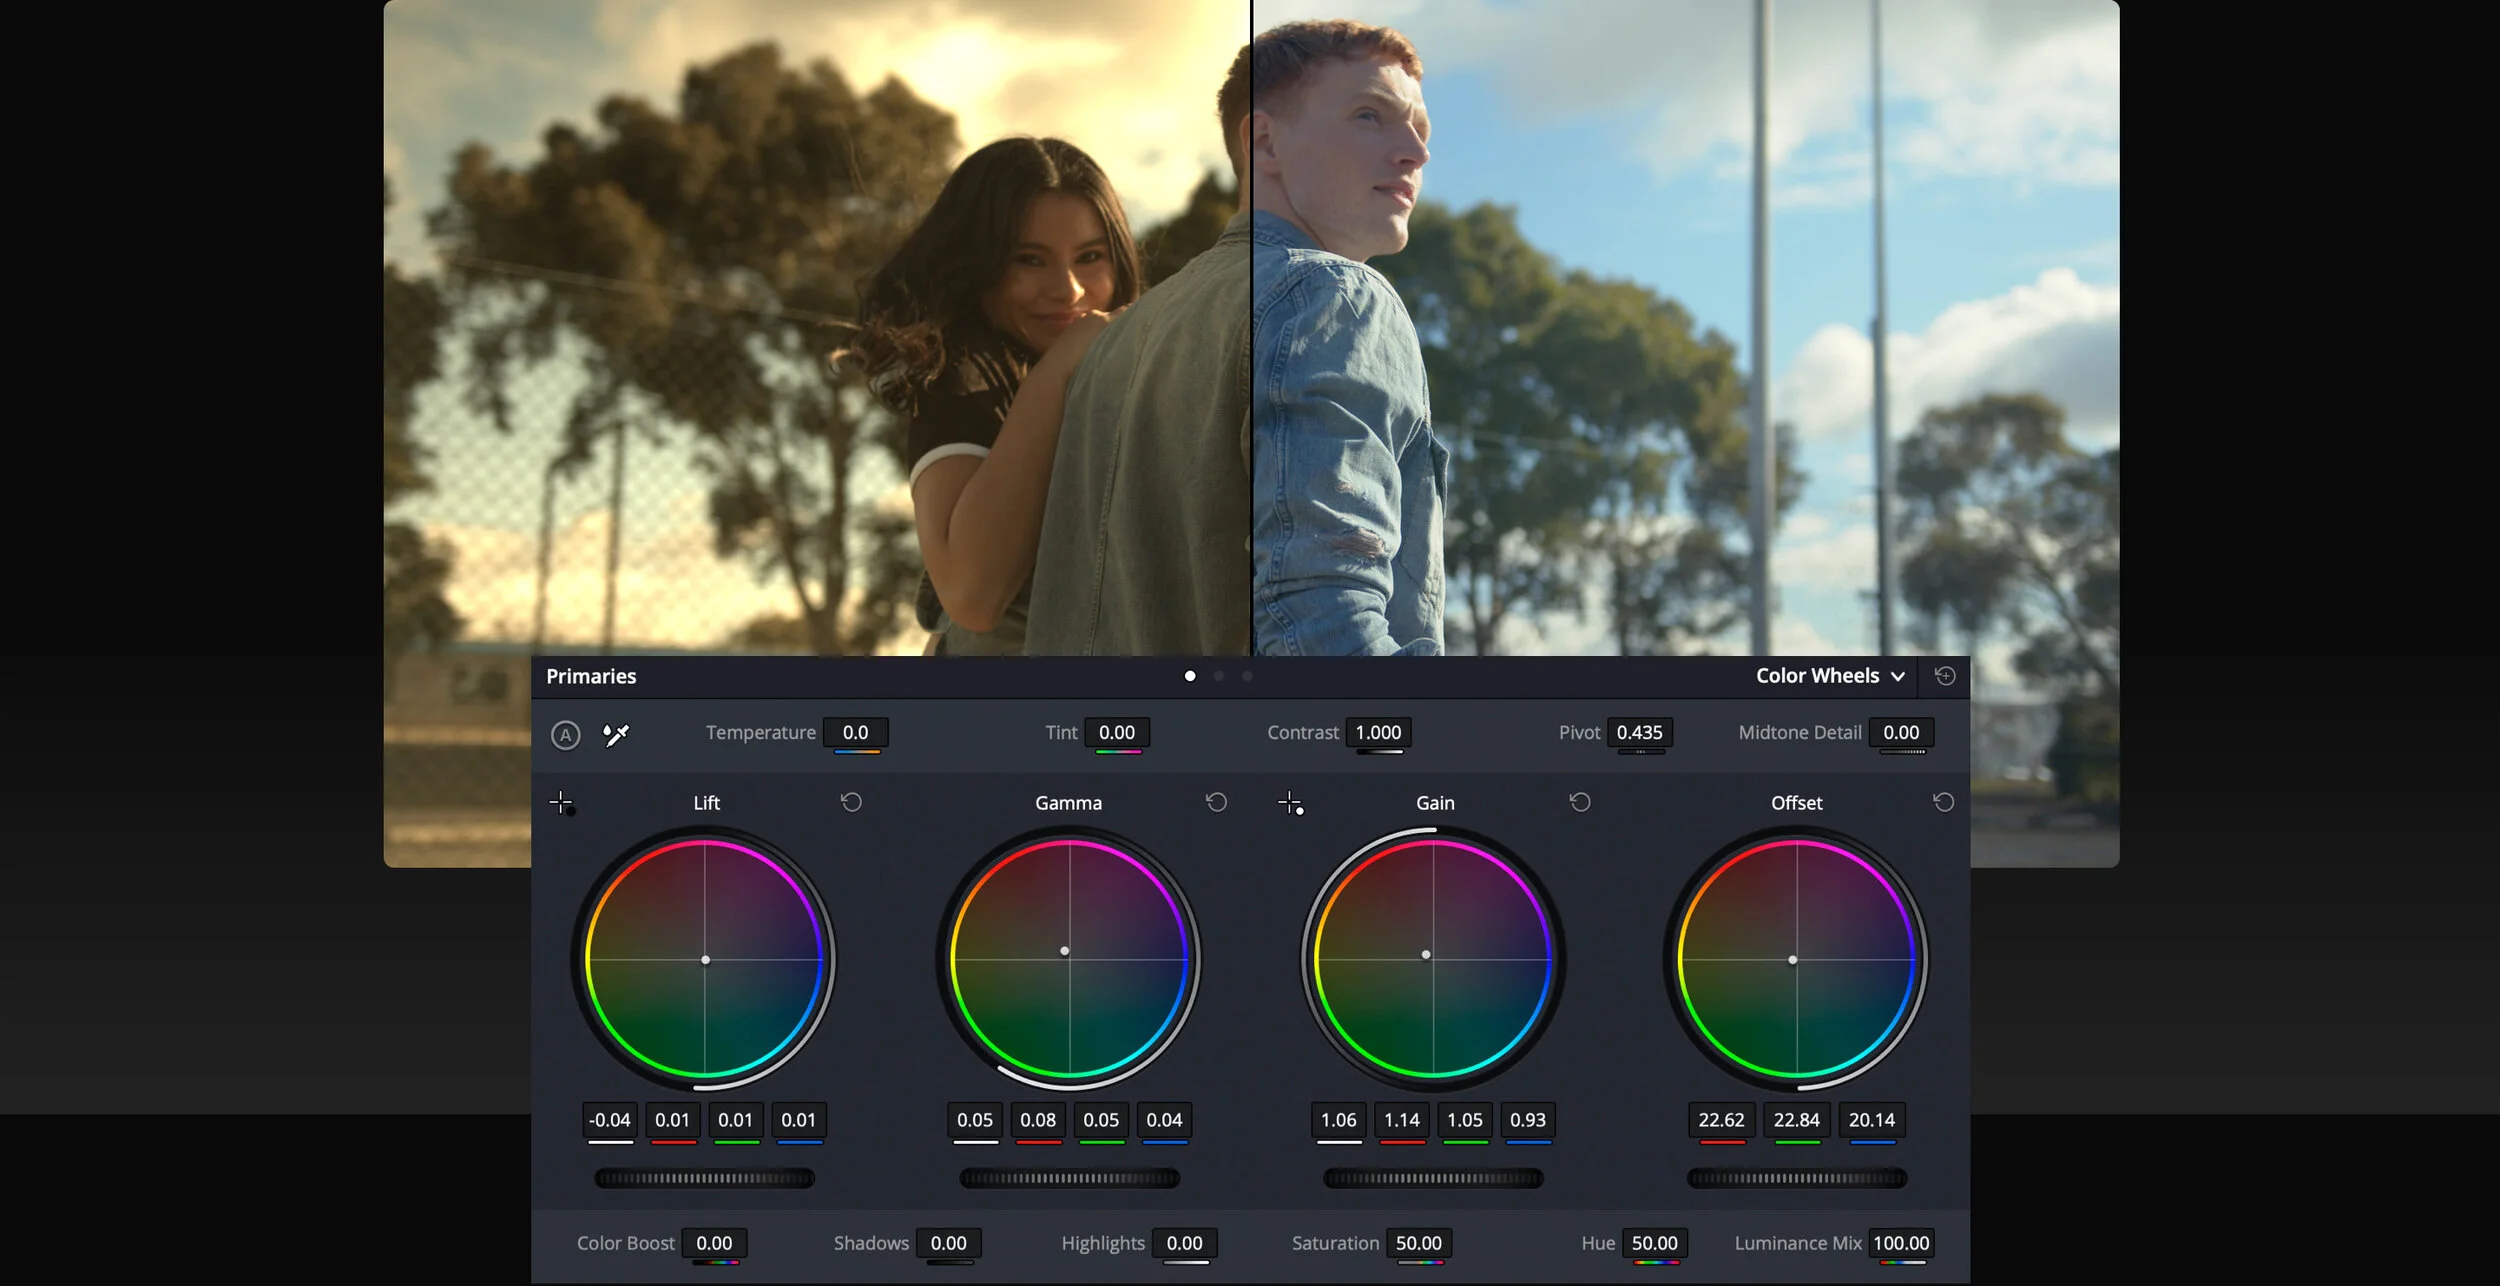
The Suite is equipped with latest Assimilate Scratch 8.4 version of world's best DI software enabling filmmakers to craft the art of color grading beyond imagination.

Pixel house Color Grading suite offers :

  • ACES LOG - Grading option
  • Real time VR post production 
  • Stereo 3D Color Grading Studio
  • Real time 6k Color Grading Workflow
  • Digital Cinema Mastering - DCP
  • Davinci Resolve Grading Suite
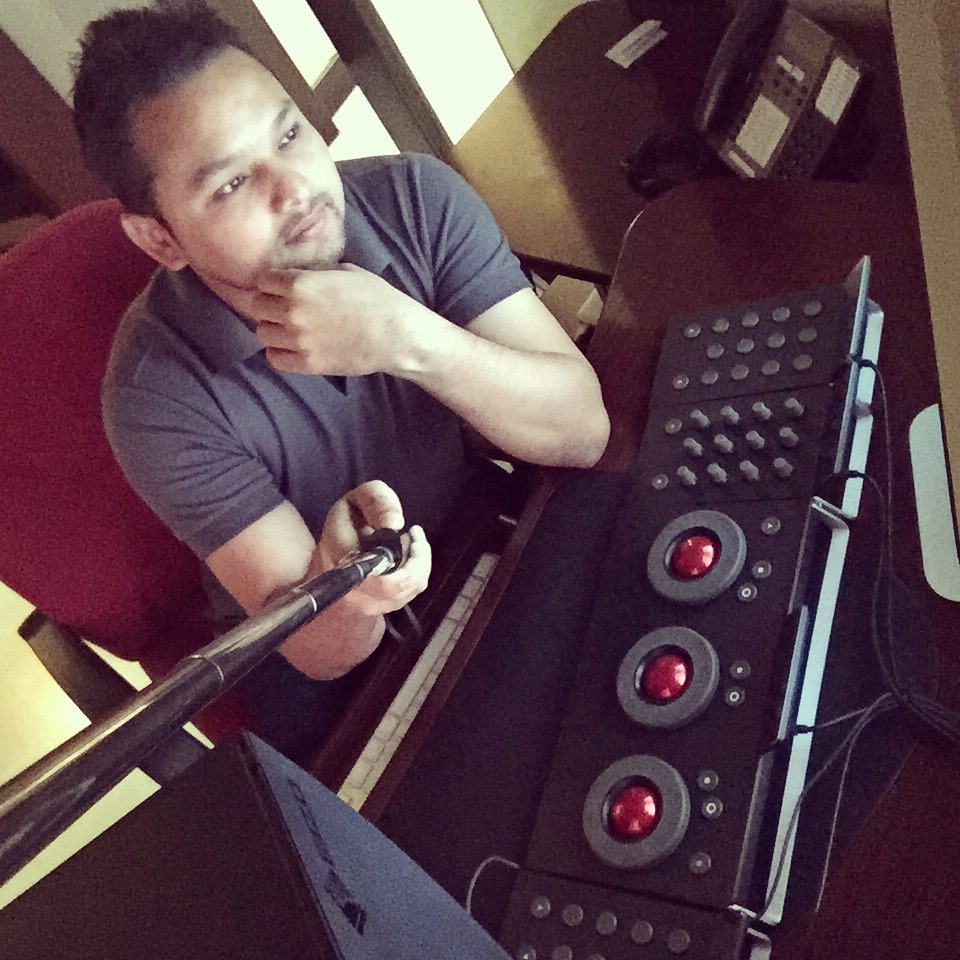
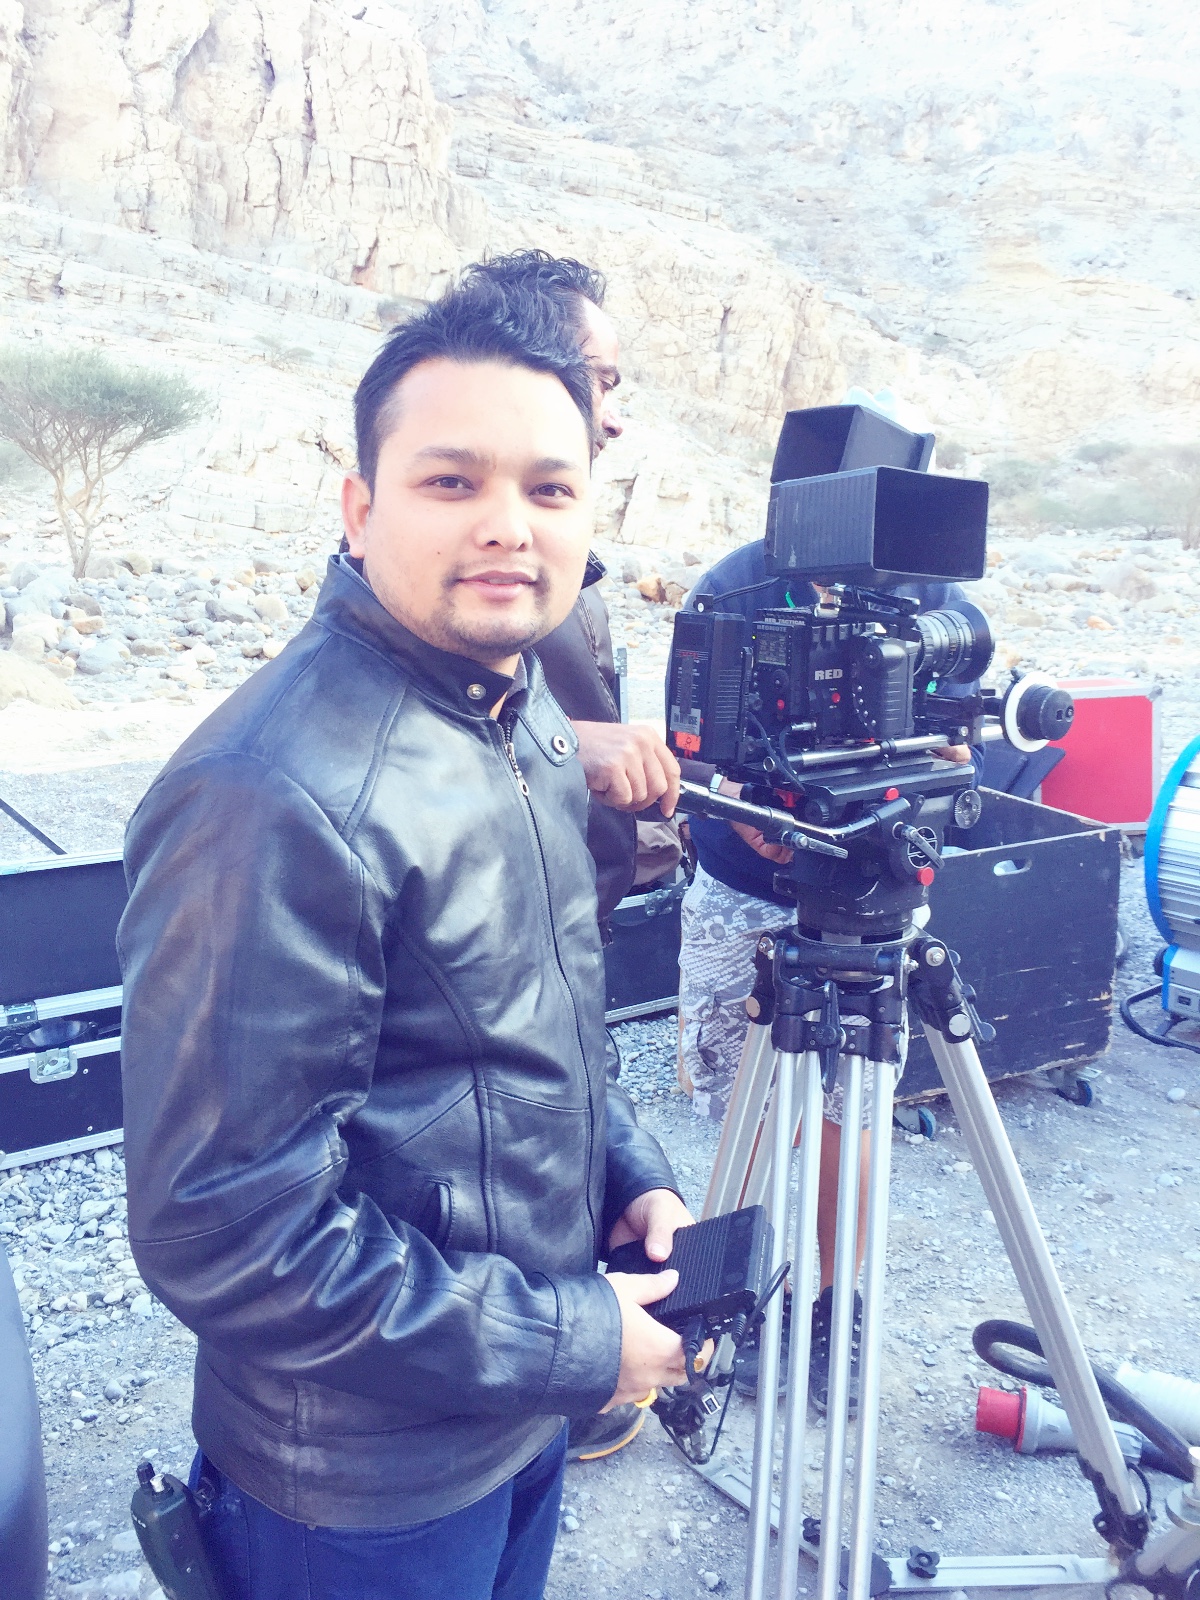
Colorist - Sudip Shrestha has joined Pixel House as a senior colorist. He has graded more than 50 feature length movies , 200 tvcs in Assimilate Scratch. 

Please visit www.pixelhouse.ae

Thank you - Tambi Studios (2013 -2015)

As a digital cinema colorist I joined Tambi Studios in Oct 25, 2013.

I am writing today to thank you for all the support that you have extended to me during my time here at Tambi Studios. From the time I started this job you have been nothing but helpful and supportive.

I really appreciate how you have always been so friendly and supportive of all of my efforts even when they are slightly misguided. Working for you has been very enjoyable and I have learned and grown a lot. A lot of my friends hate going into their jobs but I've always looked forward to coming in to work here.

Your encouragement and support have made all of the difference. Thank you. Tambi Studios.

Colour correction - Top websites

Color correction is the process where you make adjustments to the color and contrast of footage in your video. It involves tweaking every clip in your footage to provide a good level of exposure, not to mention matching color temperatures between different shots.

Top websites to learn color correction:

  1. http://www.colorgradingcentral.com/
  2. http://www.lynda.com/Color-Correction-training-tutorials
  3. http://www.learncolorgrading.com/


Color Grading - Innovative Heros

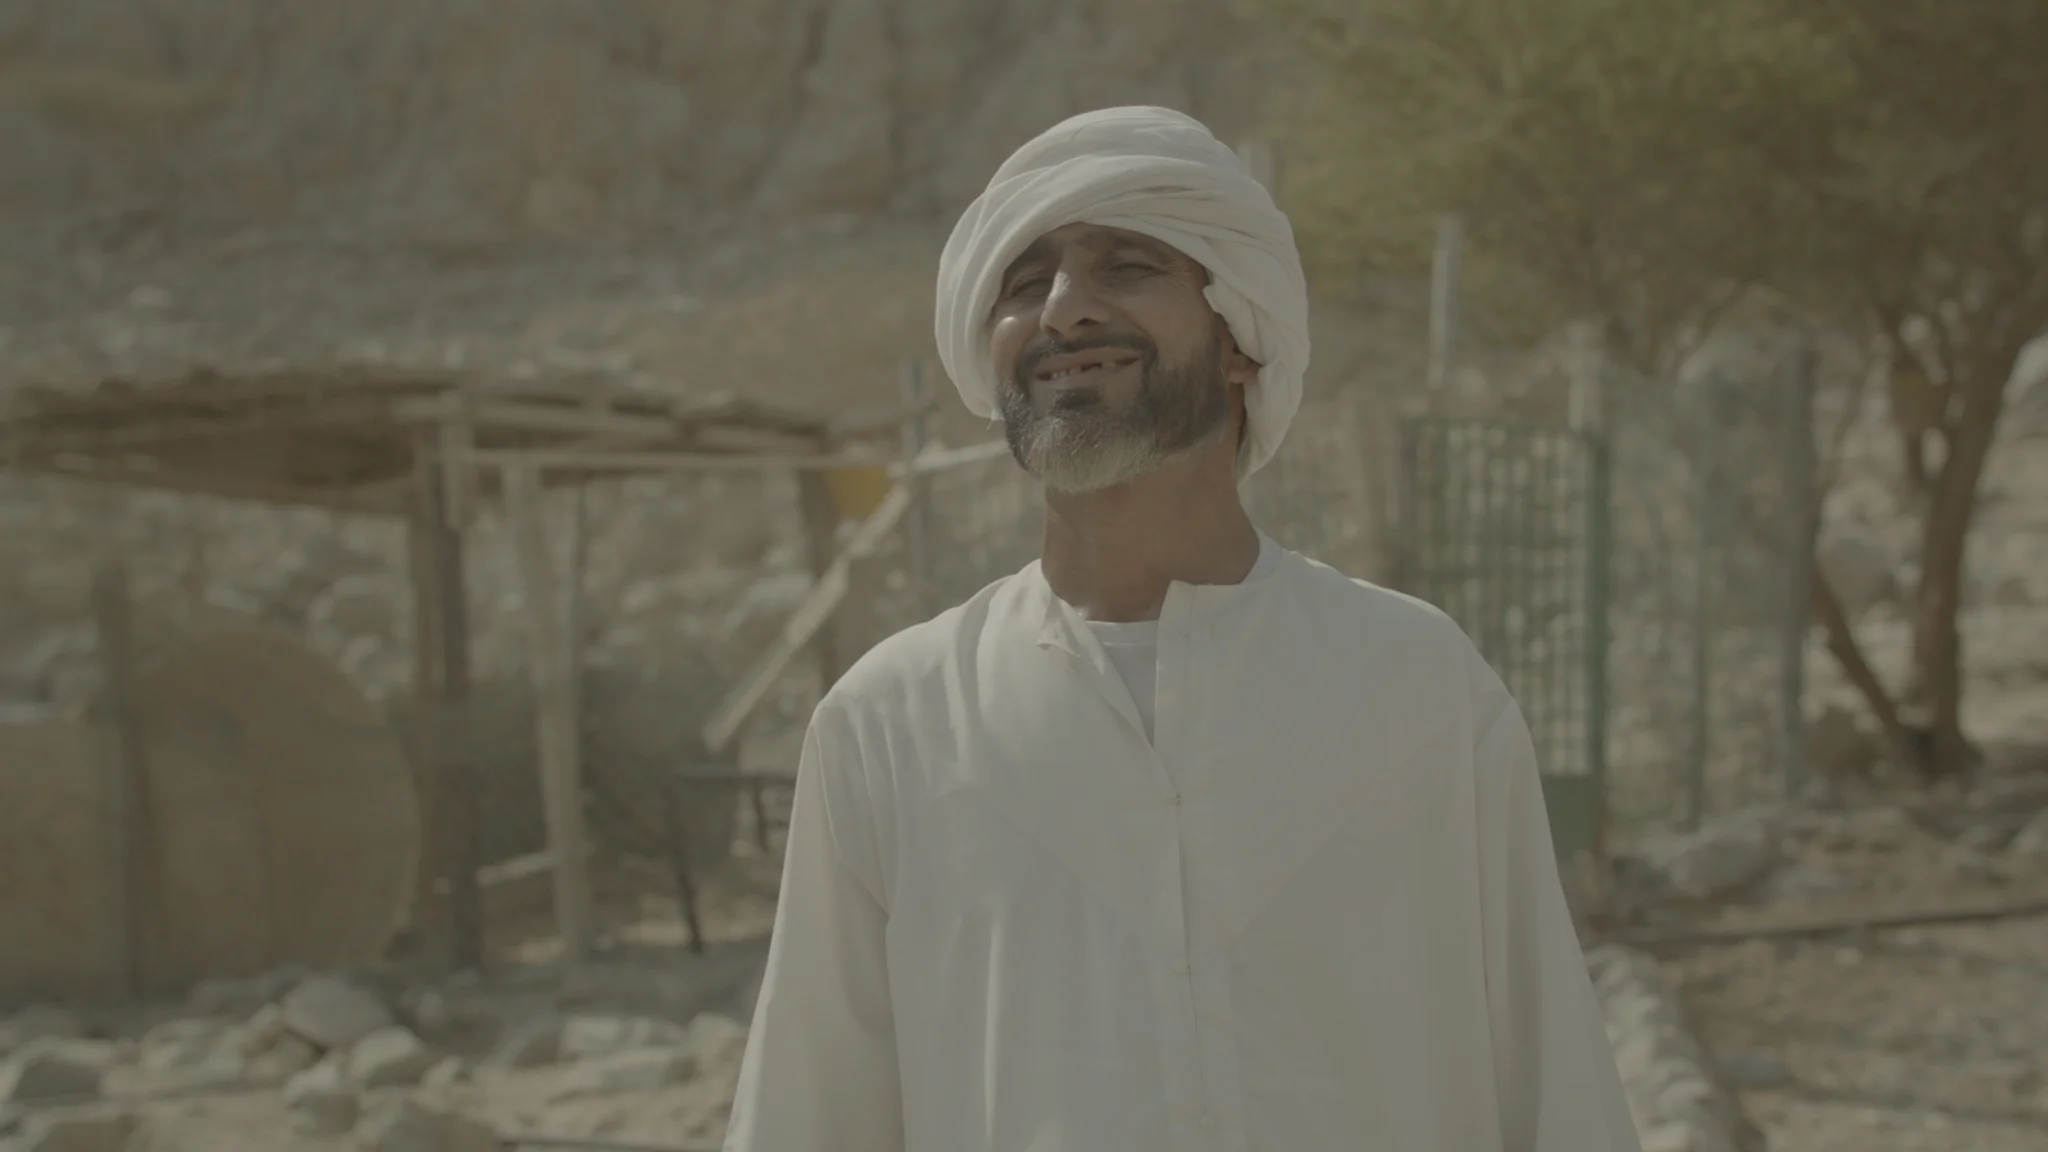
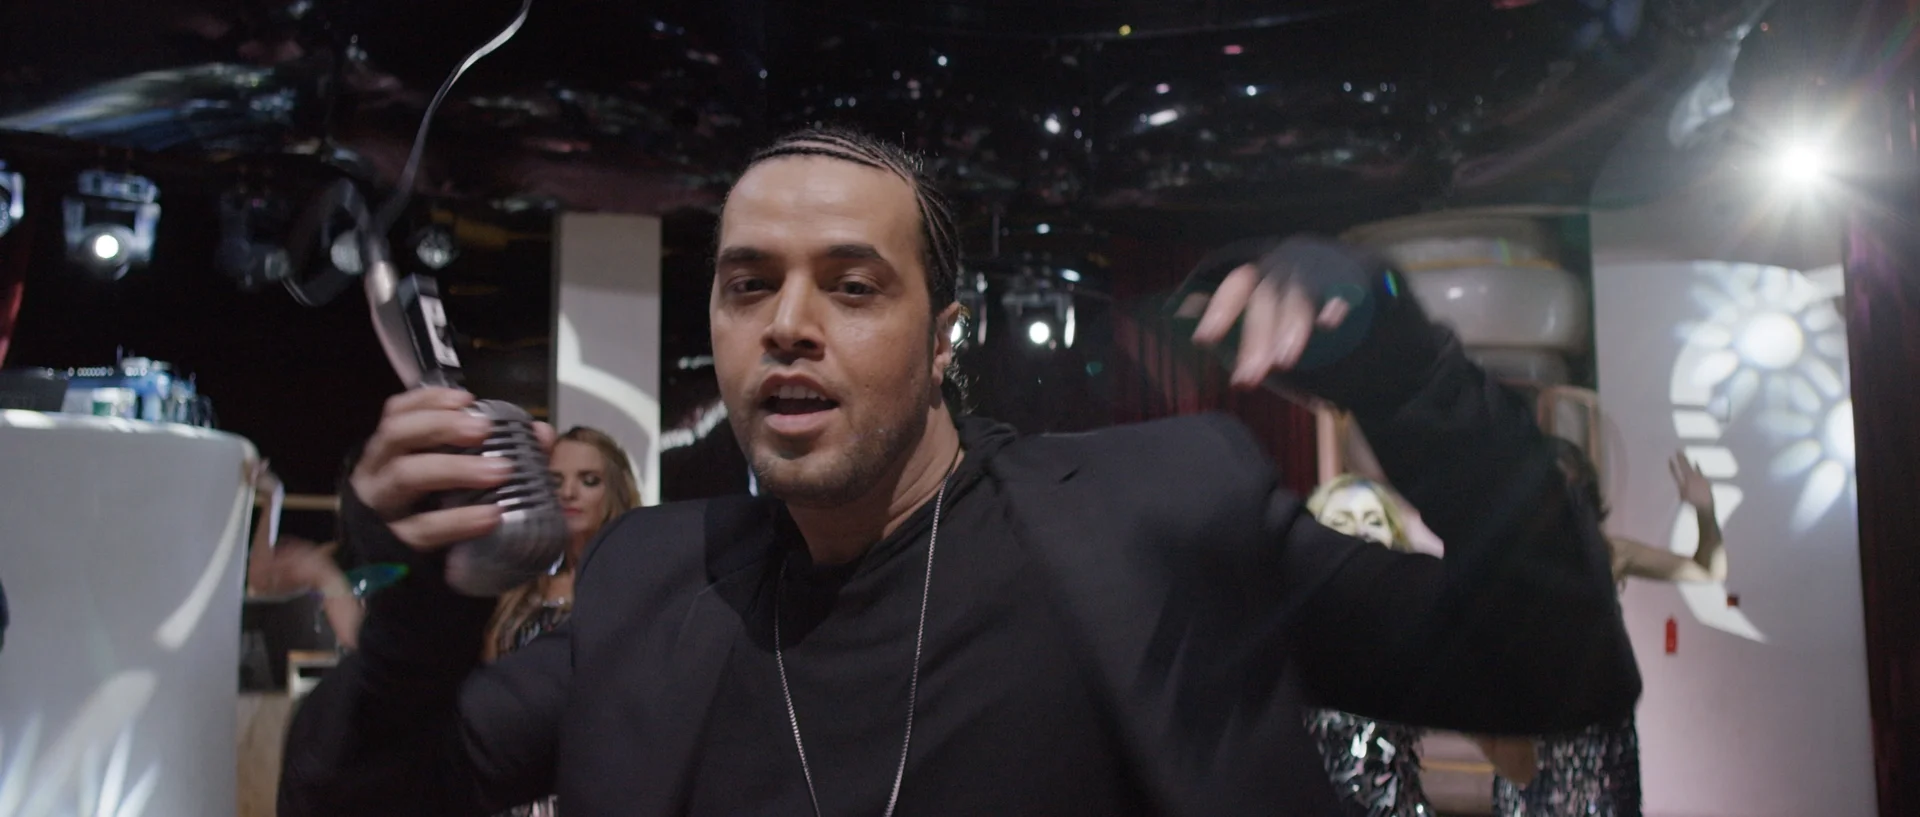
Da Habibi - Abdelfettah Grini is back with a new single

Color Grading Moroccan singer Abd El Fattag El Grini: Da Habibi.
Da Habibi is the popular Moroccan singer Abdelfettah Grini’s first single in five years. Courtesy Platinum Records.
 
Shot in RED HDRX - 5k. - Red Digital Cinema Camera
Graded in Davinci Resolve 11 Studio by Sudip Shrestha.

Here's an interview link to Da Habibi published in www.thenational.ae

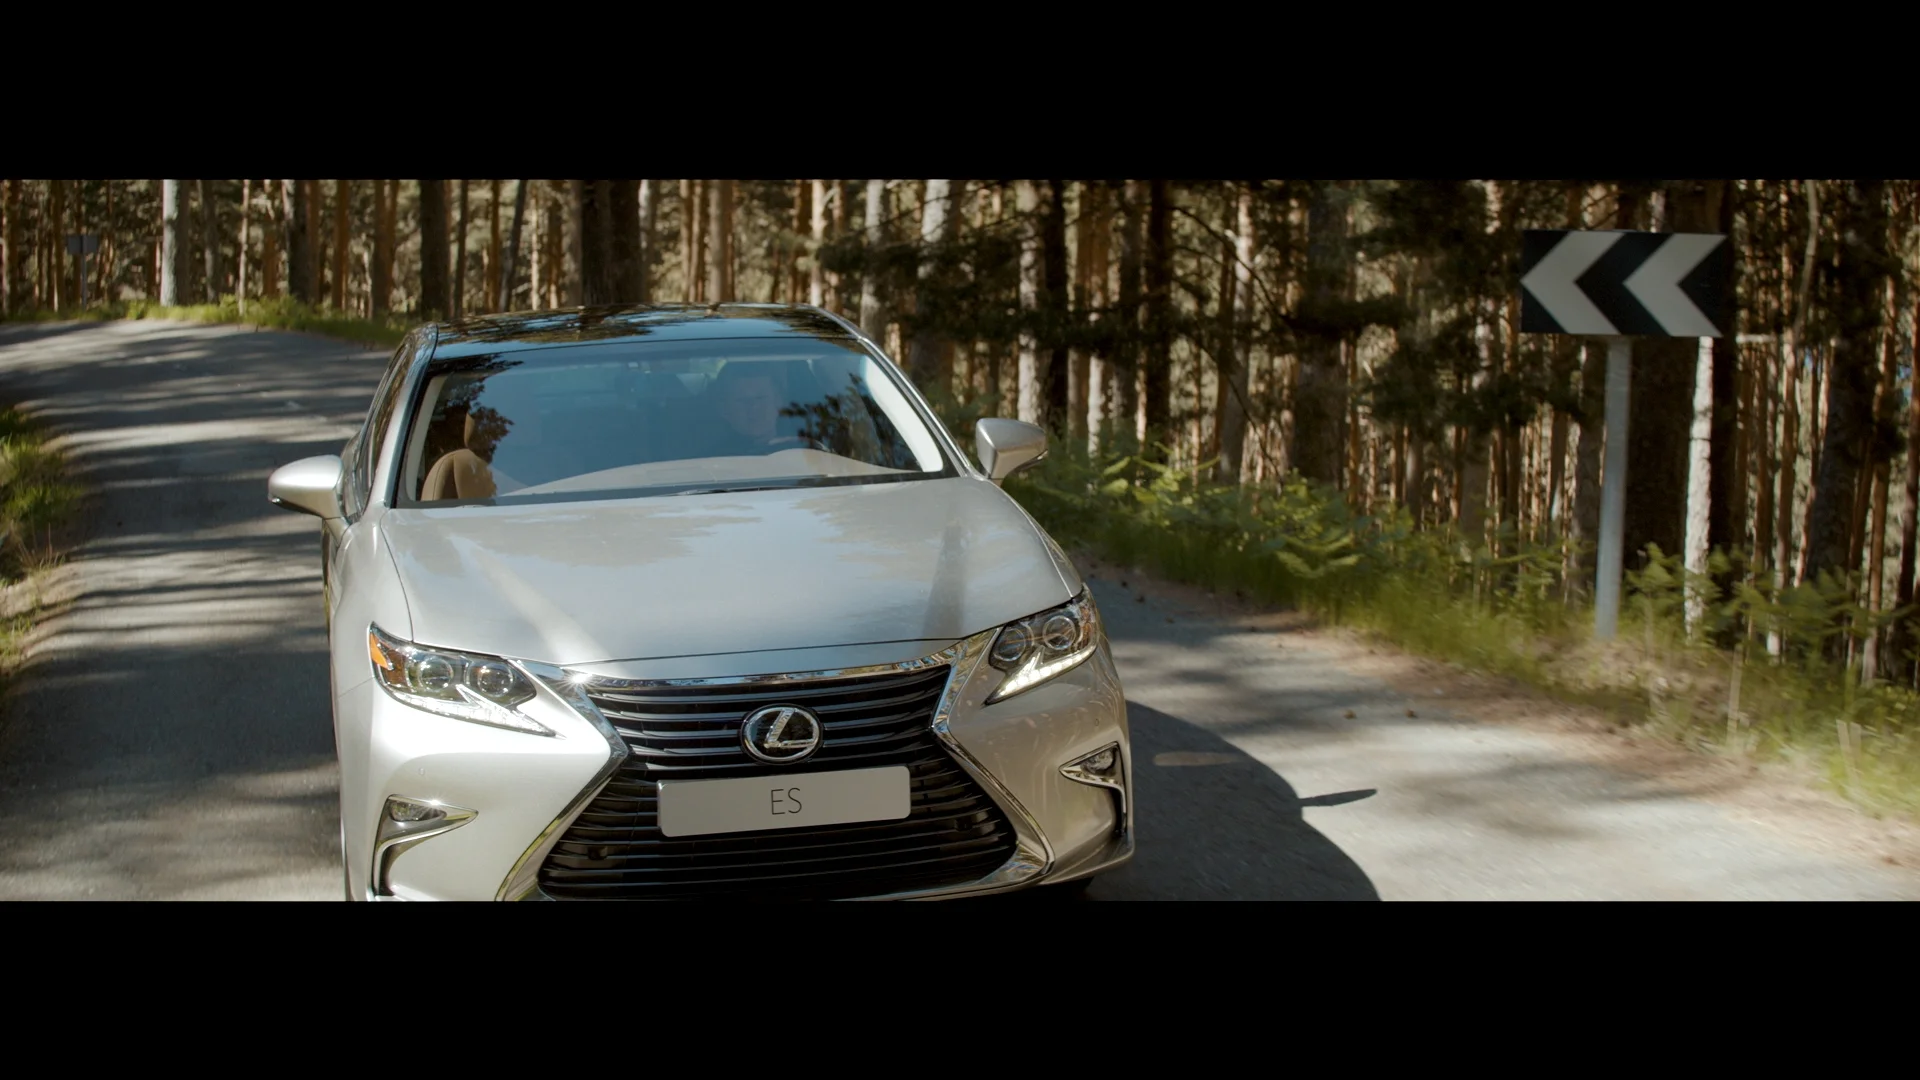
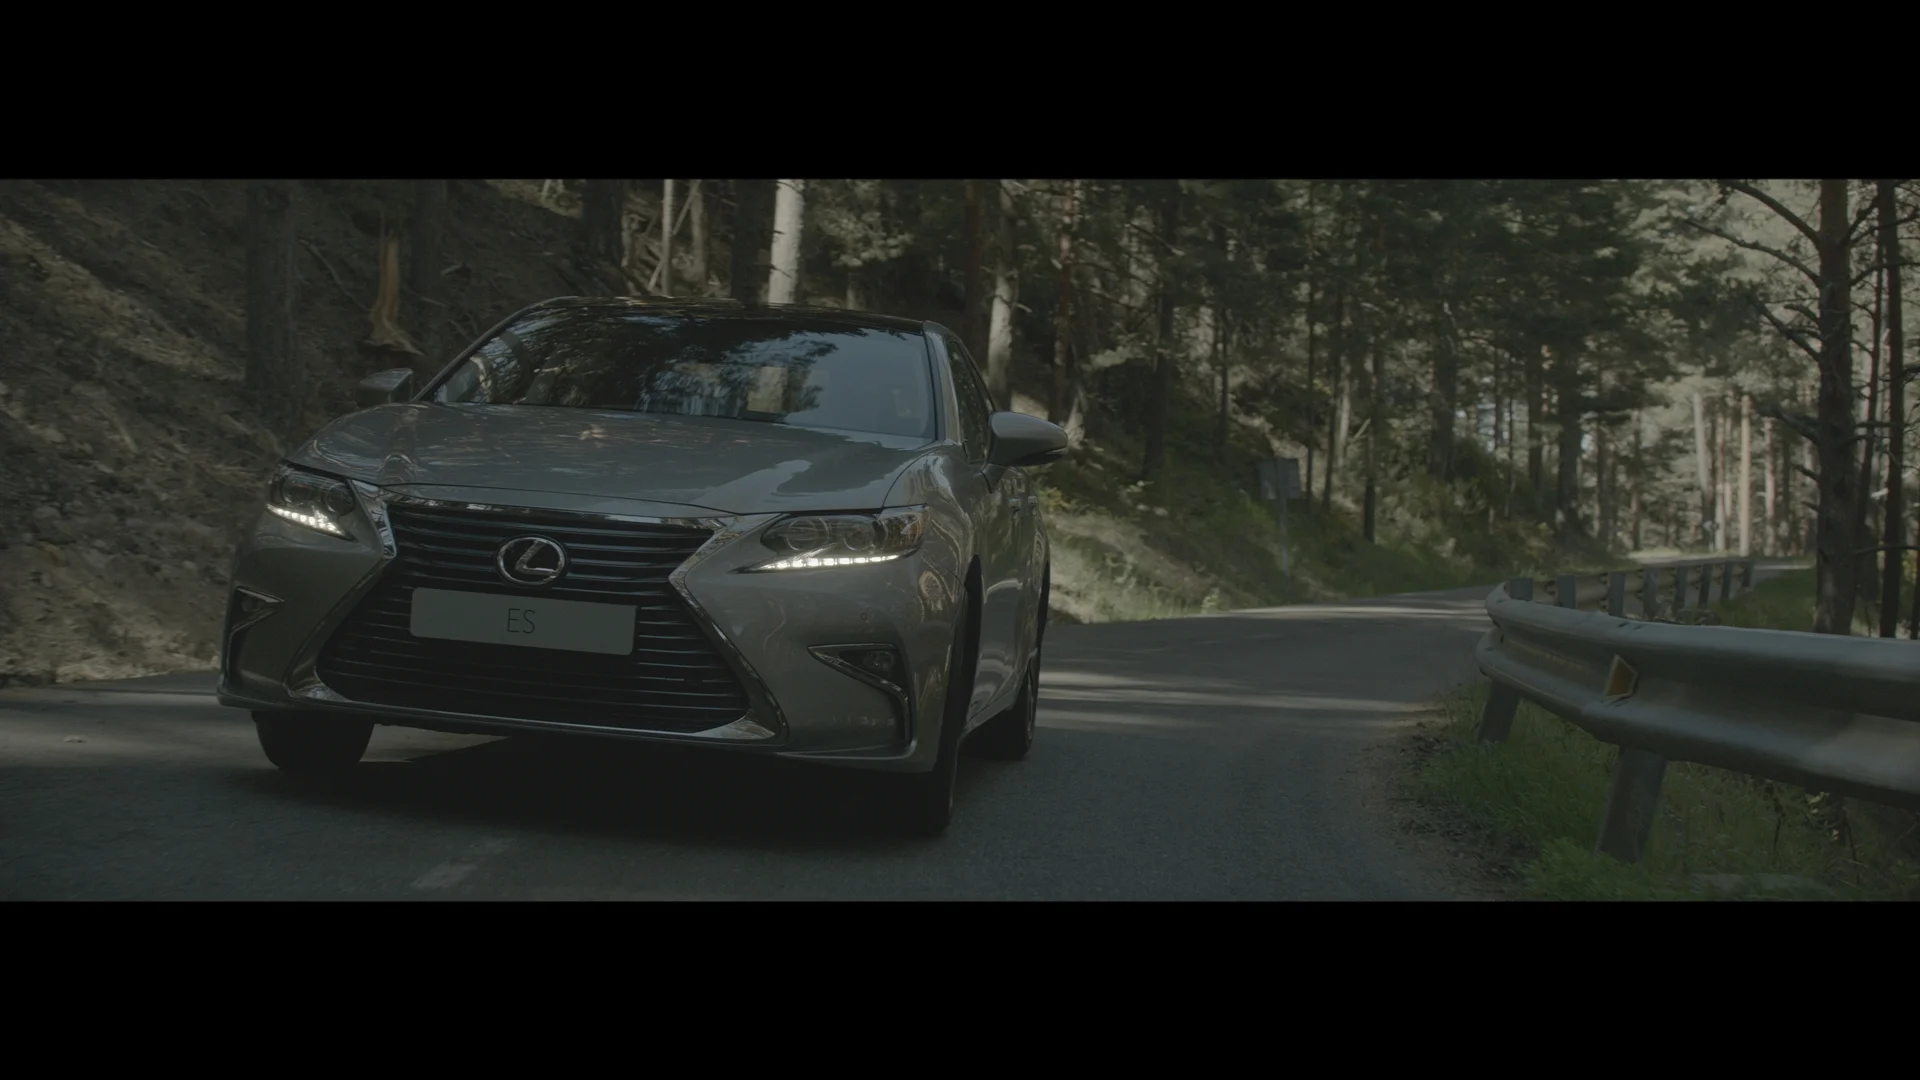
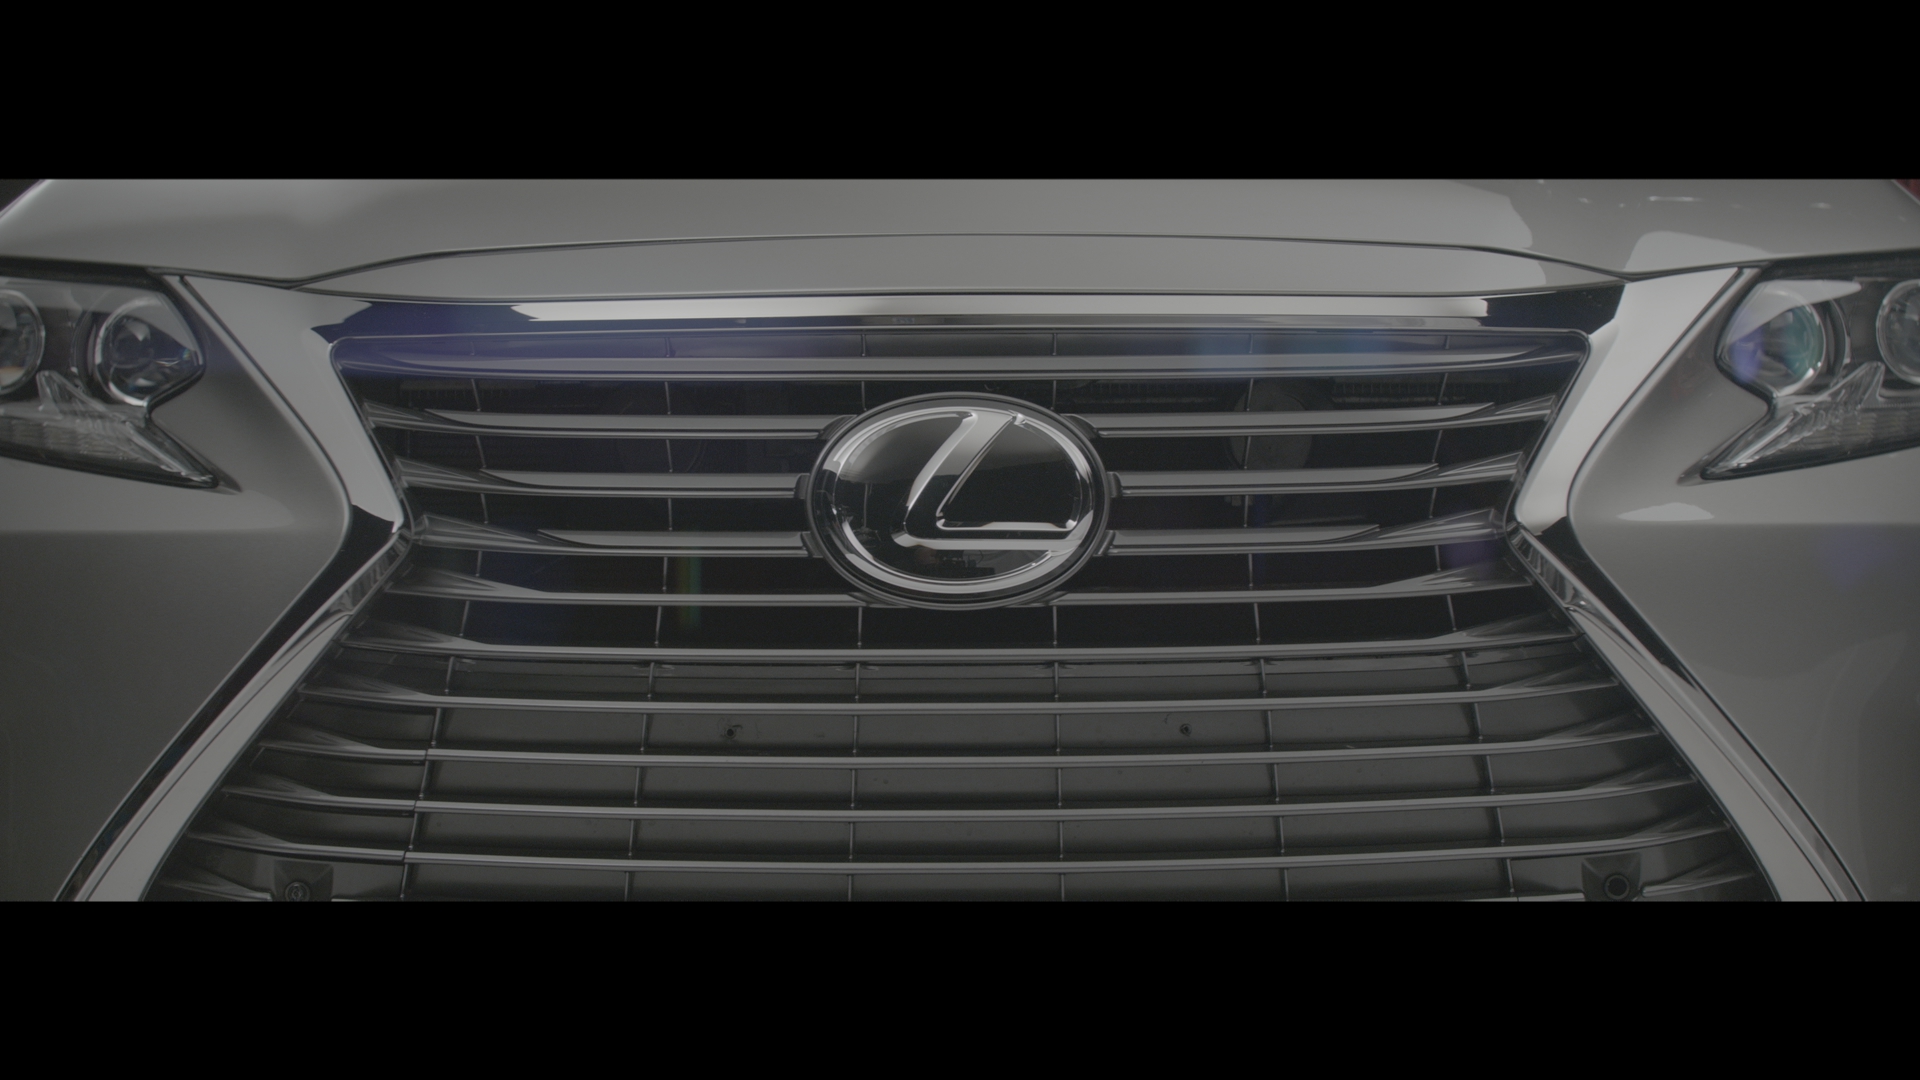
Color Grading - Lexus TVC in Dubai

Here's a quick look on before and after grading shots of lexus tvc. Graded by colorist sudip.

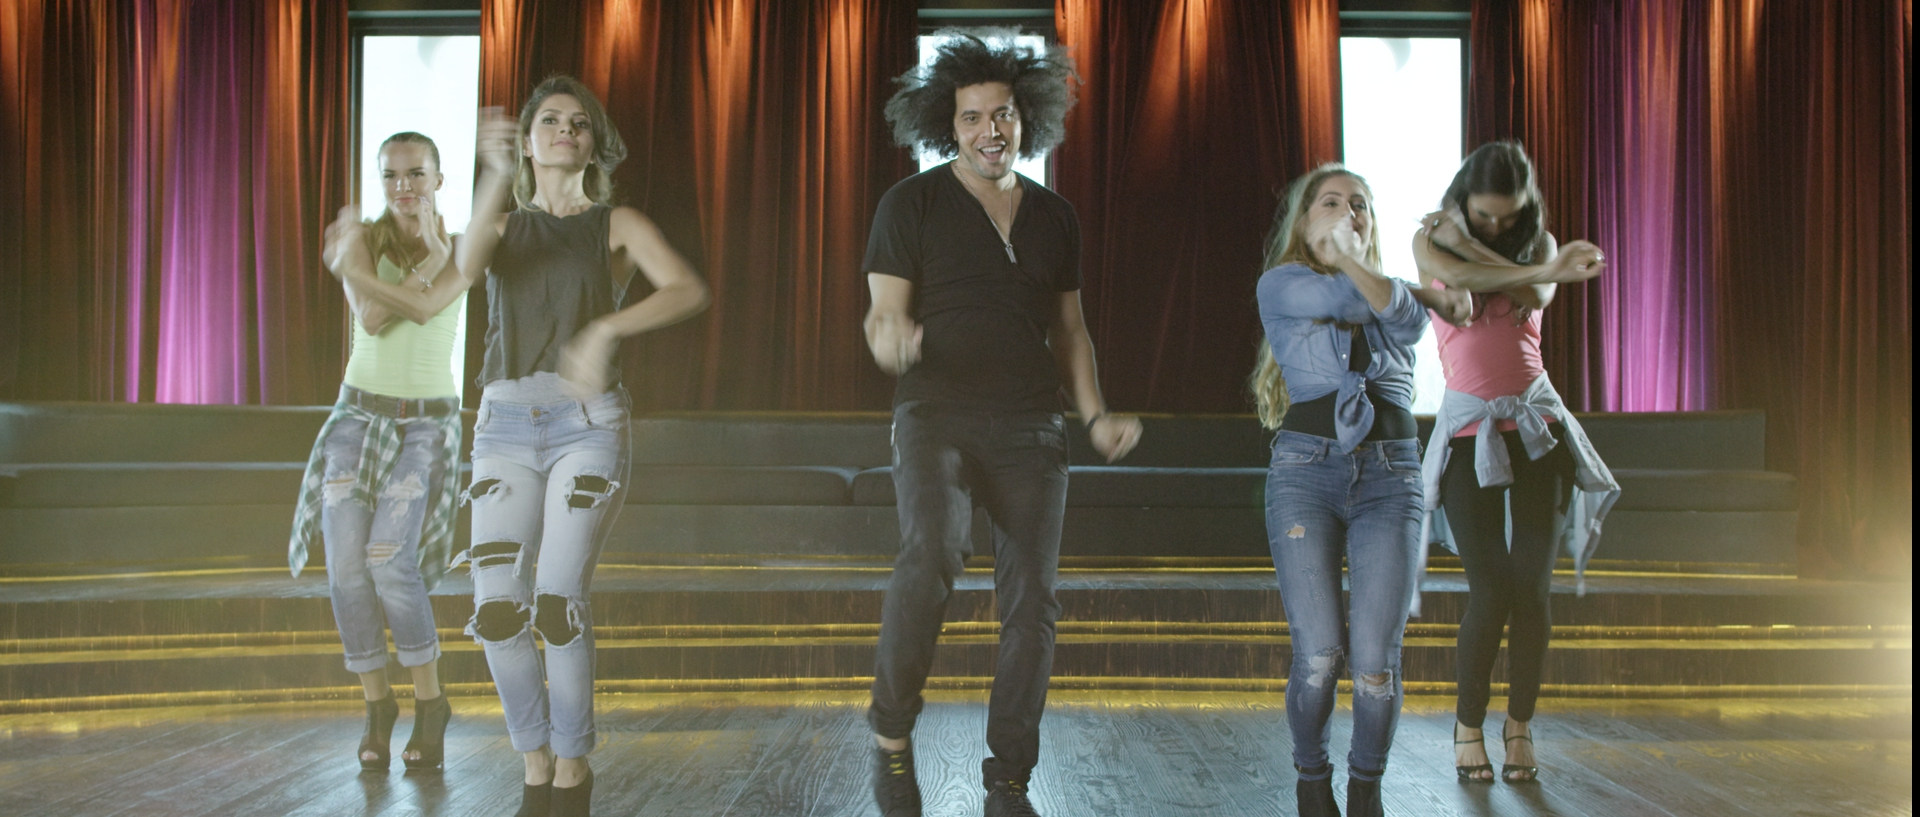
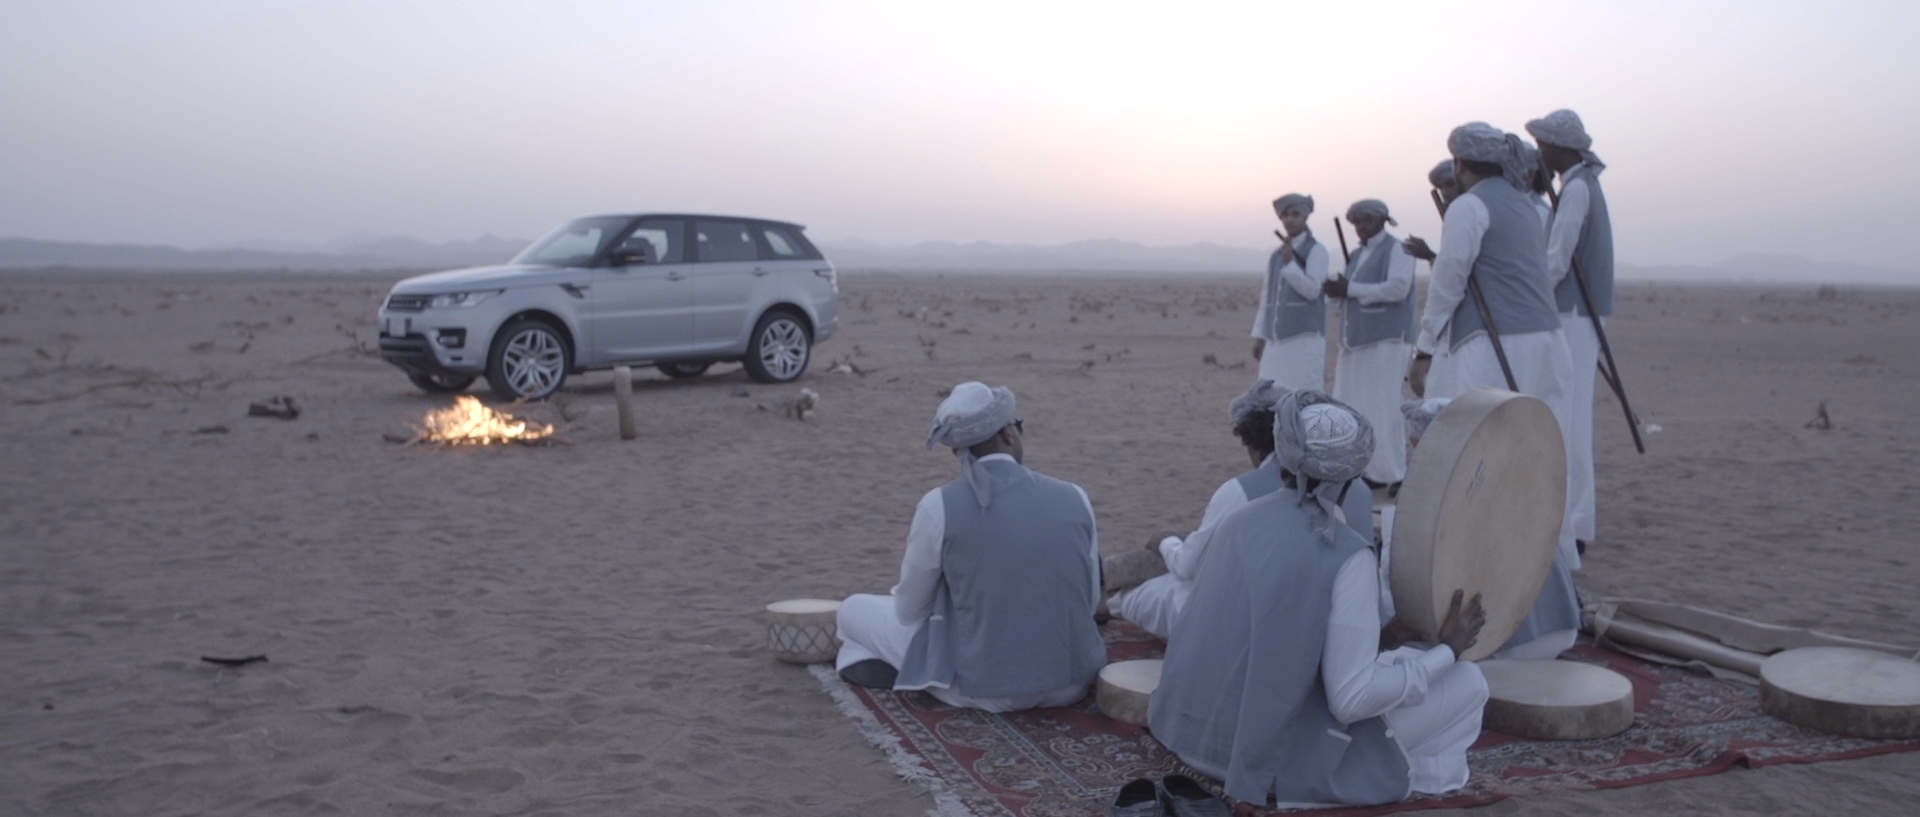
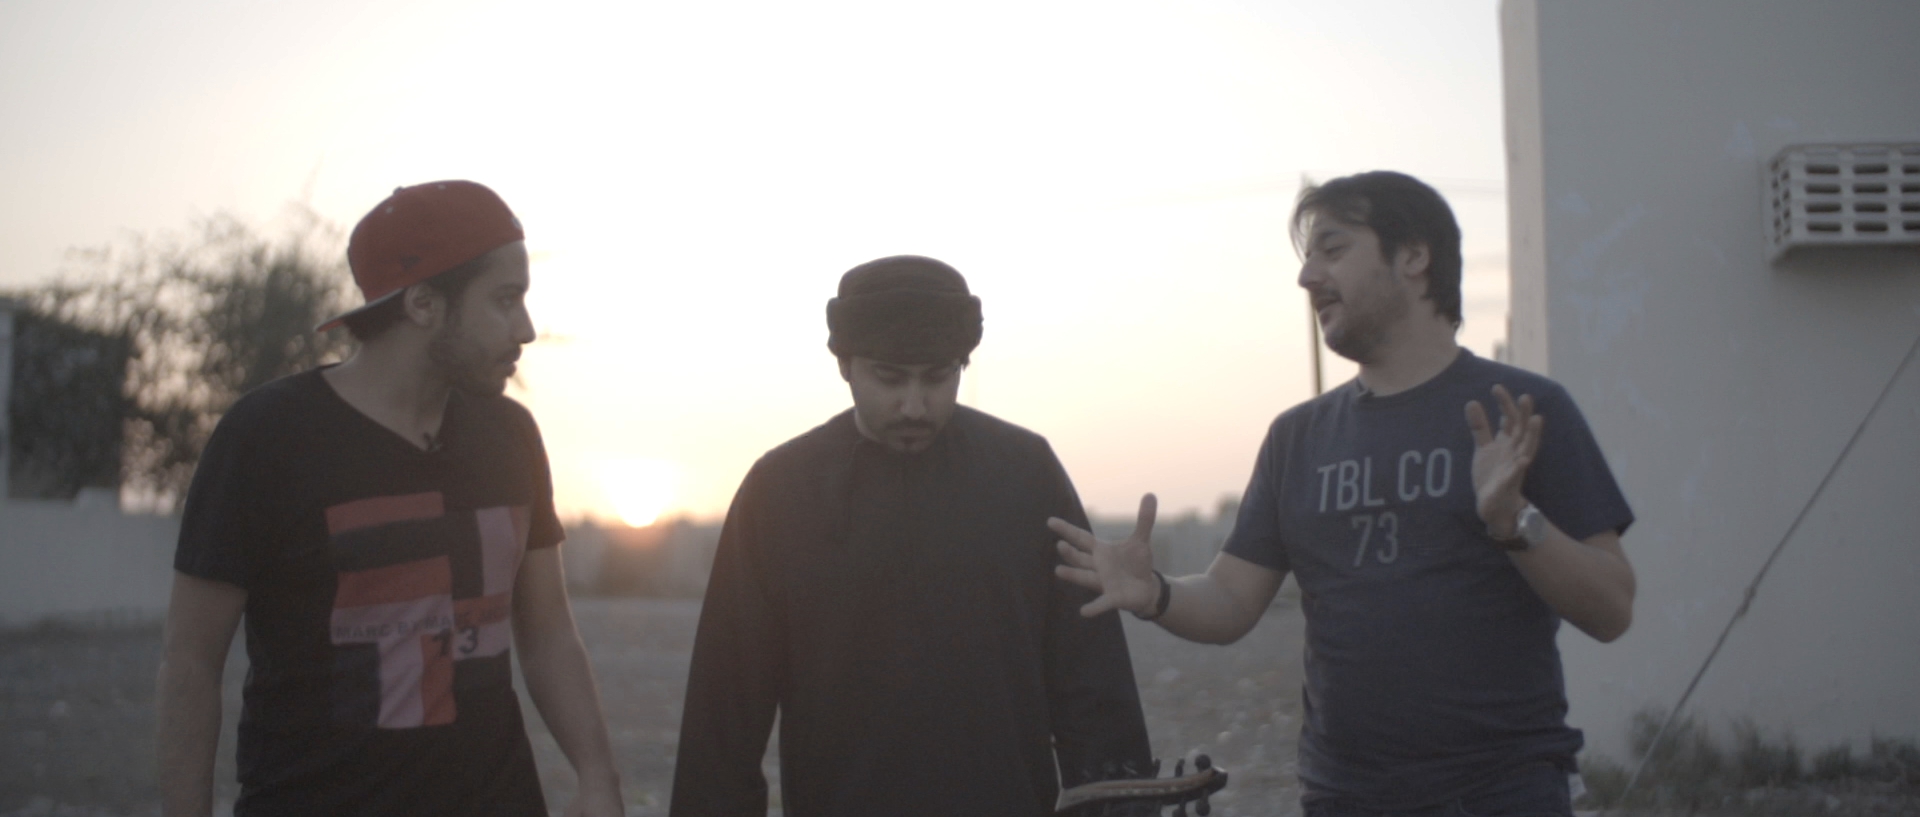
Color Grading - SAHARA AL ARAB - MY LAND.MY MUSIC


MYLAND. MYMUSIC. - 'Sahara Al Arab' is the outcome of unique collaboration between Land Rover and Sony Music Entertainment

This collective recognises and celebrates the rich musical tapestry of Arabia. It all started with a musical journey, discovering and documenting the musicians and sounds of the region’s varied communities and landscapes. The final soundtrack is composed of words, music and ambient notes from five countries across the Middle East & North Africa region.

Colorist - Sudip Shrestha | Shot in Sony fs700.

How to match your camera colors accurate? Use Color Checker

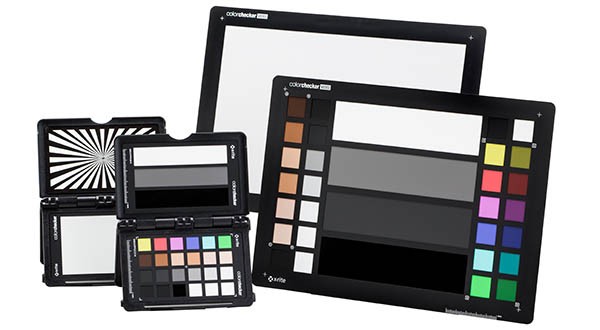
ColorChecker Passport Video is a powerful ‘capture to edit’ color solution for any filmmaker looking to save time, providing a consistent and predictable neutral starting point so you can get to your look faster than ever before. Take it with you on every video shoot – either indoor or outdoor. It will quickly become your go-to color tool during pre-production, capture and edit.

The X-Rite ColorChecker Passport Video will get you to a worry-free, color balanced and consistently neutral place, with ideal camera exposure, faster than ever before. This essential color chart will enable you to get a better camera-to-camera match, achieve perfect exposure and easily shoot and edit for mixed lighting in a convenient portable protective case. The ColorChecker Passport Video will help to reduce your video editing time, allowing you to get to your creative look faster. 

For more info : X-Rite

Free eBooks on Color Grading & Color Science

If you’re an apprentice colorist looking to deepen your understanding of the art, craft and science of color grading then these books will provide you with an excellent place to start.

Alexis Van Hurkman – Color Correction Handbook, 2nd Edition

If you’re looking for a one-stop comprehensive education on all things involved in color grading from setting up your suite to understanding your color management workflow as well as the technically creative aspects of bringing a film to life, you really can’t do better than Alexis Van Hurkman’s Color Correction Handbook.

Click on the image to open the book.

Click on the image to open the book.


Alexis Van Hurkman – Look Book Creative Grading Techniques

his brand new book from colorist Alexis Van Hurkman focuses entirely on the creative aspects of color grading by walking through numerous Looks and Creative Grading Techniques such as undertones, bleach by pass, day-for-night, monochrome, duo and tritones and many many more.

cc2.jpg

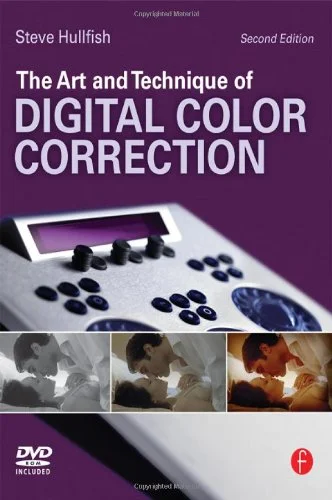
Steve Hullfish – The Art & Technique of Digital Color Correction

The only guide to the art and technique of color correction based on the invaluable knowledge of more than a dozen of the top colorists in the world. This book allows you unprecedented access to the way the masters of the craft approach their work.”


Color & Mastering For Digital Cinema

Glenn is currently the CEO of ARRI, having served on many of the industry’s premiere technical boards including the SMPTE, so his technical credits are extensive.

First published in 2006, quite a fair few technical advances have been made in the industry but I include it in this list as it is one of the few books available on colour theory and science as related to digital cinema.cc


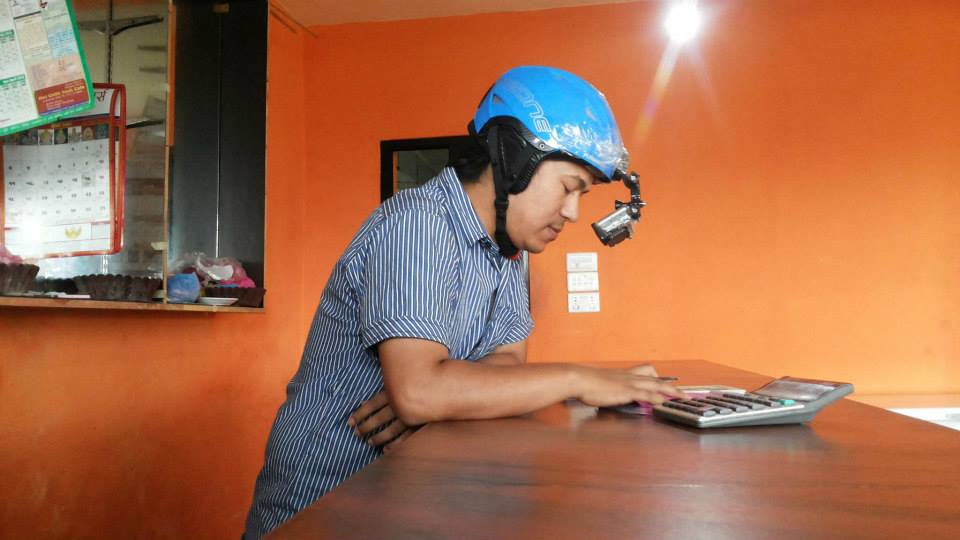
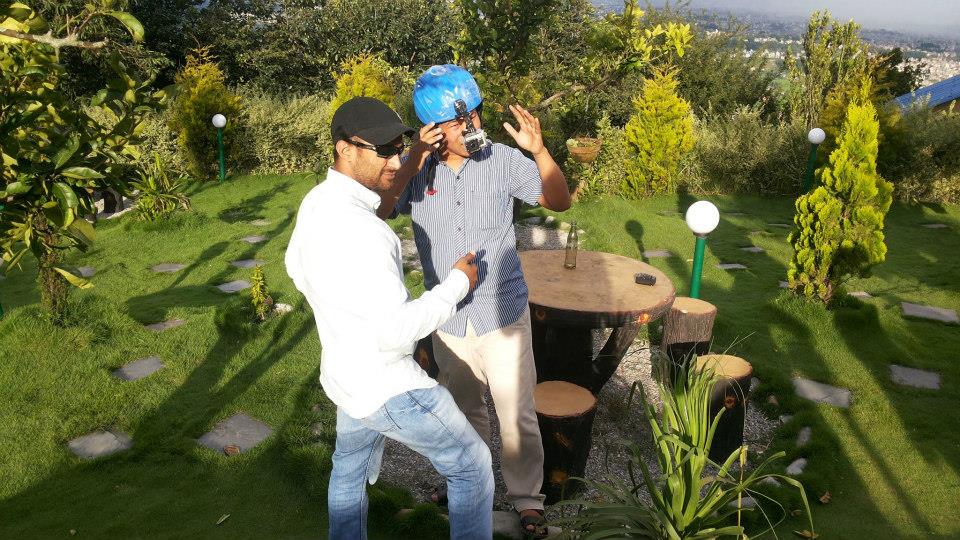
Nepal's first Point Of View - Cinematography film "FACEBOOK TODAY"

Nepal's first person point of view - Cinematography Style short film "Facebook Today" is ready for festival release. Film was shot in 2014 in Nepal and based in real incidents happened due to social networking sites.

Film Title : Facebook Today
Length : 7 min 30 sec
Director : Sudip Shrestha
Executive Producer : Hari Bhusal
Editor : Nimesh Shrestha
Audio : Rav Singh
Actors : Sarwapratik Shrestha, Anjala Nakarmi, Rajendra Mokta
Writer : Sarwapratik Shrestha
Production : Anup Shrestha

Why Shoot in LOG or FLAT?

Shooting flat is a great tool in the cinematographers tool box and with the right equipment can bring great benefits in post production flexibility. Most of the modern large sensor cameras with their low noise sensors and ability to record to high end 10 bit codecs either internally or externally are excellent tools for shooting flat. But small sensor cameras with their higher noise levels do not make the best candidates for shooting flat. In many cases a better result will be obtained by creating your desired look in camera. Or at least getting close to the desired look in camera and then just tweaking and fine tuning the look in post.

Redlogfilm

Redlogfilm

Shooting flat has become a fashionable way to shoot and many individuals and companies have released camera settings said to provide the flattest images or to maximise the camera dynamic range. Don’t get me wrong, I’m not saying that shooting flat is necessarily wrong or that you shouldn’t shoot flat, but you do need to understand the compromises that can result from shooting flat.

First of all what is meant by shooting flat? The term comes from the fact that images shot flat look, err, well…. flat when viewed on a standard TV or monitor. They have low contrast and may often look milky or washed out. Why is this? Well most TV’s and monitors only have a contrast range that is the equivalent of about 6 stops. (Even a state of the art OLED monitor only has a range of about 10 to 11 stops). The whole way we broadcast and distribute video is based on this 6 stop range. The majority of HD TV’s and monitors use a gamma curve based on REC-709, which also only has a 6 to 7 stop range. Our own visual system has a dynamic range of up to 20 stops (there is a lot of debate over exactly how big the range really is and in bright light our dynamic range drops significantly). So we can see a bigger range than most TV’s can show, so we can see bright clouds in the sky as well as deep shadows while a TV would struggle to show the same scene.

A point to remember here: A TV or monitor has a limited brightness range. It can only ever display at it’s maximum brightness and best darkness. Trying to drive it harder with a bigger signal will not make it any brighter.

Feed the monitor with an image with a 6 stop range and a Rec-709 signal and the monitor will be showing it’s blackest blacks and it’s brightest whites.

But what happens if we simply feed a 6 stop monitor with an 11 stop image? Well it can’t produce a brighter picture so the brightest parts of the displayed scene are no brighter and the darker, no darker so the image you see appears to have the same brightness range but with less contrast as 11 stops are being squeezed into a 6 stop brightness range, it starts to look flat and un-interesting. The bigger the dynamic range you try to show on your 6 stop monitor, the flatter the image will look. Clearly this is undesirable for direct TV broadcasting etc. So what is normally done is to map the first 5  stops from the camera more or less directly to the first 5 stops of the display so that the all important shadows and mid-tones have natural looking contrast. Then take the brighter extended range of the camera, which may be 3 or 4 stops and map those into the remaining 1 or 2 stops of the monitor. This is a form of compression. In most cases we don’t notice it as it is only effecting highlights and our own visual system tends to concentrate on shadows and mid-tones while largely ignoring highlights. This compression is achieved using techniques such as knee compression and is one of the things that gives video it’s distinctive electronic look.

A slightly different approach to just compressing the highlights is to compress much more of the cameras output. Gamma curves like Sony’s cinegammas or hypergammas use compression that gets progressively more aggressive as you go up the exposure range. This allows even greater dynamic ranges to be captured at the expense of a slight lack of contrast in the viewed image. Taking things to the maximum we have gamma curves that use log based compression where each brighter stop is in effect compressed twice as much as the previous one. Log gamma curves like S-Log or Log-C are capable of capturing massive dynamic ranges of anywhere up to 14 stops. View these log compressed images back on your conventional TV or monitor and because even the mid range is highly compressed  they will look very low contrast and very flat indeed.

Note: Log gamma does not actually increase compression, in fact it allocates exactly the sane amount of data to every stop of exposure. However it must be remembered that for every stop you go up in exposure the brightness of the scene becomes 2 times brighter. So to record the scene accurately you should use twice as much data for every stop you add. But Log does not do this, it just adds a small amount of extra data. Thus in effect RELATIVE TO THE BRIGHTNESS RANGE OF THE SCENE the amount of data is halved for each stop you go up in exposure.

So, if you have followed this article so far you should understand that we can capture a greater dynamic range than most monitors can display, but when doing so the image looks un-interesting and flat.

So, if the images look bad, why do it? The benefits of capturing a big dynamic range are that highlights are less likely to look over exposed and  your final image contrast can be adjusted in post production. These are the reasons why it is seen as desirable to shoot flat.

But there are several catches. One is that the amount of image noise that the camera produces will limit how far you can manipulate your image in post production. The codec that you use to record your pictures may also limit how much you can manipulate your image due to compression artefacts such as banding or blocking. Another is that it is quite easy to create a camera profile or setup that produces a flat looking image, for example by artificially raising the shadows, that superficially looks like a flat, high dynamic range image, but doesn’t actually provide a greater dynamic range, all that’s happened is that shadows have been made brighter but no extra dynamic range has actually been gained.

Of course there are different degrees of flat. There is super flat log style shooting as well as intermediate flat-ish cinegamma or hypergamma shooting. But it if you are going to shoot flat it is vital that the recorded image coming from the camera will stand up to the kind of post production manipulation you wish to apply to it. This is especially important when using highly compressed codecs.

Redgamma 3

Redgamma 3

When you use a high compression codec it adds noise to the image, this is in addition to any sensor noise etc. If you create a look in camera, the additional compression noise is added after the look has been created. As the look has been set, the compression noise is not really going to change as you won’t be making big changes to the image. But if you shoot flat, when you start manipulating the image the compression noise gets pushed, shoved and stretched, this can lead to degradation of the image compared to creating the look in camera. In addition you need more data to record a bigger dynamic range, so a very flat (wide dynamic range) image may be pushing the codec very hard resulting in even more compression noise and artefacts.

So if you do want to shoot flat you need a camera with very low noise. You also need a robust codec, preferably 10 bit (10 bit has more data levels than 8 bit so contains more tonal information) and you need to ensure that the camera setup or gamma is truly capturing a greater dynamic range, otherwise your really wasting your time.

FIRST HDR VIDEO CAMERA - Contrast's AMP HDR

High Dynamic Range Camera - 17+f stops

High Dynamic Range Camera - 17+f stops

Contrast’s amp®HDR camera system is the most efficient HDR video system in the world. Combine the ampHDR camera with our proprietary (developed in-house), real-time merging and tone-mapping algorithms and an HDR monitor, and the integrated system produces and displays accurate, real-life scenes with displayed luminance ranges that go far beyond what is possible with any other camera.

The HDR system employs Contrast’s patented amp image-splitting and combining technology to compose a single video stream from multiple sensors. The video stream can be recorded raw or tone mapped (to 8 bits per color for standard display, 10 bits for HDMI Deep Color, or 16 bits for HDR display) and output via HDMI, DVI, HD-SDI or other formats. Contrast’s merging algorithm — a proprietary mix of real time merging, blending and horsepower — handles exposure separations of 5 stops or more. 
Contrast’s amp technology provides unsurpassed image quality, especially when lighting is difficult to control:

  • Medical endoscopy
  • Manufacturing inspection, evaluation and quality control
  • Industrial welding, molding and cutting processes
  • Military imaging systems for tracking and recording
  • Security and surveillance
  • Scientific experiments
  • Film and video: sports events, nature documentaries
  • Underwater photography
  • Real estate – portable real time video displays
  • Consumer cell phone cameras and digital cameras

LEARN HDR - Tery Ratchliff

Trey Ratcliff is a pioneer High Dynamic Range photographer. HDR photography is a new paradigm in art that creates images like no one has ever seen before. The first HDR photograph to hang in the Smithsonian was Trey's. He has been featured on ABC, N…

Trey Ratcliff is a pioneer High Dynamic Range photographer. HDR photography is a new paradigm in art that creates images like no one has ever seen before. The first HDR photograph to hang in the Smithsonian was Trey's. He has been featured on ABC, NBC, CBS, FOX, and the BBC, and his photos have accumulated more than 50 million views on Flickr and SmugMug.

HDR is short for High Dynamic Range. It is a post-processing task of taking either one image or a series of images, combining them, and adjusting the contrast ratios to do things that are virtually impossible with a single aperture and shutter speed.

An HDR image is commonly made by taking three photos of the same scene, each at different shutter speeds. The result is a bright, medium, and dark photo, based on the amount of light that got through the lens. A software process then combines all the photos to bring details to the shadows and highlights both. This helps to achieve the same task in the final photograph that the human eye can accomplish on the scene.

And yes, you can make an HDR out of a single photo as well.

Find more tutorials at Tery Ratchliff offical website and blog.
www.stuckincustoms.com

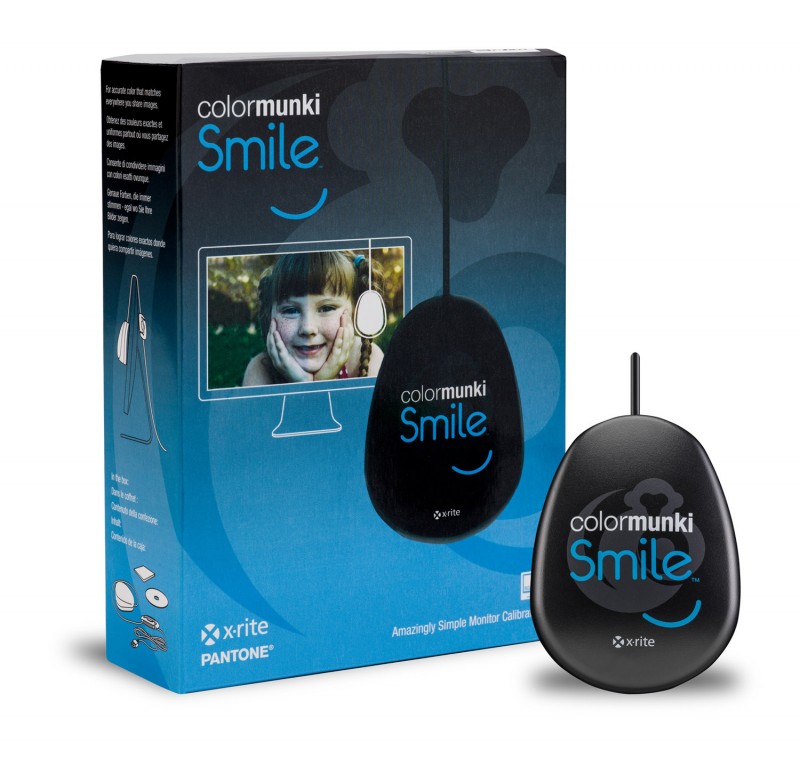
X-Rite ColorMunki Smile - Cheapest Monitor Calibration

We've all been there, looking at our pictures on the computer, wondering why they don't look the same as we remember them. Maybe all the colors look a little off, or only one or two. It just shouldn't be this way! With X-Rite ColorMunki Smile it doesn't have to.

ColorMunki Smile is the perfect tool for the photo hobbyist, like the family photographer, scrap booker, or designer. You'll even appreciate the difference when you're gaming or viewing images on line. Really it's for just about any enthusiast that …

ColorMunki Smile is the perfect tool for the photo hobbyist, like the family photographer, scrap booker, or designer. You'll even appreciate the difference when you're gaming or viewing images on line. Really it's for just about any enthusiast that wants to know the color on their monitor is correct.

Price US $ 89.00

The X-Rite ColorMunki Smile Color Calibration Solution is a simple calibration tool to help ensure your laptop or desktop monitors are consistent and displaying proper color values. This calibration solution can be used with just one LCD or LED monitor or on several to maintain accuracy from monitor to monitor. Once the colorimeter has been placed over the desired monitor, operation and calibration is handled through an intuitive wizard-driven software program that utilizes the same color engine technology found in professional-level X-Rite color calibration solutions. Once calibrated, a before and after image can instantly show you comparative results.

A calibration reminder will also automatically notify you as to when it is time to re-calibrate displays, helping you to consistently maintain color accuracy across all of your monitors.

  • Helps to ascertain proper color accuracy and consistency on one or several monitors.
  • Straight-forward, simple software requires no color science knowledge.
  • Automatic reminders notify you when it is time to re-calibrate your monitors.
  • Simple online help videos provide troubleshooting assistance and eliminate the need to refer to other manual.

AUTO DCP - Try AUTODCP for free

Drop Apple ProRes or other video files into your Dropbox folder and automatically create DCPs!

Auto DCP - Interesting service for editors who needs to create Digital Cinema Package for worldwide distribution.

After you install the application, a special AutoDCP folder appears beneath the Apps folder within your Dropbox folder.  This folder can be managed and shared just like any other Dropbox folder.  And AutoDCP works anywhere Dropbox works including Mac, PC and Linux platforms.

Simply drag your video files (such as Apple ProRes files) into the AutoDCP folder and the application makes DCPs automatically!

TRY IT NOW.


Optical illusions show how we see by Beau Lotto

Beau Lotto is founder of Lottolab, a hybrid art studio and science lab. With glowing, interactive sculpture — and old-fashioned peer-reviewed research—he's illuminating the mysteries of the brain's visual system.

Beau Lotto's color games puzzle your vision, but they also spotlight what you can't normally see: how your brain works. This fun, first-hand look at your own versatile sense of sight reveals how evolution tints your perception of what's really out there.
 

According to Lotto, relationships and statistical correlations are everything, the brain simply can't do absolutes. However, these patterns remain ambiguous until the brain can find the behavioural significance of what they meant in the past. 

For more info about Beau Lotto.


The Cheapest Color Grading Panel OXYGEN PRO PANEL $800

Strong oxygen Oxygentec ProPanel MK II officially certified toner Taiwan 

A control surface is an essential piece of gear for professional color correction.

The new OxyenTec ProPanel's relatively straightforward interface accompanies the most critical elements for a control surface: the triple rings and dials for controlling shadows, midtones, and highlights. 

t just around $800, OxygenTec's board is most likely a less expensive distinct option for the JL Cooper Eclipse, the Avid Artist Color, the Tangent Element and even the more established Tangent Wave model. 

The DaVinci control surface maps a considerable lot of Resolve's capacities to devoted catches and handles, making reviewing a breeze. Be that as it may, its weighty sticker is out of scope for some. Fortunately, outsider surfaces from Tangent, JL Cooper,Avid and newcomer OxygenTec outfit a significant part of the DaVinci board at a small amount of the expense. With less catches and dials, you'll be looking through menus to discover the parameter to change, a long way from a major issue to numerous. 

The ProPanel is accessible now and incorporates locally with DaVinci Resolve, joining by means of USB. Beside the primary dials and trackballs, a few catches line the highest point of the control surface. From left to right, you have charges for

  • Undo
  • Redo
  • Grab Still
  • Play Still
  • Previous Node
  • Next Node
  • Start Dynamic
  • Mark for Keyframing
  • Base Memory (resets just the node you’re on)

No matter which model you choose, a control surface is an essential aspect of getting any job graded and delivered on time. 

Icolorsit Video Review