


When shooting with multiple cameras, how can footage be matched between them?
Whether we know it or not, properly matched capture from each of our cameras is not only the right thing to do, it is a professional expectation. When camera teams are hired to cover an event or shoot a corporate video and three cameras are to be used, there is an unspoken understanding that the footage from each device will match.
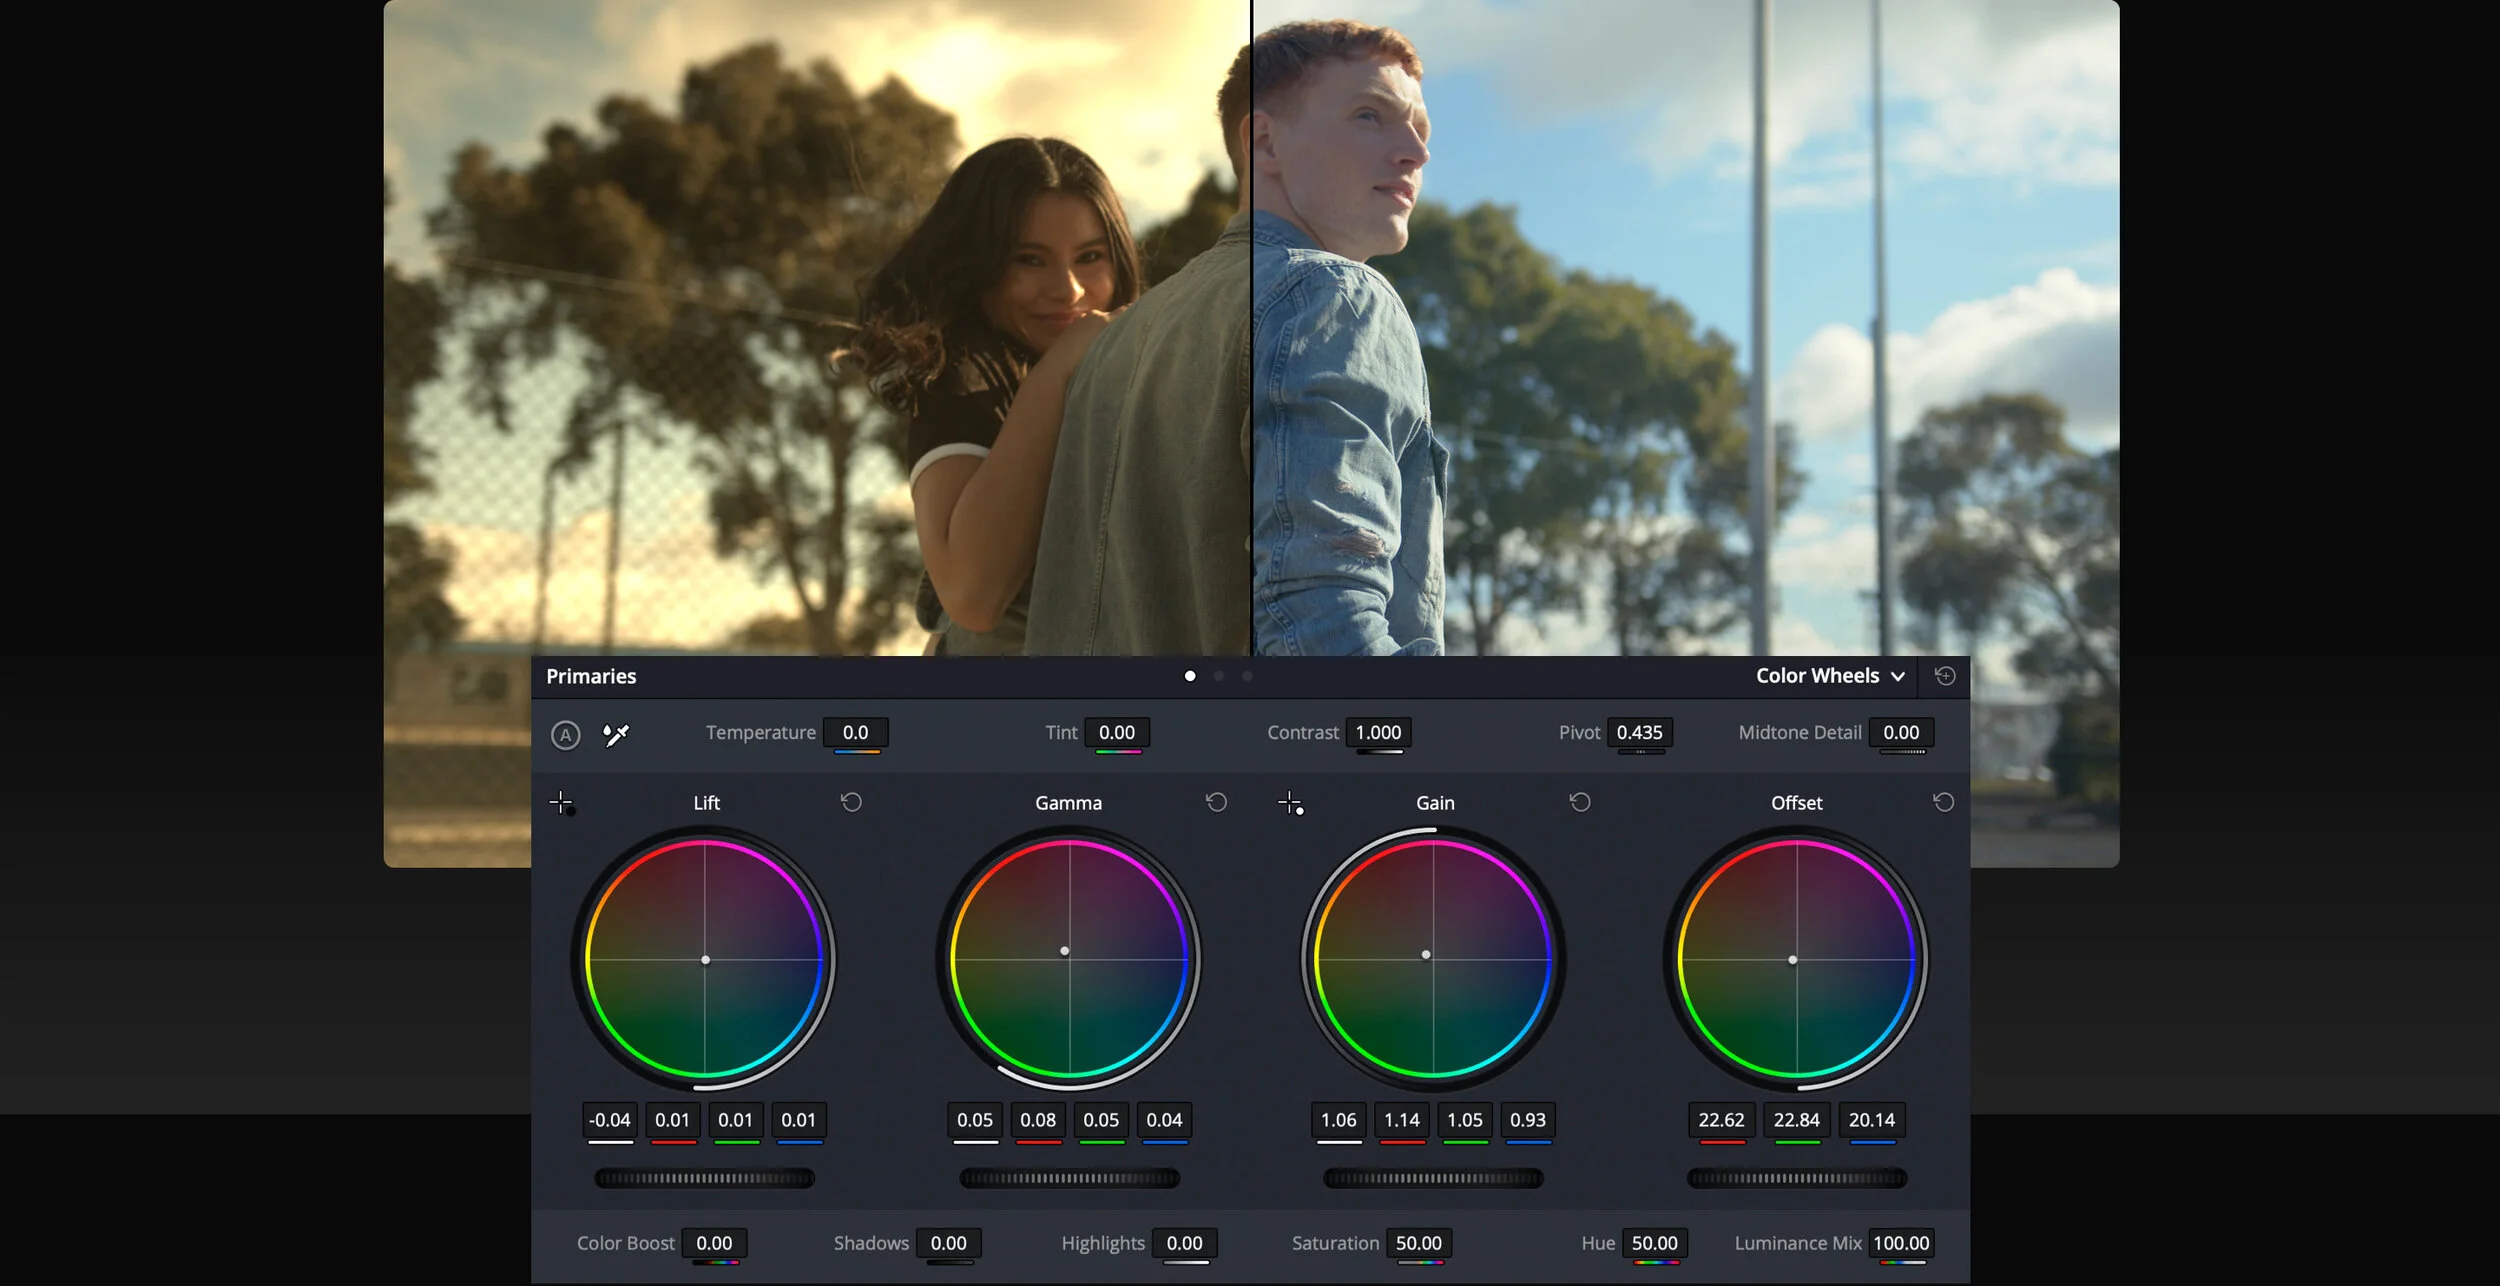
Even seemingly simple footage is actually quite complex. There is a blend of elements, from grain and noise, to exposure and white balance.
If it’s impossible to bring matching equipment, choosing all of the camera settings prior to the shoot and then monitoring and adjusting prior to shooting will make the difference.
The best bet is to try to make enough time to test and work with the cameras prior to a shoot starting to at least get them close. Usually the larger the budget, the more setup and testing time there will be, but even with no lead time, a basic knowledge of how to set up cameras is important.
Checklist – Frame settings
Choose the frame size and rate that the project is to be delivered in and set each of the cameras to exactly those settings.
Shutter Speed/Angle
Ensure the shutter speed, also refered to as shutter angle, of each of the cameras is set the same. Shutter speed has a huge impact on the appearance of finished footage. Action sequences can benefit from overly quick shutter speeds, but a good starting place is generally around double the framerate of the camera.
White Balance
Each camera is different, but there should be tools for white balance on board. Most have a number of presets, and the more professional models will allow for custom white balancing, where a white card is held in front of the camera and set as the white that is recognized by the camera.
The key is to set the cameras to a similar setting to ensure that they’re close. If they all offer custom white balancing, that is obviously the best option.
ISO
Start with each camera set to the same ISO level and adjust. Many cameras have a default ISO, but the environment, lens characteristics, sensor characteristics or other factors can determine whether the level needs adjusting to more closely match other cameras.
While some high-end cameras that shoot RAW footage can have exposure tweaked a bit in post production, setting ISO properly in-camera is essential.
Adjusting the camera’s ISO to be as low as possible while delivering a nice, balanced image is key.
It’s going to be very difficult to get cameras exactly identical from simply adjusting settings and comparing monitors, but these basics will help get the process started. It’s all about getting them as close as possible to minimize the work that will need doing in post-production.